# Blueprints
Blueprints are a key component of the content modeling process. Inside a blueprint you define your fields, which fieldtypes they'll implement, group them into sections if you desire, and define conditions controlling their visibility. The control panel uses blueprints to render publish forms so you can manage content.
## Overview
Think of blueprints as stencils for your content. They control what [fields](/fields.md) users get to work with when publishing content, as well as the schema of the data developers will be tapping into to build the [front-end](/frontend.md) of your site.
Each blueprint belongs to an item:
- You can define multiple Blueprints for collections, and each entry will have the opportunity to choose from one of them.
- Same goes for taxonomies and their terms.
- Global sets, Asset containers, and Forms each get their own Blueprint.
- Users all share a Blueprint.
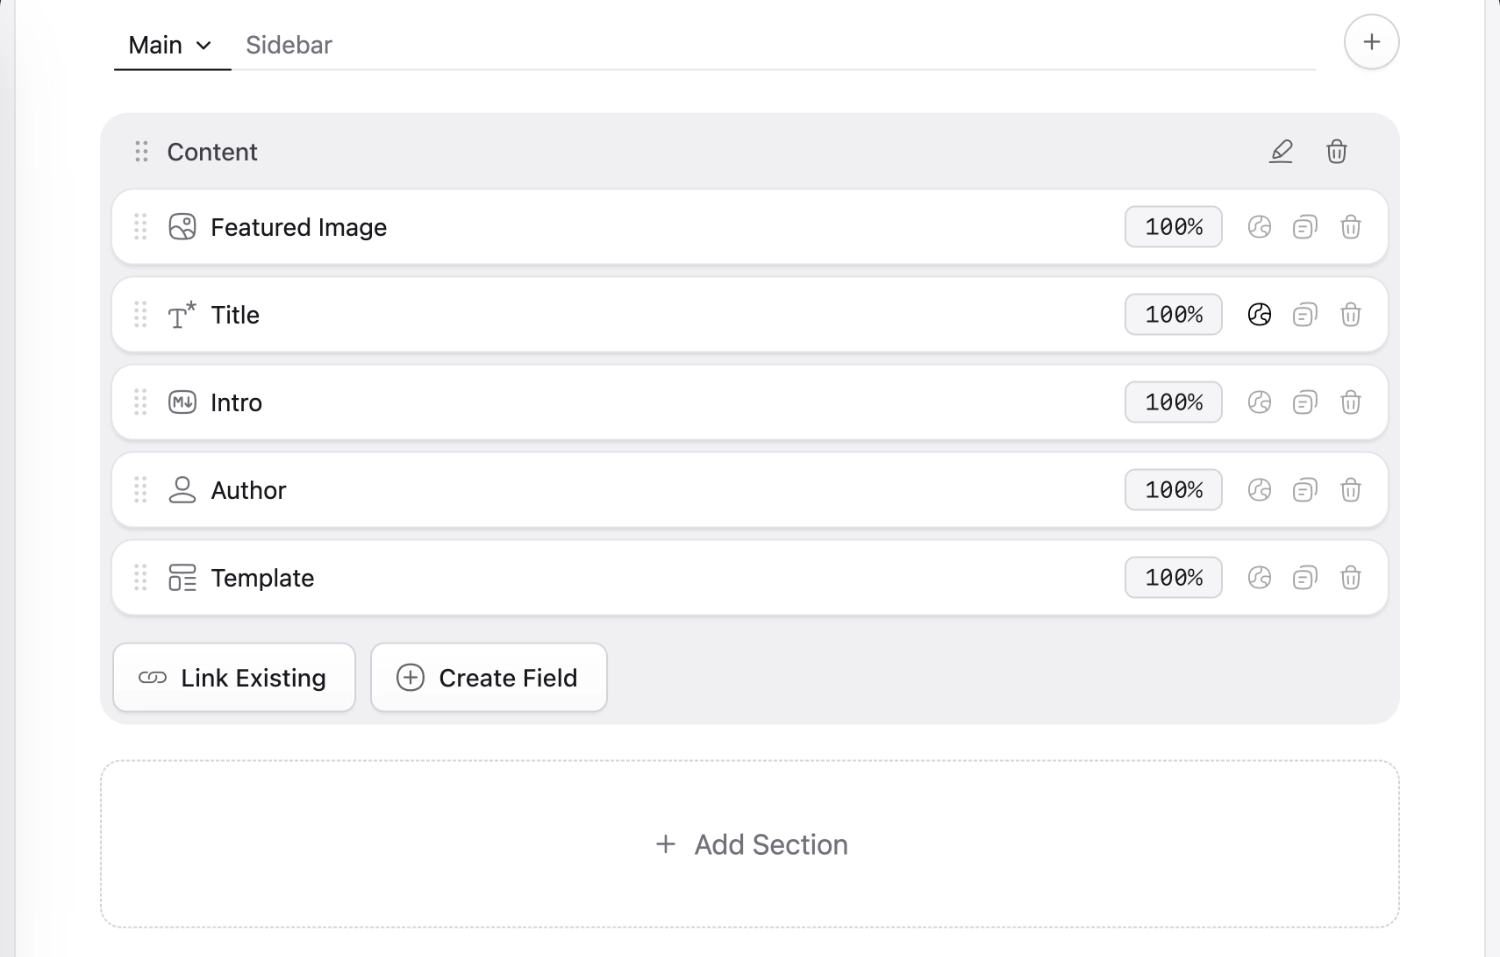
A glimpse at configuring a blueprint.
## Creating Blueprints
There are 3 ways to create blueprints:
- In the respective areas of the control panel. For instance, the collections area will let you define its blueprints.
The forms area will let you define its blueprints, and so on.
- In the **Blueprints** area of the control panel. This page serves as a hub to jump over to managing blueprints in various areas.
- Creating a YAML file in the appropriate place within `resources/blueprints/`. More on that in a moment.
Once created, you can begin to define fields and the sections that hold them. If you have more than one section, each becomes a tab in the publish form.
## Blueprint Workflow and Keyboard Shortcuts
Managing blueprints in the control panel is something you’ll be doing a lot. These contextual shortcuts help you save without losing your place in the stack.
| Shortcut | Action |
|----------|--------|
| ⌘S | **New field** — Save the blueprint and close the stack overlay. |
| ⌘S | **Existing field** — Soft save the blueprint without closing the stack overlay. Useful when editing a blueprint in a second tab and switching back and forth. Unlike the **Save** button in the top right, the stack stays open. |
| ⌘⇧S | Save and close the stack overlay, at any depth. Works whether you're nested several levels deep or have a single stack open. |
## Directory Structure
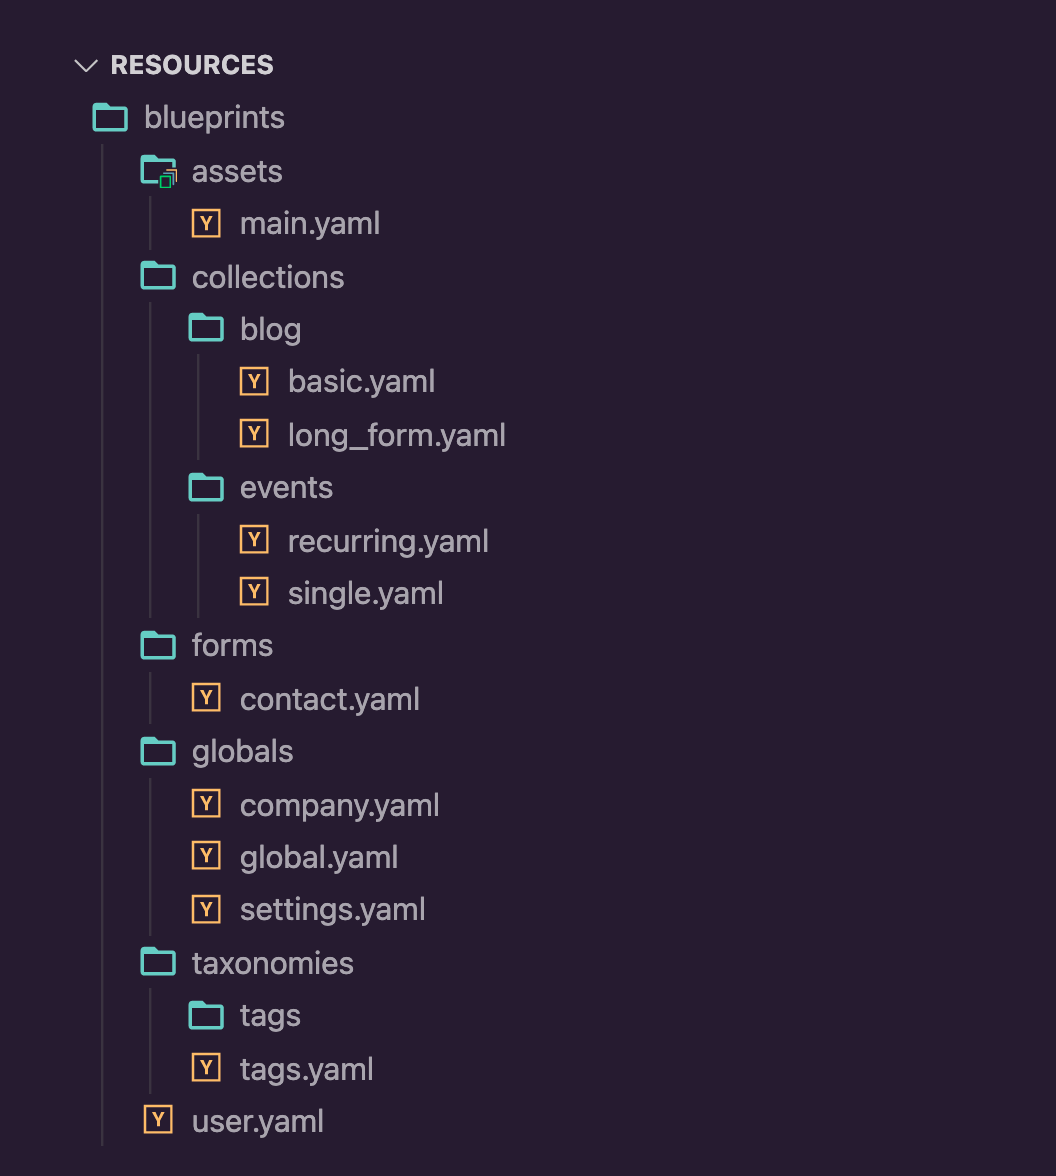
Whether you manually create your blueprint's YAML file, or use the control panel, they will all end up as YAML files in the `resources/blueprints` directory.
Here's how Blueprints are organized in the filesystem.
``` files theme:serendipity-light
resources/
blueprints/
collections/
blog/
basic_post.yaml
art_directed_post.yaml
taxonomies/
tags/
tag.yaml
globals/
global.yaml
company.yaml
assets/
main.yaml
forms/
contact.yaml
user.yaml
```
Collections and Taxonomies have their available blueprints organized in subdirectories named after their collections.
When you create an entry or term, you will be able to choose which blueprint to use (if there are multiple).
Globals, Asset Containers, and Forms can only have one blueprint per item, so they are organized into their own subdirectories, where each YAML file is the handle of the item.
All users will share the same blueprint, and it hangs out in the root of the directory.
### Customizing the Path
You can change where blueprints are stored by setting the `blueprints_path` option in `config/statamic/system.php`:
```php
'blueprints_path' => resource_path('blueprints'),
```
You may also provide an array to use different paths for specific blueprint types. This is especially useful for form blueprints when you want to keep them alongside other editable content — for example, if you exclude the `content/` directory from git and don't want form blueprints tracked:
```php
'blueprints_path' => [
'default' => resource_path('blueprints'),
'forms' => base_path('content/forms/blueprints'),
],
```
The `default` key is required when using an array — it's used for any blueprint types you haven't explicitly specified.
When a type-specific path is set, the type is _not_ appended to the path. Using the example above, a contact form blueprint lives at `content/forms/blueprints/contact.yaml`, not `content/forms/blueprints/forms/contact.yaml`.
## Conditional Fields
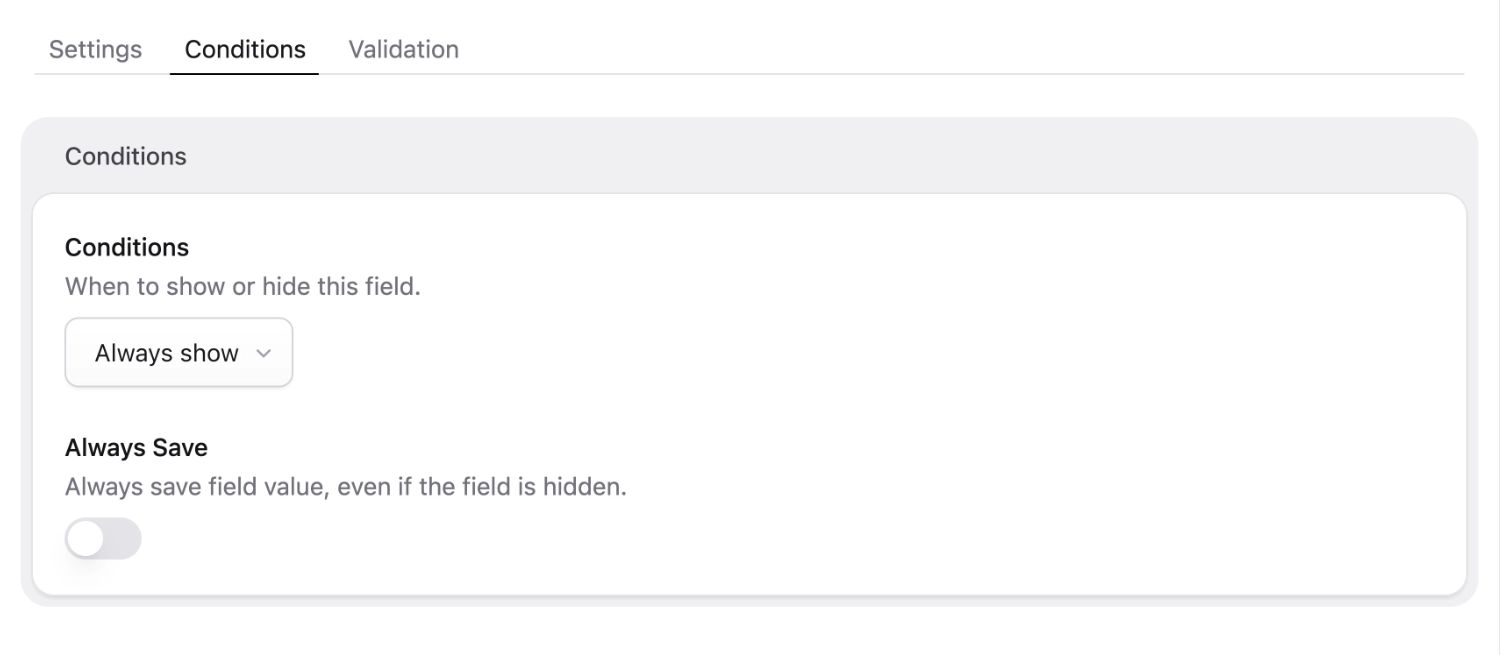
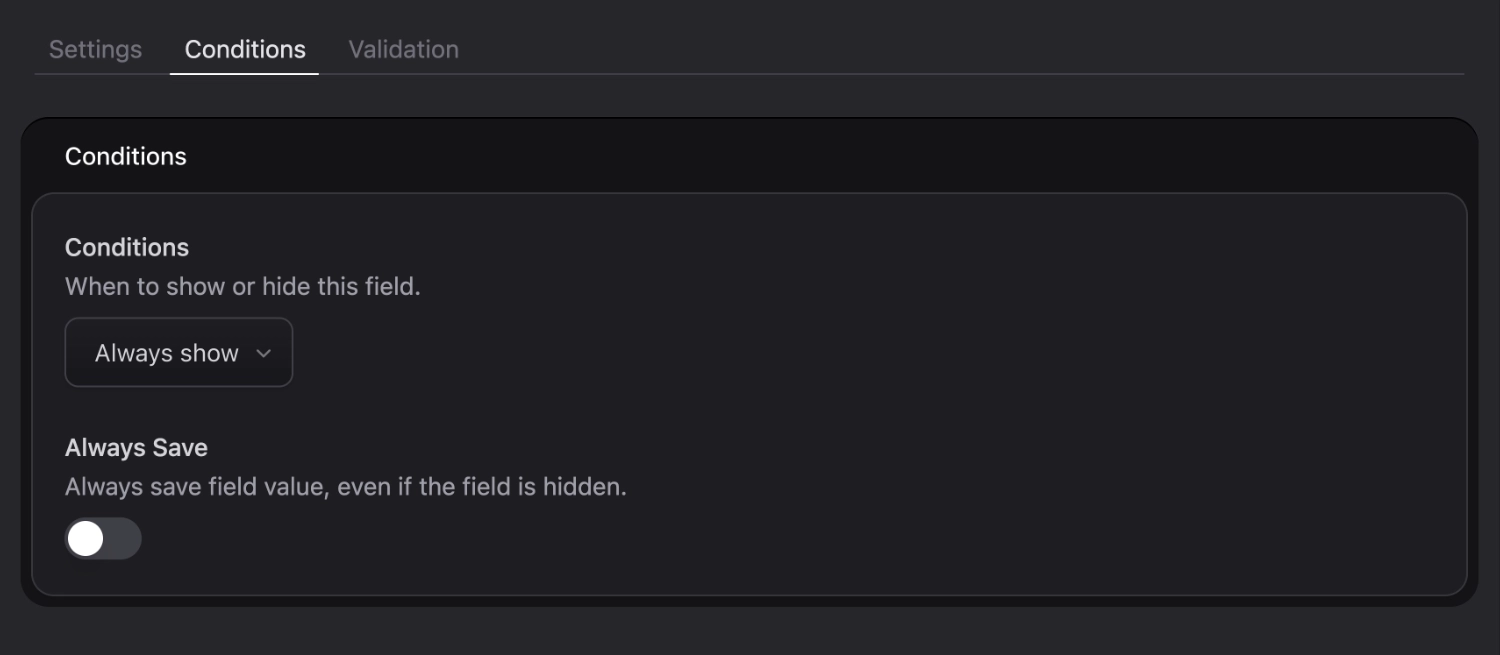
It’s possible to have fields be displayed only under certain conditions. For example, you may only want to show a caption field if an asset field has an image selected, or a whole block of fields if a toggle switch is enabled.
The conditional field rule builder
To learn what's possible and how to implement the various rules, head over to the article on [conditional fields](/conditional-fields.md).
## YAML Structure
At its most basic, a blueprint has an array of sections.
``` yaml
sections: []
```
A section has a handle, a display name, and an array of fields:
``` yaml
sections:
main:
display: Main
fields:
-
handle: content
type: markdown
meta:
display: SEO Metadata
fields:
-
handle: meta_title
type: text
-
handle: meta_description
type: textarea
```
:::tip
Blueprint fields are **indexed sequentially** instead of keyed by handle. This format allows maximum flexibility: you can reference fields from other blueprints one or more times, override their settings inline, and even reference existing fields for [Bard](/fieldtypes/bard.md), [Replicator](/fieldtypes/replicator.md), and [Grid](/fieldtypes/grid.md) sets.
:::
## Reusable Fields
A section's fields can be comprised of references to fields in fieldsets (so you can reuse fields) or inline field definitions.
### Field References
You will likely want to pre-configure reusable fields to pull into your blueprints.
For example, you might have a rich text field configured with all your favorite buttons, which you've called `content` and stored in the `common` fieldset.
You can pull it into your blueprint like so:
``` yaml
fields:
-
handle: my_content_field
field: common.content
-
handle: another_content_field
field: common.content
```
This way, you are free to reuse the same field as many times as you like. Update the field in the fieldset and it will be reflected across all your blueprints.
### Customizing Fields
You may customize a referenced field by adding a `config` array. Any keys found in this will _override_ whatever was defined in your fieldset.
``` yaml
fields:
-
handle: my_content_field
field: common.content
config:
display: My Content Field
validate: required|max:200
```
Here, the `display` and `validate` would replace whatever was defined in the fieldset.
**Note:** This only applies to referenced fields. For inline fields, you can just set everything right there.
### Importing Fieldsets
Fieldsets serve to create reusable sets of fields. You may import an entire fieldset at any point by using the `import` key, for example:
``` yaml
# blueprint
fields:
-
import: survey
prefix: favorite_
-
import: survey
prefix: least_favorite_
```
``` yaml
# the survey.yaml fieldset
fields:
-
handle: food
type: text
-
handle: food_reason
type: textarea
```
Doing the above would result in a blueprint like this:
``` yaml
fields:
-
handle: favorite_food
field:
type: text
-
handle: favorite_food_reason
field:
type: textarea
-
handle: least_favorite_food
field:
type: text
-
handle: least_favorite_food_reason
field:
type: textarea
```
It would bring every field inline and prefix each field's handle appropriately.
If you omit the `prefix` you won't be able to import them more than once at the same level because they would have the same handle and overwrite each other.
If the fieldset you're importing has [its own sections](/fieldsets.md#sections), you can control how they're rendered with `section_behavior`. Set it to `preserve` (the default) to keep the fieldset's sections intact in the publish form, or `flatten` to merge everything into the current section.
```yaml
fields:
-
import: seo
section_behavior: flatten
```
## Validation
Fields can have various validation rules applied to them, enforcing the need for content creators to fill them out in a specific way before saving or publishing.
While configuring a field, switch to the **Validation** tab where you can choose from [any built in Laravel rule](https://laravel.com/docs/13.x/validation#available-validation-rules).
On top of any Laravel validation rules, there are some Statamic-specific goodies (like usage with conditional fields, Grids, Bards, or Replicators) that are explained on our [dedicated validation documentation](/validation.md).
## Grid fieldtype
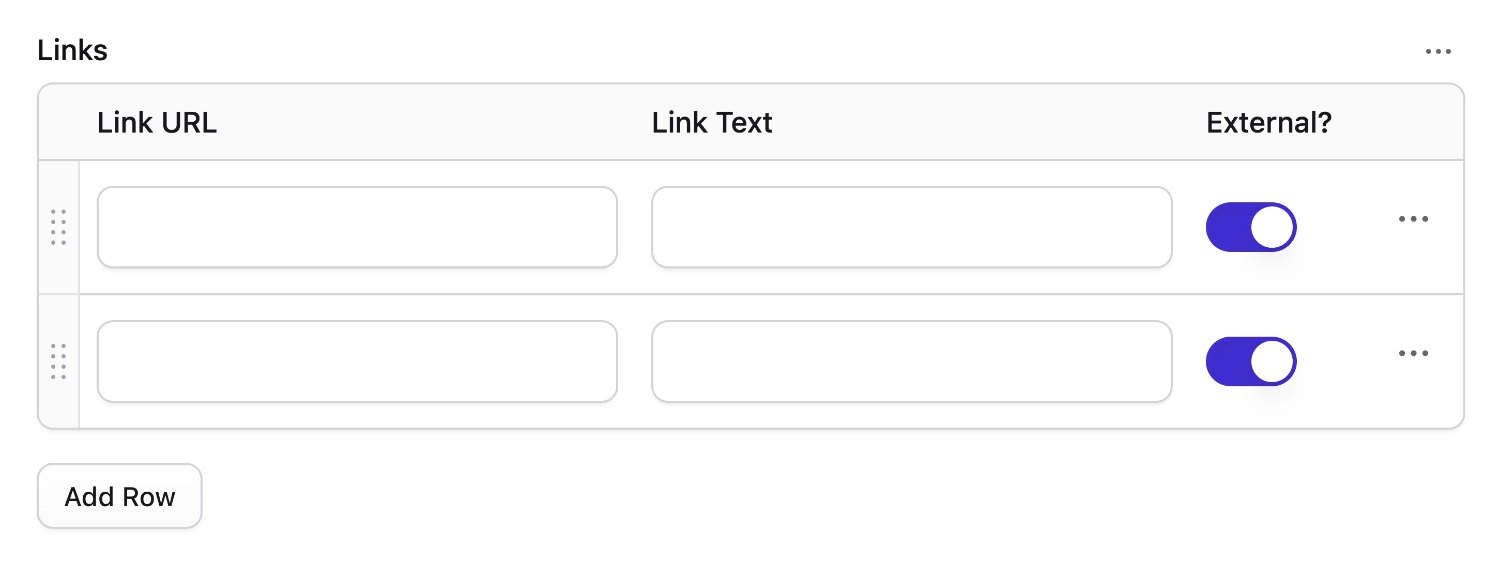
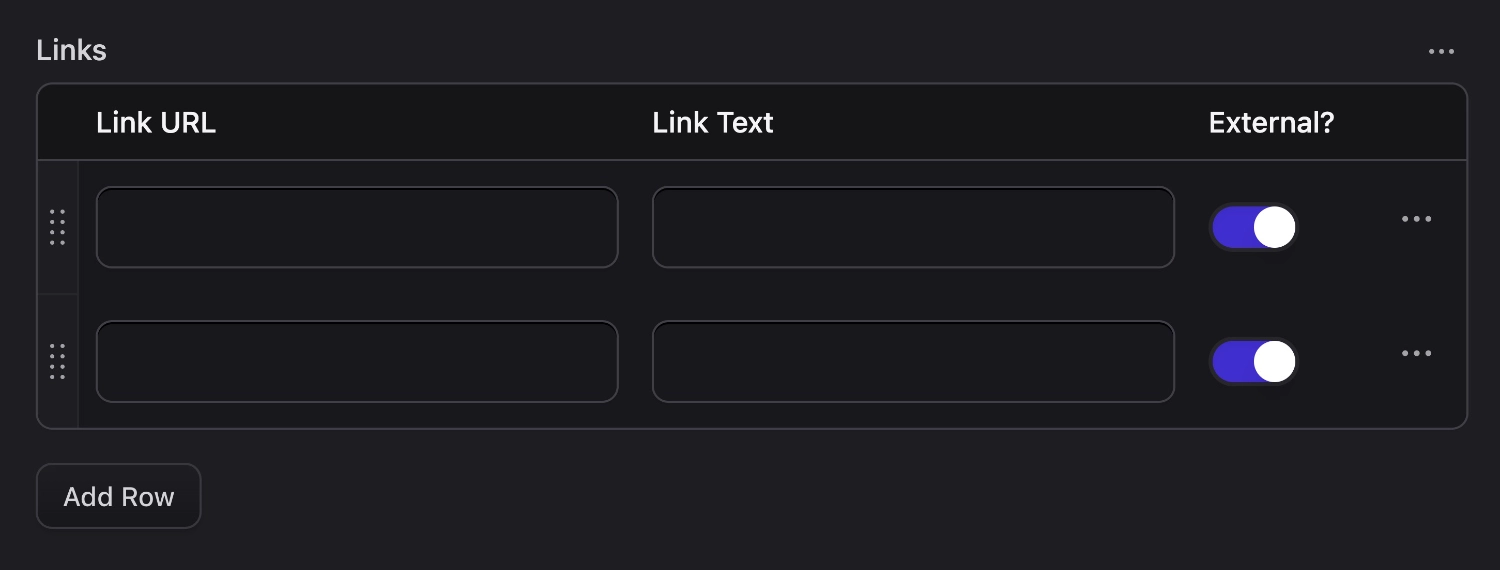
The [Grid fieldtype](/fieldtypes/grid.md) lets you define a set of sub-fields, which it will allow you to repeat as many times as you like.
You should define its fields using the blueprint field syntax. This will allow you to reference other fields and/or import entire fieldsets.
This is an example Grid field.
``` yaml
links:
type: grid
fields:
-
handle: url
field: links.url
-
handle: text
field: links.text
-
handle: external
field: links.external
```
## Unlisted fields
While [conditional fields](#conditional-fields) allow you to control field visibility on the publish form, you may also customize column visibility on **entry listings** in the control panel.
```yaml
listable: false
```
This hides the field column from entry listings, which can be useful for toggle fields etc, which may never make sense in the context of an entry listing.
```yaml
listable: hidden
```
This will hide the field from entry listings by default, but still allows a user to toggle visibility using the column selector, and save those column preferences for his/her preferred workflow.