# Users
Users are the member accounts to your site or application. What a user can do with their account is up to you. They could have limited or full access to the Control Panel, a login-only area of the front-end, or even something more custom by tapping into Laravel.
## Overview
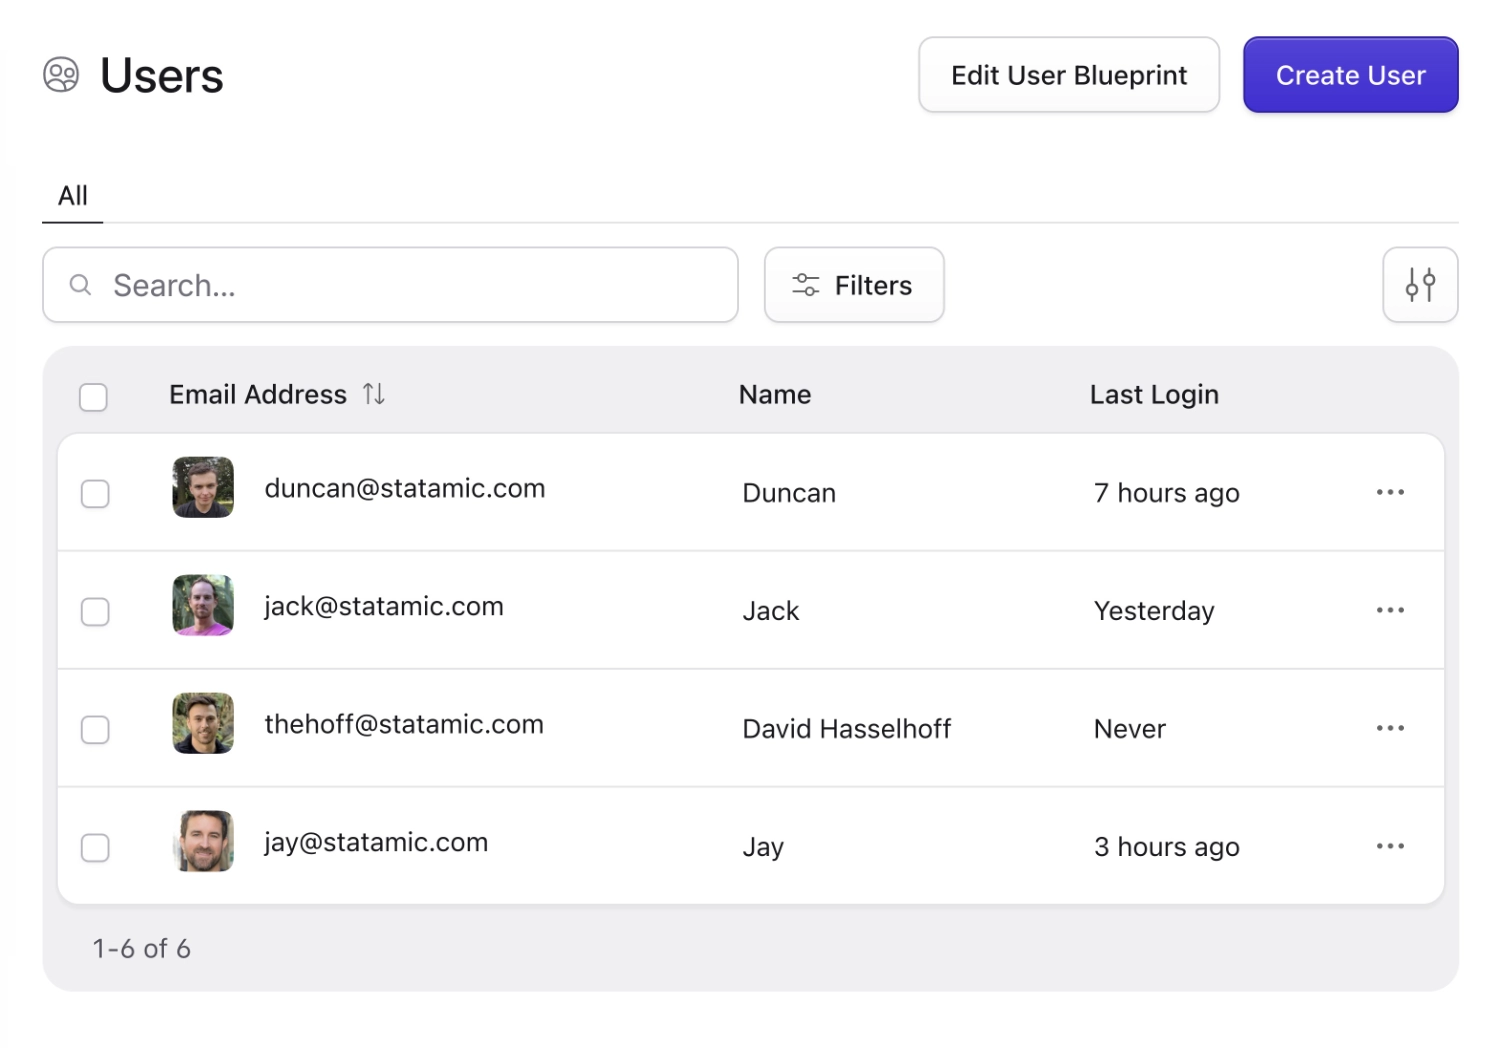
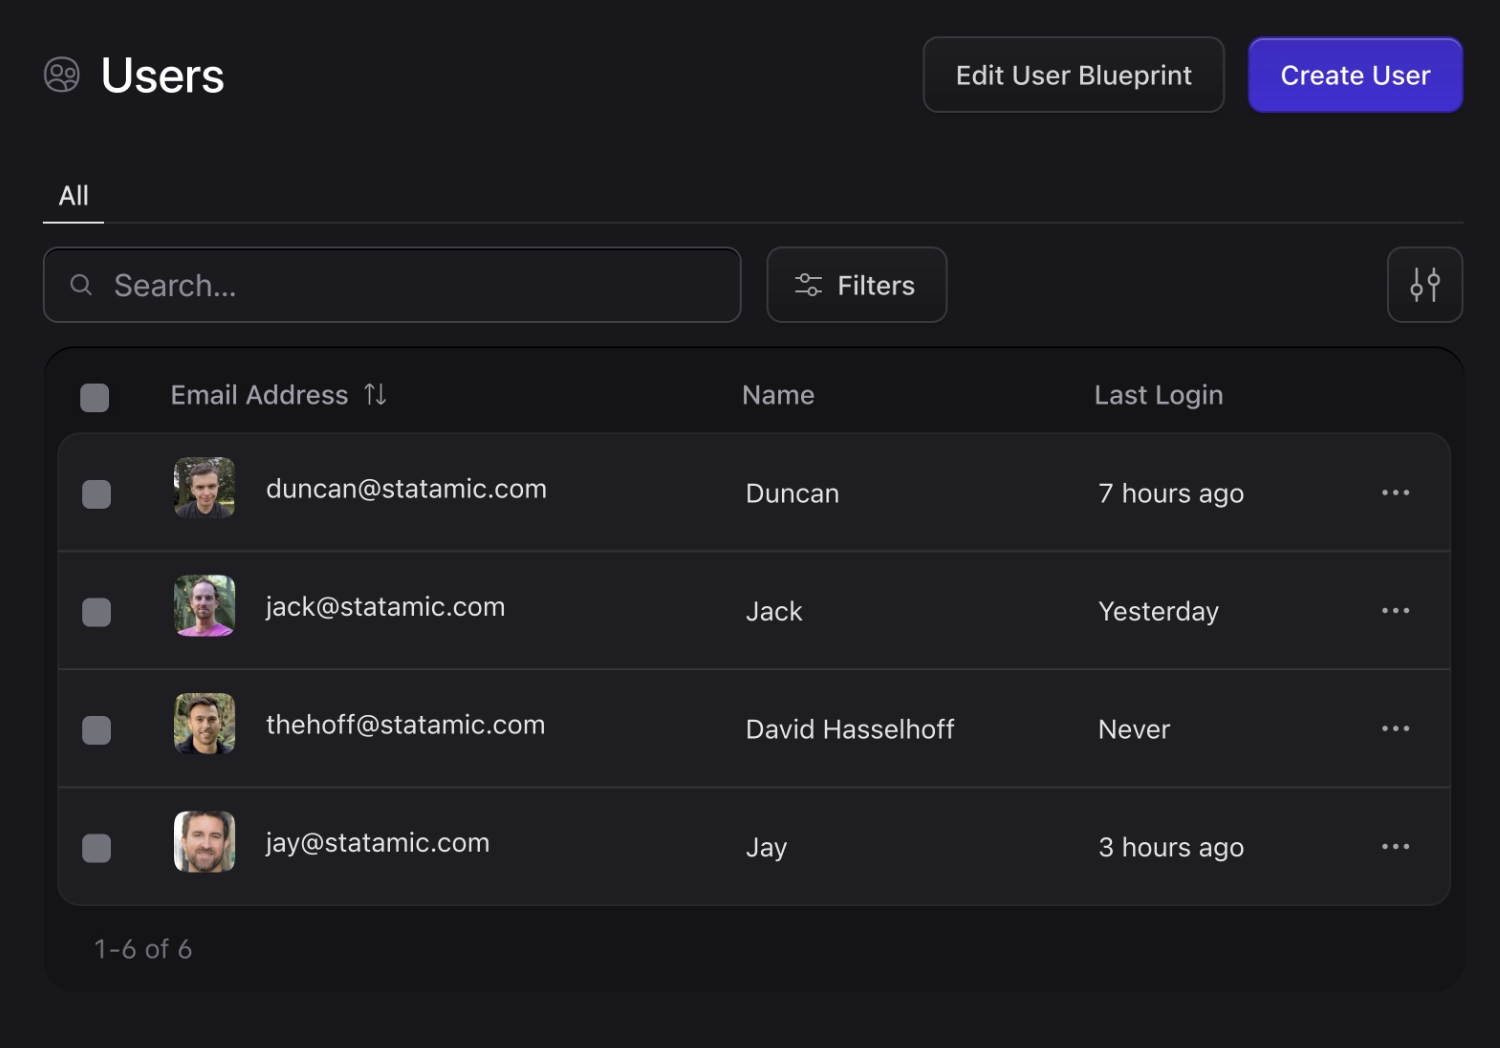
The most common and obvious reason users exist is to have the means to access the Control Panel and manage the content of your site. But there is so much more a user can do, if you so desire.
Why hasn't the Hoff logged in? And why is he inpersonating Jason?
## Creating users
The easiest way to create your **first user** is by running `php please make:user` terminal command. After entering basic information, setting a password, and saying `yes` to [super user](#super-users), you can log into the control panel at `example.com/cp`.
:::watch https://youtube.com/embed/KuiPocGq3L8
Watch a new user being born. 🐣
:::
You can also [create users by hand](/tips/creating-users-by-hand.md) in a YAML file if you'd prefer, or don't have access to the command line. And don't worry, the password field will automatically get encrypted as soon as Statamic spots it.
### New user invitations
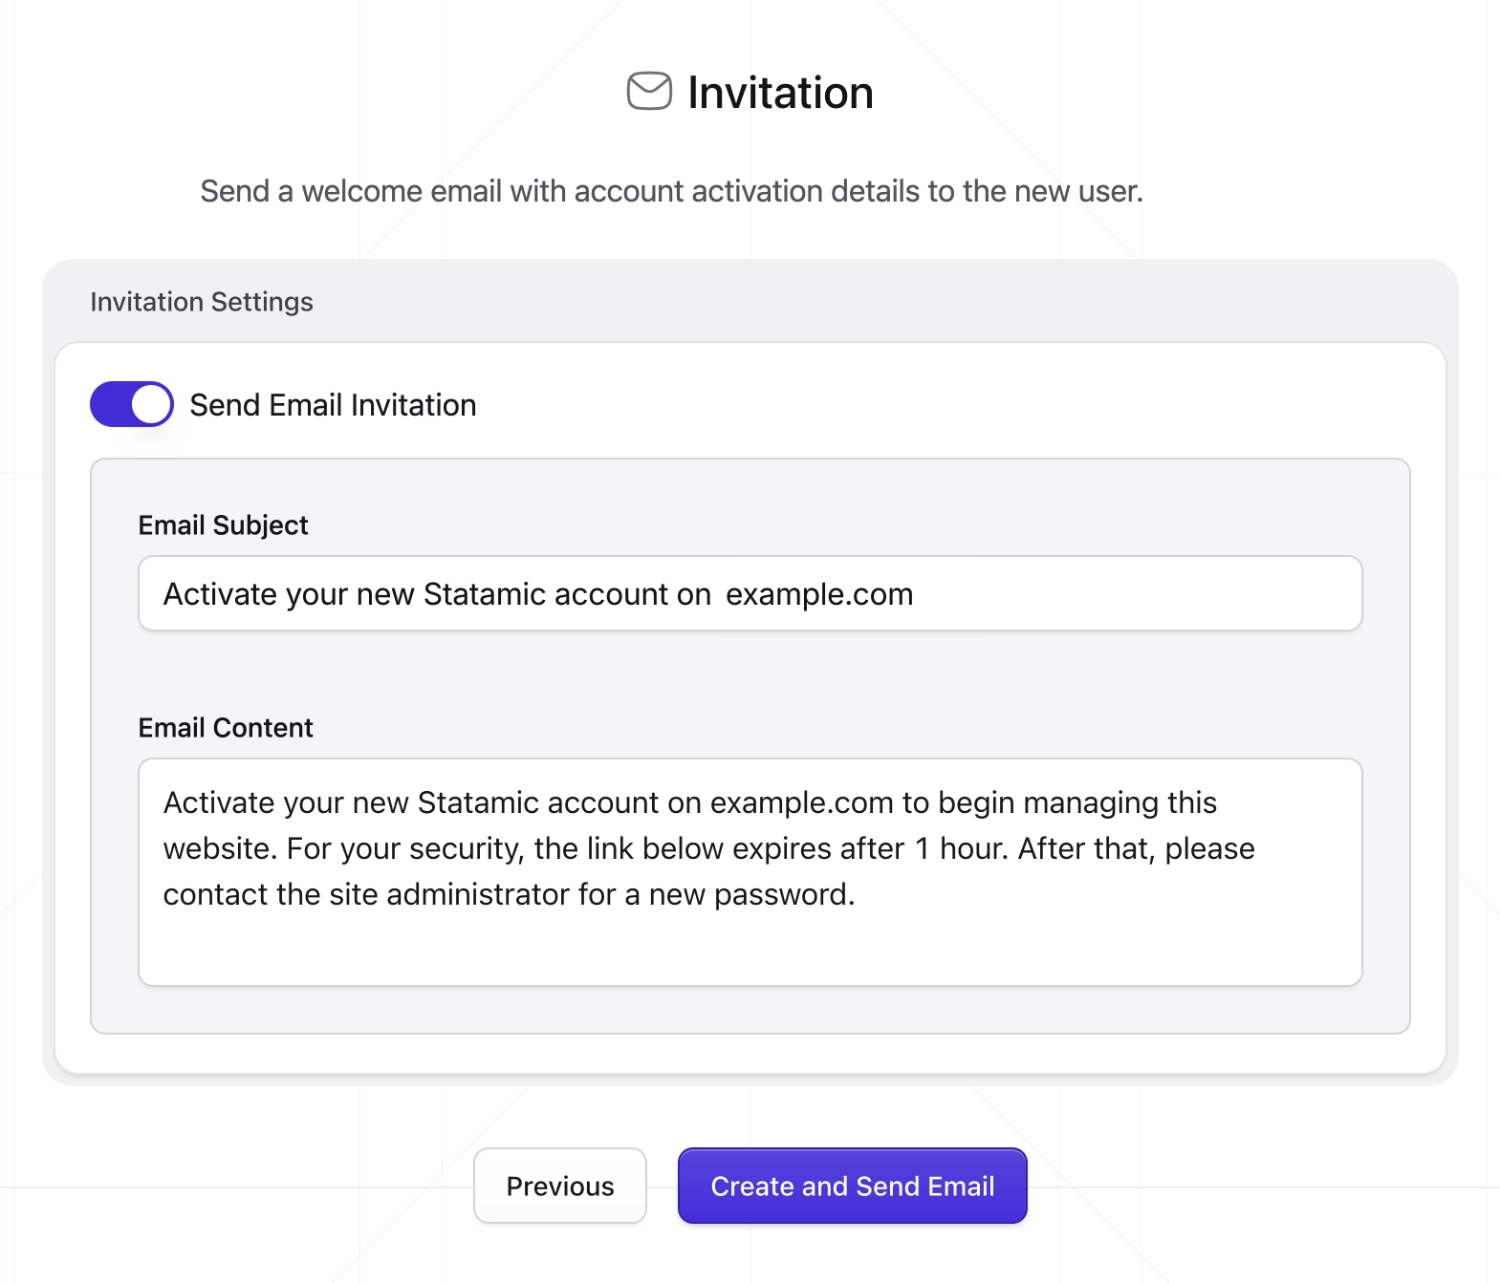
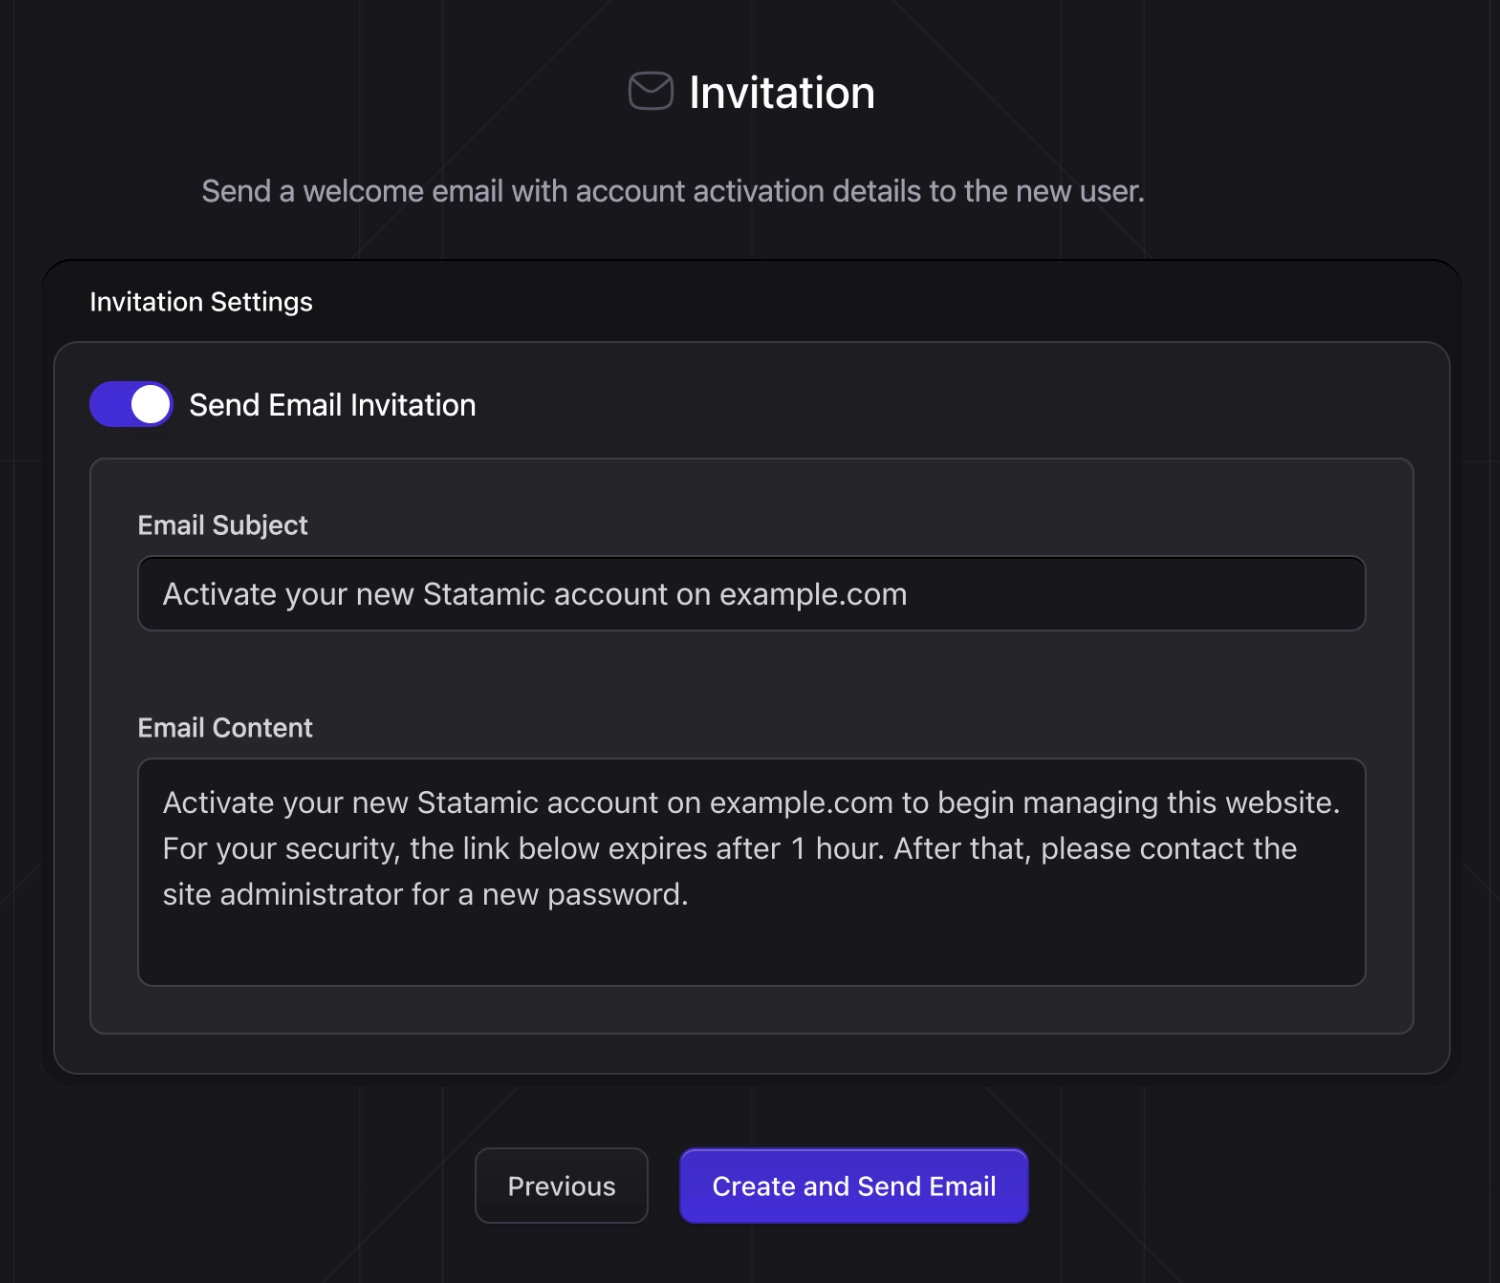
When creating users in the Control Panel you can send email invitations to help guide those users into activating their accounts and signing in for the first time. You can even customize a lovely little welcome message for them.
An opportunity for a knock knock joke, perhaps?
:::tip
Be sure to [configure the email driver](/email.md) so those emails actually go out.
:::
## User fields
You're more than welcome — encouraged even — to customize what fields and information you'd like to store on your users. For example, you could store author bios and social media links to be used in articles on your front-end.
To customize these fields, edit the included `user` [blueprint](/blueprints.md) and configure it however you'd like.
## Access control {#permissions}
A user by itself can't access or change anything in the Control Panel. Access is granted through this stack:
1. **[Permissions](/permissions.md)** — individual abilities (`edit blog entries`, `access cp`, …)
2. **[Roles](/roles.md)** — named bundles of those permissions
3. **Users / [groups](/user-groups.md)** — who gets which roles
Most of the time you'll create a role, tick the permissions it needs, then assign that role to users (or a [user group](/user-groups.md)). Developers adding new abilities in PHP should see [Custom Permissions](/control-panel/custom-permissions.md).
## Super users {#super-users}
Super Admin accounts are special accounts with **access and permission to everything**. This includes things reserved only for super users like the ability to _create more super users_. It's important to prevent the robot apocalypse and this is an important firewall. We're just doing our part to save the world.
## User groups {#user-groups}
When several people share the same access, put them in a [user group](/user-groups.md) and attach [roles](/roles.md) once on the group instead of per user.
## Password resets
Let's face it. People forget their passwords. A lot, and often. Statamic supports password resets. For users with Control Panel access, the login screen (found by default at `example.com/cp`) already handles this for you automatically.
You can also create your own password reset pages for front-end users by using the [user:forgot_password_form](/tags/user-forgot_password_form.md) tag.
The user will receive an email with a temporary, single-use token allowing them to set a new password and log in again.
## Password validation
By default, passwords need to be 8 characters long. If you'd like to customize the default rules, you can use the `Password` rule object. (Requires at least Laravel 8.43).
These rules will be used when creating passwords throughout Statamic. In the `make:user` command, in the `user:register_form` tag, or during the password activation/reset flows. If you create the password by hand in user yaml files, the rules will be bypassed.
You can drop this into your `AppServiceProvider`'s `boot` method.
```php
use Illuminate\Validation\Rules\Password;
public function boot()
{
Password::defaults(function () {
return Password::min(16);
});
}
```
Consult the [Laravel documentation](https://laravel.com/docs/13.x/validation#validating-passwords) to see all the available methods for customizing the password rule.
## Storing user records {#storage}
While users are stored in files by default — like everything else in Statamic — they can also be located in a database or really anywhere else. Here are links to articles for the different scenarios you may find yourself in.
- [Storing Laravel Users in Files](/tips/storing-laravel-users-in-files.md)
- [Storing Users in a Database](/tips/storing-users-in-a-database.md)
- [Custom User Storage](/tips/storing-users-somewhere-custom.md)
- [Using an Independent Auth Guard](/tips/using-an-independent-authentication-guard.md)
## Avatars
Each user account has an avatar field named `avatar`. By default it's an [Assets Field](/fieldtypes/assets.md) that falls back to the user's initials.
This avatar is used throughout the Control Panel to represent the user when the context is important. For example, on your user dropdown menu, as an entry's "Author", or while using [Real Time Collaboration](https://github.com/statamic/collaboration).
Behold — an avatar! Little SNL joke there, for anyone in the mood
## Ordering
By default, users are ordered alphabetically by their email. However, if you wish, you can change the field and direction used to order users in the Control Panel and when returned with the [`{{ users }}`](/tags/users.md) tag.
```php
// config/statamic/users.php
'sort_field' => 'email',
'sort_direction' => 'asc',
```
## Language preference
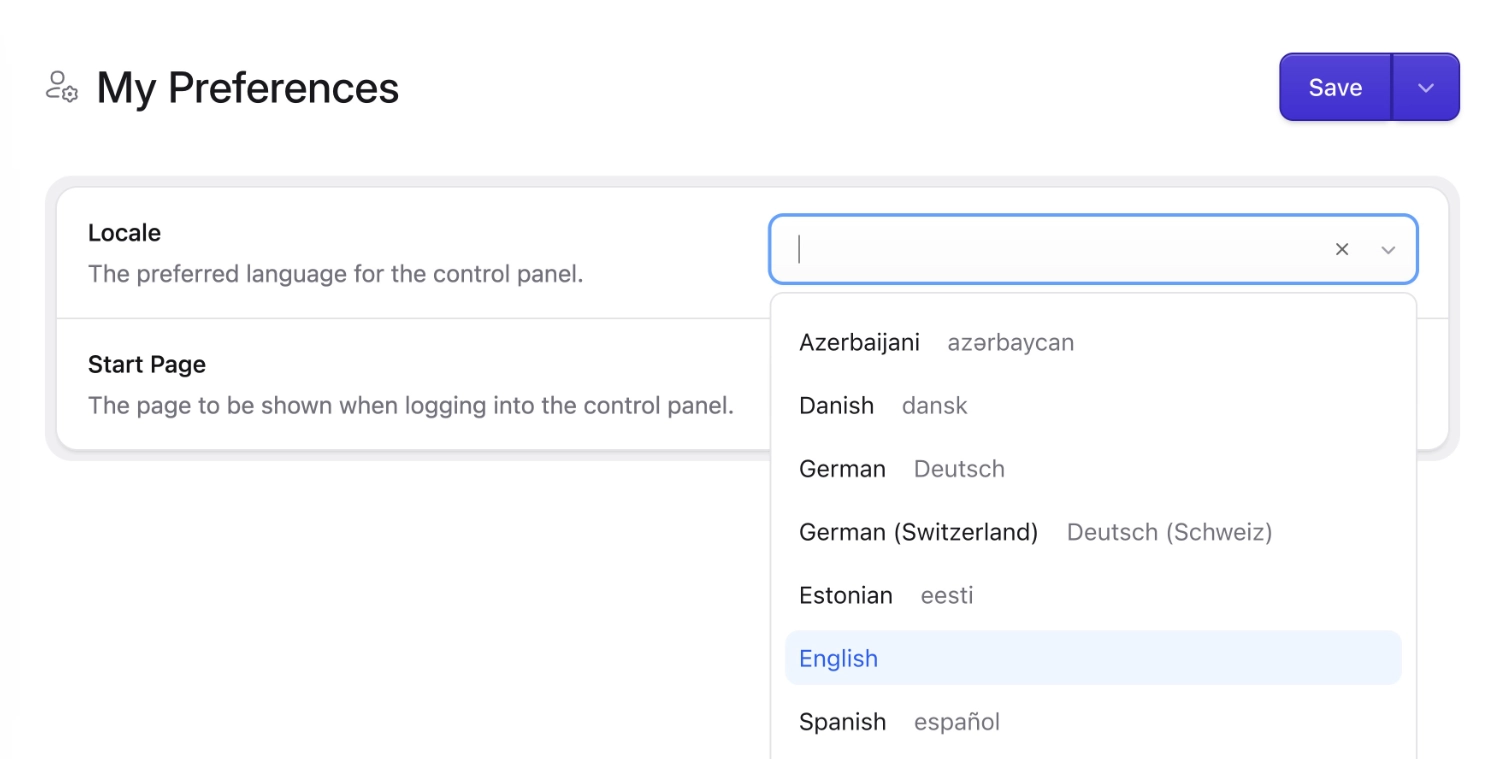
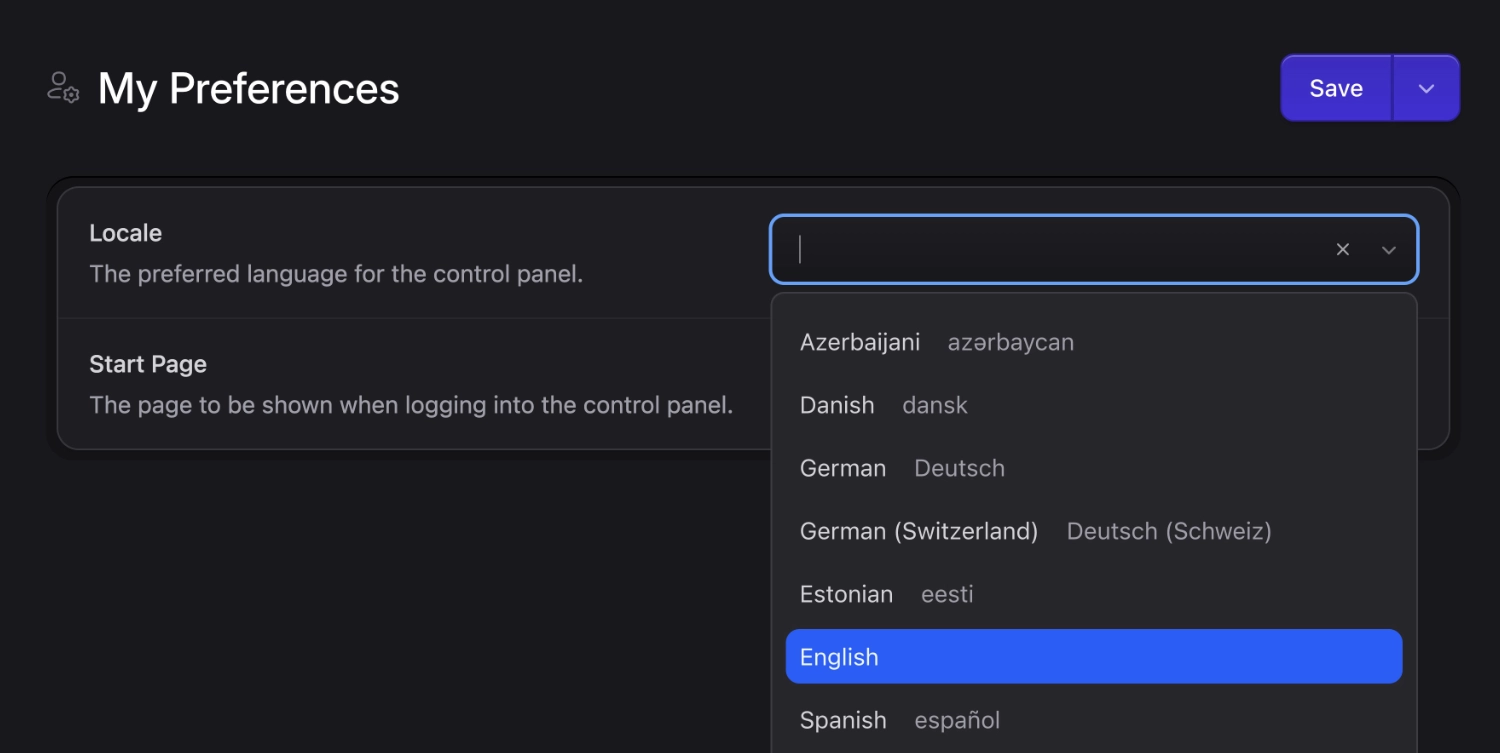
Each user can have their own preferred language in the Control Panel. Head to your preferences area by clicking on the ⚙️ gear/cog icon in the global header and then go to **Preferences**.
You can set the language for _everyone_ by going to **Default**, or you can set by Role or just the current user (yourself) with **Override For User**.
Last we checked, Statamic has been translated into a lot of languages.
## Impersonate users
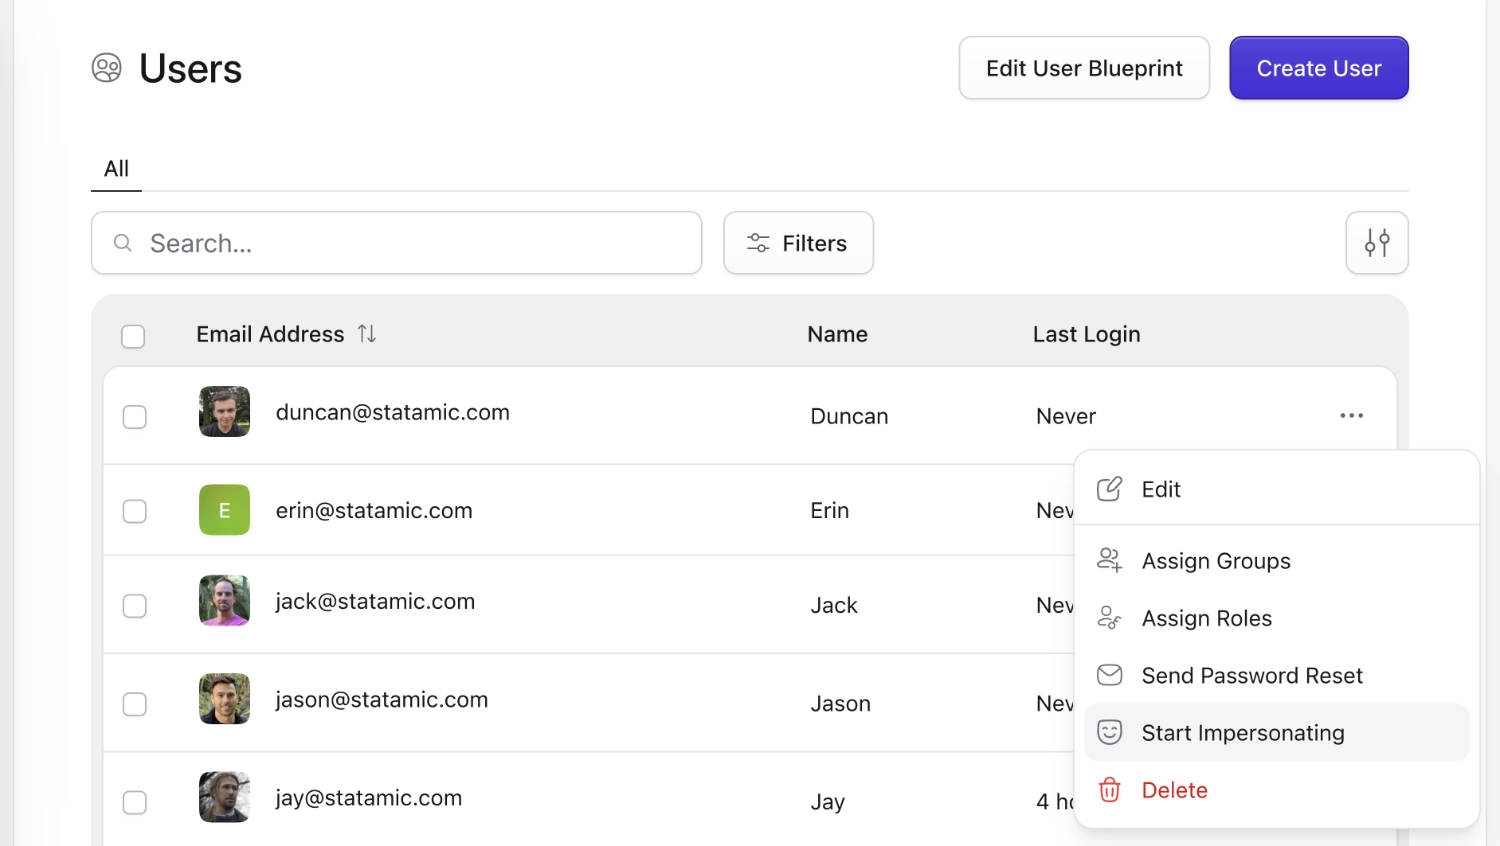
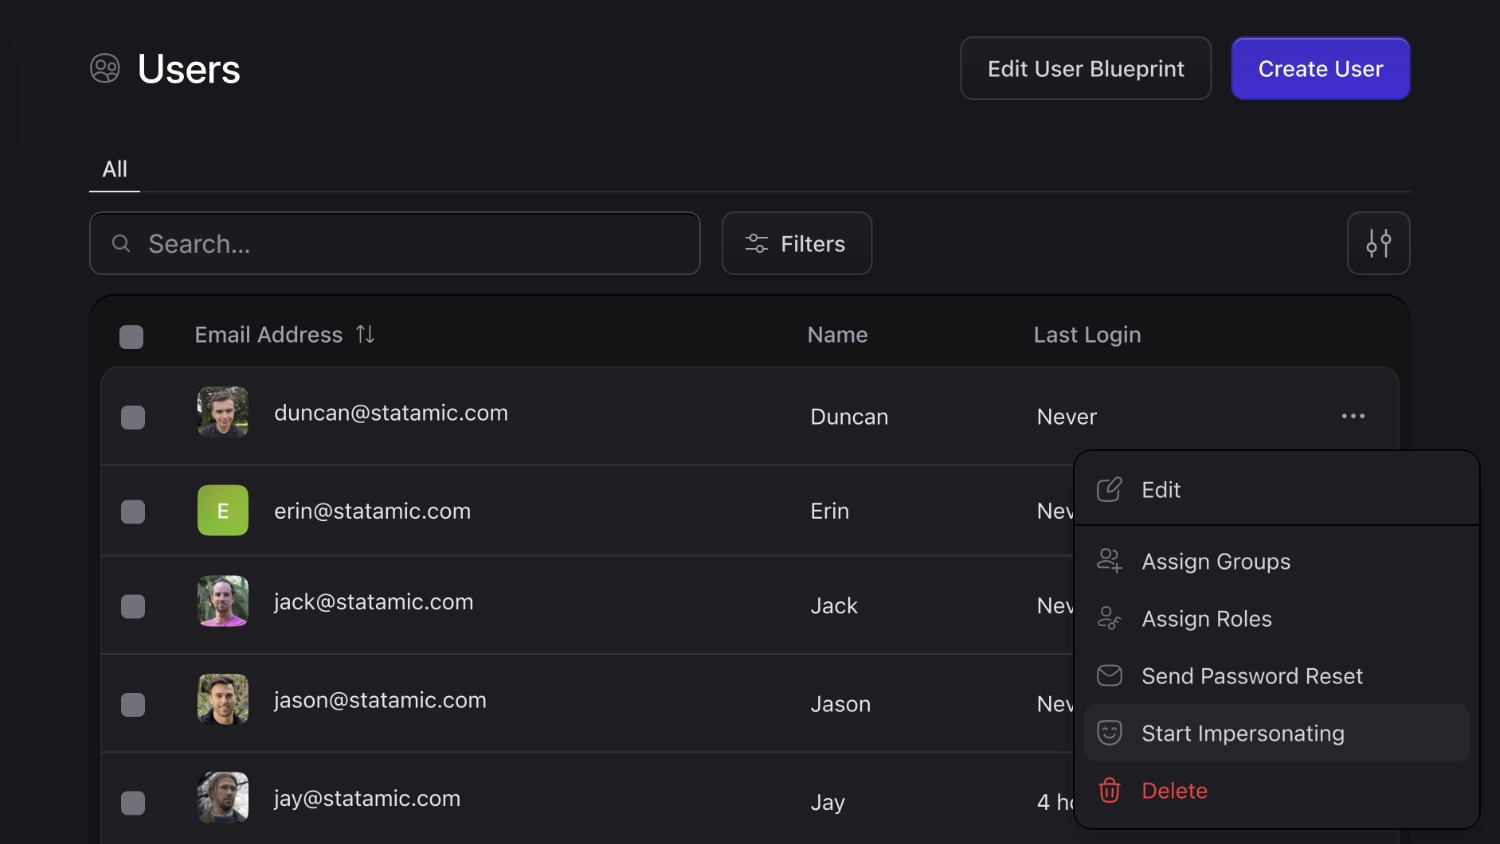
Statamic gives you the ability to impersonate users via the Control Panel. This lets you see the Control Panel and front end of your site through the eyes of the user you chose. This is pretty neat if certain content or capabilities are limited through roles and permissions and you want to test those things. It saves quite some time since there's no need to manually sign out and in again with a different user anymore.
Masquerade as someone else 🎭
You can configure impersonation in `config/statamic/users.php`, like setting the redirect destination after starting impersonation or disabling it. Additionally, there is a dedicated `impersonate users` permission that you can assign to roles and users to allow or disallow them using this feature.
## OAuth
In addition to conventional user authentication, Statamic also provides a simple, convenient way to authenticate with OAuth providers through [Laravel Socialite](https://github.com/laravel/socialite). Socialite currently supports authentication with Facebook, Twitter, LinkedIn, Google, GitHub, GitLab and Bitbucket, while dozens of additional providers are available though [third-party Socialite Providers](https://socialiteproviders.netlify.com/).
Learn how to [configure OAuth](/oauth.md) on your site.
## Two-Factor Authentication
Statamic includes first-party support for two-factor authentication (2FA), providing an extra layer of account security.
Once enabled, users must enter a time-based one-time password (TOTP) from an authenticator app — like Google Authenticator or 1Password — alongside their password when logging in.
To enable 2FA, head to your **Profile** in the Control Panel. Scan the QR code with your authenticator app, enter the generated code, and you’re set. You’ll also receive a set of recovery codes — store these somewhere safe in case you lose access to your authenticator app.
2FA is optional by default, but you can enforce it for specific roles via configuration:
```php
// config/statamic/users.php
'two_factor_enforced_roles' => [
// Enforce for everyone
'*',
// Enforce for super users
'super_users',
// Enforce for a specific role
'marketing_managers',
'user_admin',
],
```
You may also disable 2FA altogether by setting `STATAMIC_TWO_FACTOR_ENABLED=false` in your `.env` file.
:::warning
Statamic uses your `APP_KEY` to encrypt the two-factor authentication secret and recovery codes.
You may run into issues with two-factor authentication if you have different `APP_KEY` values between environments *and* they share the same users (eg. you're tracking users in Git). You may want to disable 2FA locally in this case.
:::
### Frontend Two-Factor Authentication
Users who authenticate through your site's frontend (via [`{{ user:login_form }}`](/tags/user-login_form.md)) can also set up and challenge 2FA without ever touching the Control Panel. Statamic ships a set of tags for building those pages yourself:
- [`{{ user:two_factor_challenge_form }}`](/tags/user-two_factor_challenge_form.md) — the code verification form shown during login
- [`{{ user:two_factor_enable_form }}`](/tags/user-two_factor_enable_form.md) — step 1 of setup, generates the secret
- [`{{ user:two_factor_setup_form }}`](/tags/user-two_factor_setup_form.md) — step 2 of setup, displays the QR code and confirms the code
- [`{{ user:disable_two_factor_form }}`](/tags/user-disable_two_factor_form.md) — lets users turn 2FA off
- [`{{ user:two_factor_recovery_codes }}`](/tags/user-two_factor_recovery_codes.md) and [`{{ user:reset_two_factor_recovery_codes_form }}`](/tags/user-reset_two_factor_recovery_codes_form.md) — show and regenerate recovery codes
- [`{{ user:two_factor_enabled }}`](/tags/user-two_factor_enabled.md) — a boolean for conditionally rendering the above
When a user with 2FA enabled signs in on the frontend, Statamic redirects them to a challenge page. When 2FA is enforced for the user's role and they haven't set it up, Statamic redirects them to a setup page. Point these redirects at your own pages with the following config keys:
```php
// config/statamic/users.php
'two_factor_challenge_url' => '/account/2fa/challenge',
'two_factor_setup_url' => '/account/2fa/setup',
```
Leave either value `null` to use Statamic's built-in page for that step. Control Panel flows are unaffected — they always use their own pages.
## Passkeys
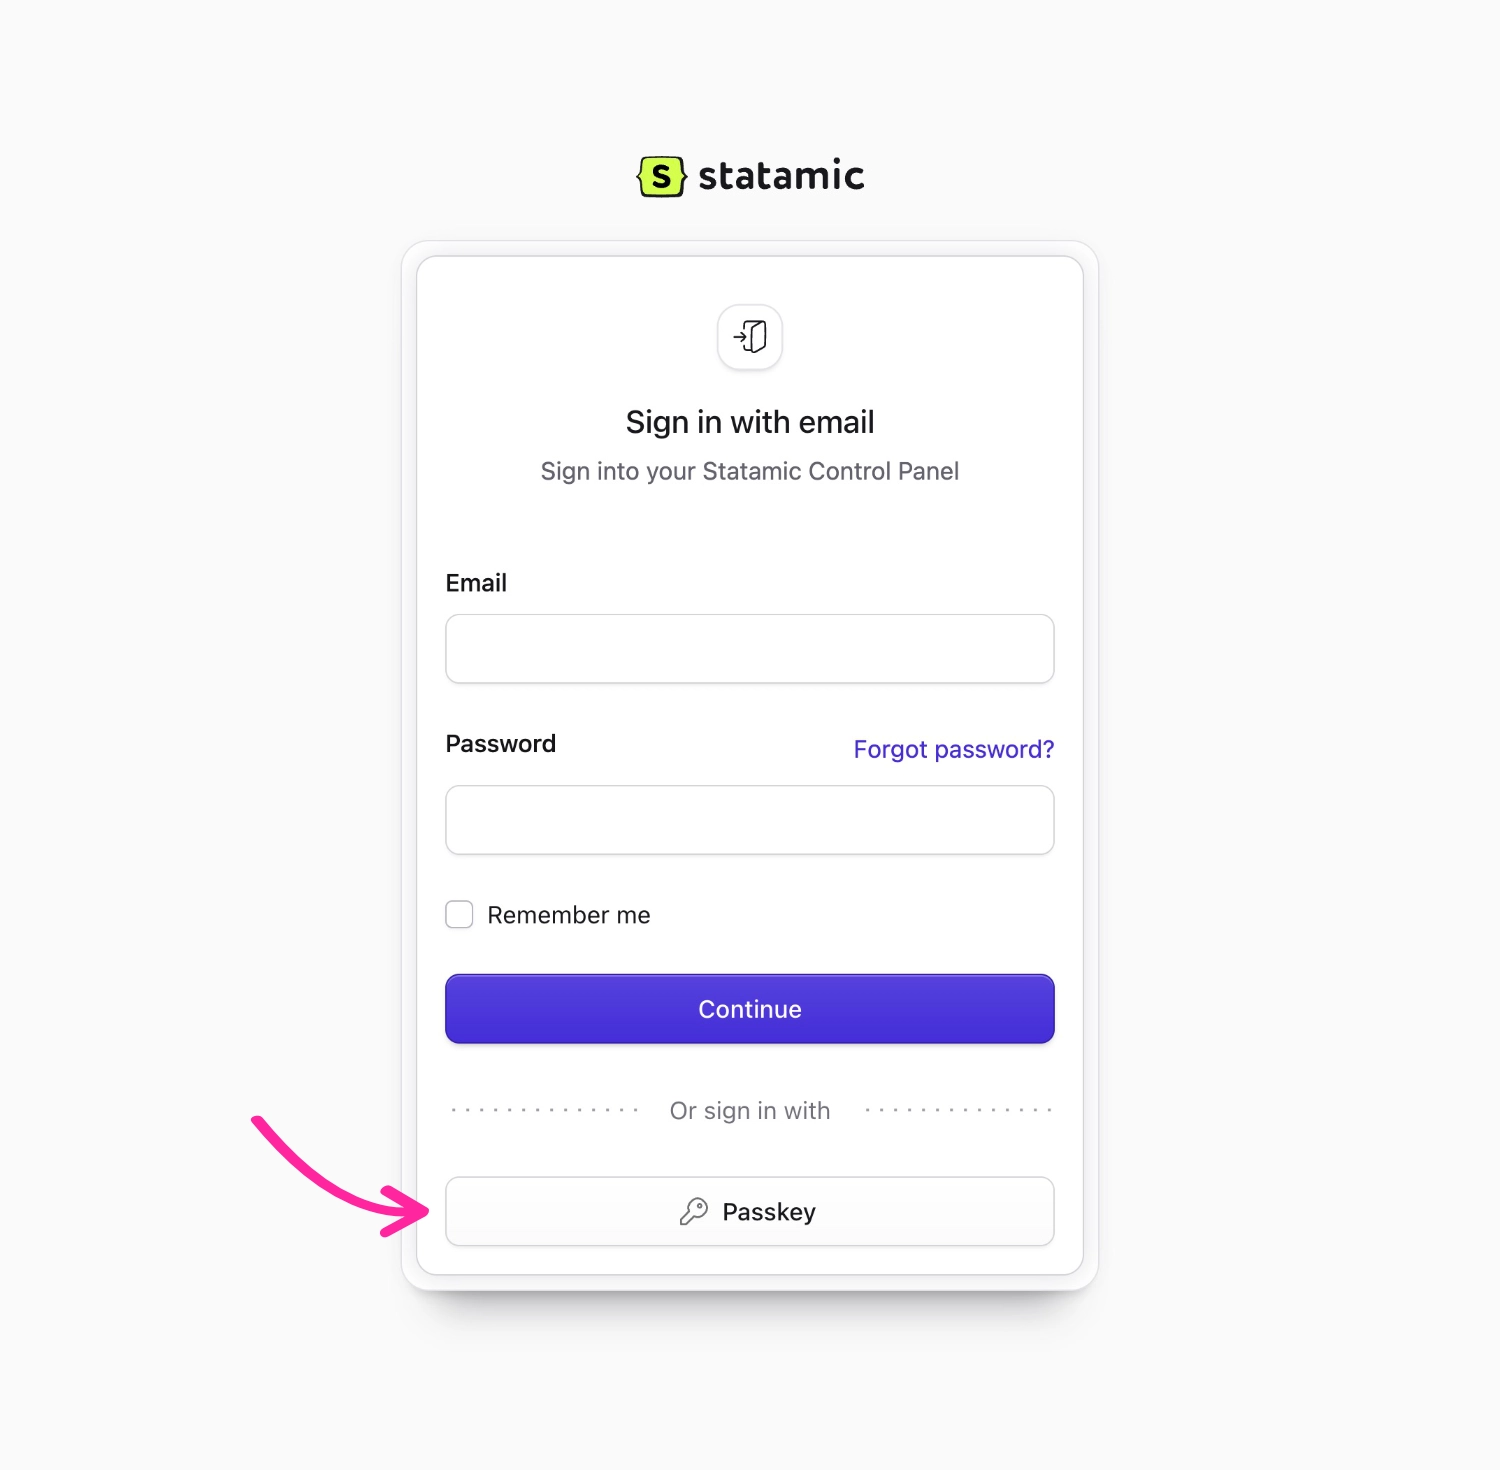
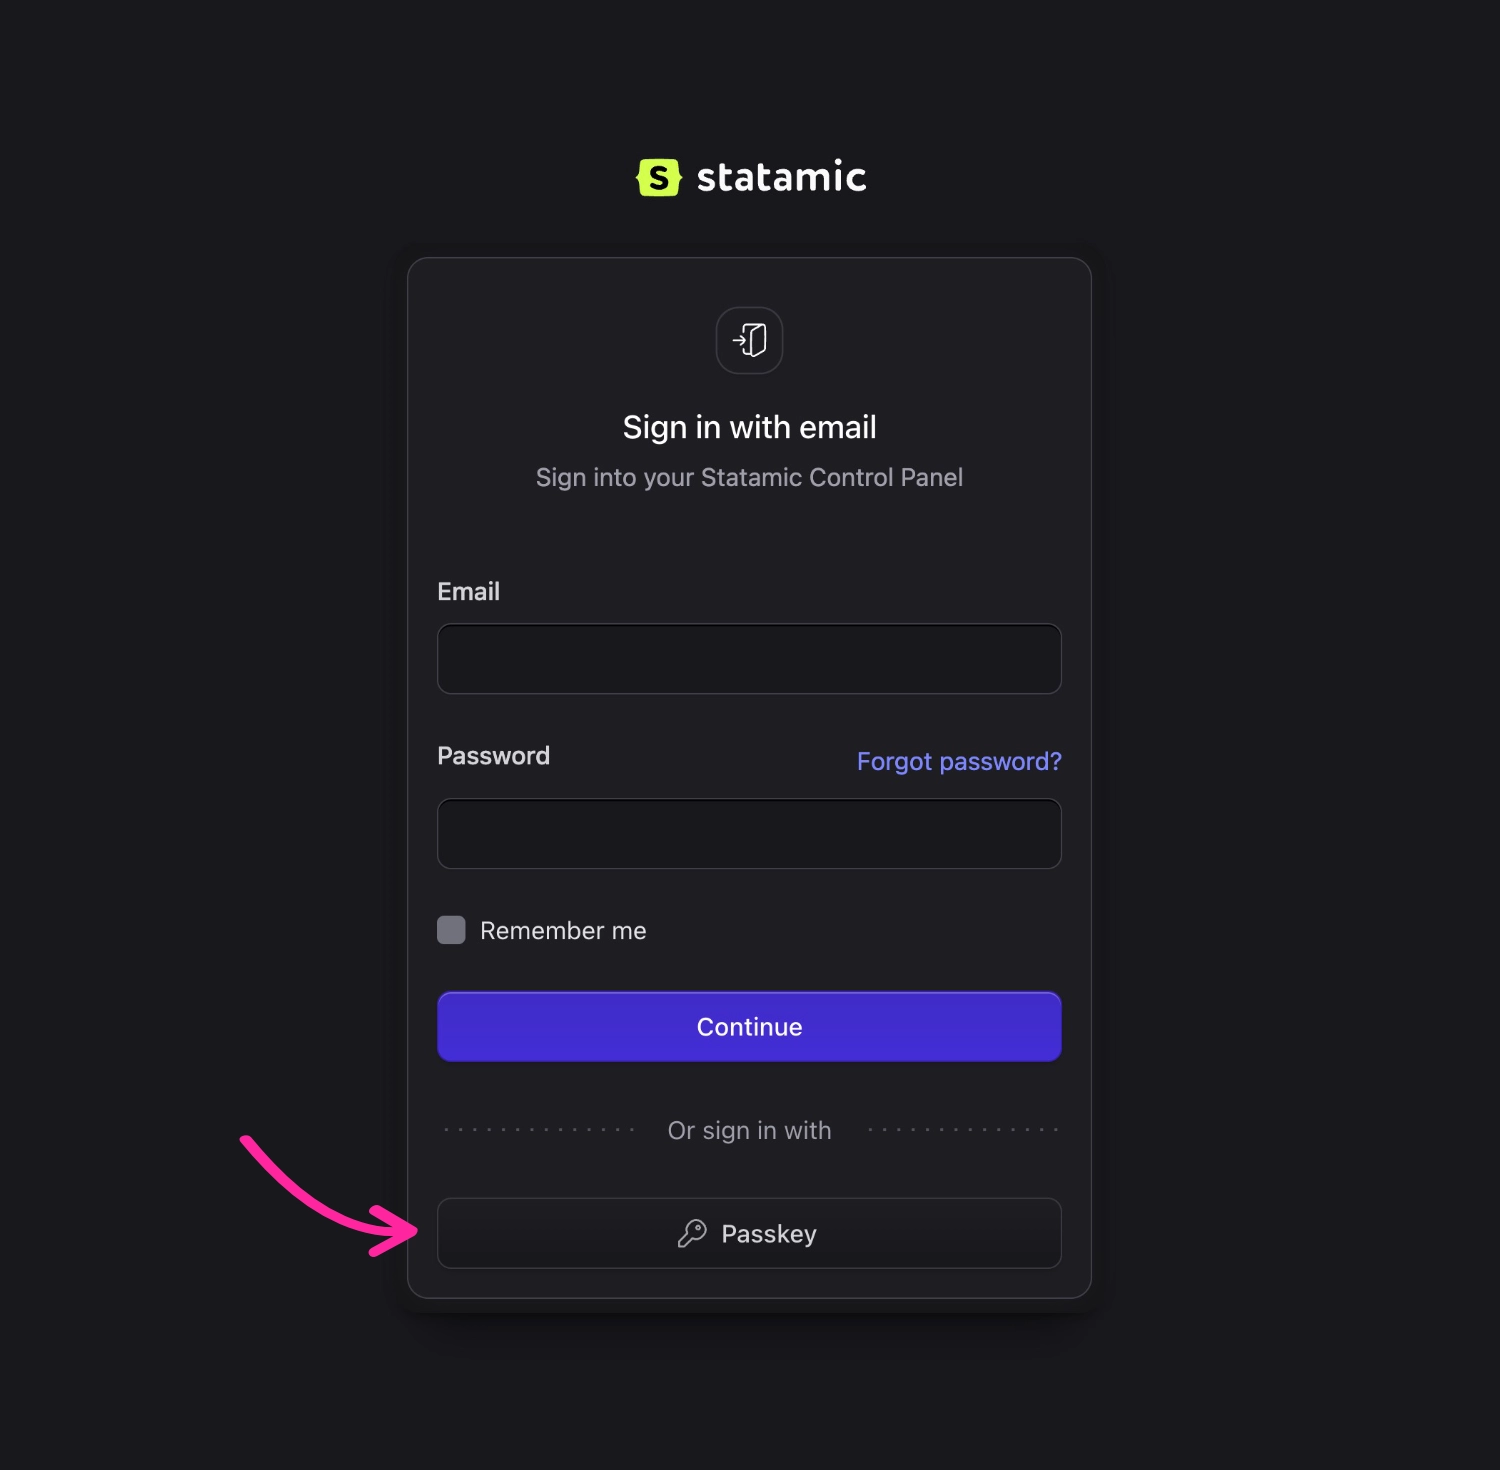
Statamic supports **passkeys** as a secure alternative to email-and-password logins. Passkeys are a passwordless authentication method built on WebAuthn and are supported by most modern operating systems and password managers. On macOS, iOS, and iPadOS, for example, you can sign in using Touch ID or Face ID.
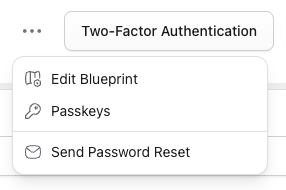
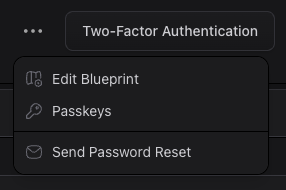
To add a passkey for the Control Panel, log in and visit your **profile**, where passkeys are managed from the Actions dropdown.
Click **Create Passkey** and follow the prompts to complete setup. Once a passkey has been added, you can use it to sign in without entering your email address and password.
Passkey behaviour, including whether password logins are still allowed for users with passkeys and whether “remember me” applies when logging in with a passkey, can be configured in `config/statamic/webauthn.php`.
## Rate limiting
Statamic's authentication and passkey endpoints are rate limited by IP address to help protect against brute force attacks. The defaults apply to both the front-end and Control Panel:
| Limiter | Default | Routes |
| --- | --- | --- |
| `statamic.auth` | 4 per minute | Front-end login, register, password email, password reset |
| `statamic.cp.auth` | Inherits `statamic.auth` | Control Panel login, password email, password reset |
| `statamic.passkeys` | 30 per minute | Front-end passkey authentication |
| `statamic.cp.passkeys` | Inherits `statamic.passkeys` | Control Panel passkey authentication |
You can customize any of these limits by redefining the named rate limiter in your `AppServiceProvider`'s `boot` method:
```php
use Illuminate\Cache\RateLimiting\Limit;
use Illuminate\Http\Request;
use Illuminate\Support\Facades\RateLimiter;
public function boot()
{
RateLimiter::for('statamic.auth', function (Request $request) {
return Limit::perMinute(10)->by($request->ip());
});
}
```
Overriding `statamic.auth` will affect both the front-end and Control Panel buckets unless you also define a separate `statamic.cp.auth` limiter. The same inheritance applies to `statamic.passkeys` and `statamic.cp.passkeys`.
Consult the [Laravel documentation](https://laravel.com/docs/13.x/routing#rate-limiting) to learn more about defining rate limiters.