# Bard
Bard is more than just a content editor, and more flexible than a block-based editor. **It is designed to provide a delightful and powerful writing experience** with unparalleled flexibility on your front-end.
## Overview
Bard is our recommended fieldtype for creating long form content from the control panel. It's highly configurable, intuitive, user-friendly, and writes impeccable HTML (thanks to [ProseMirror][prosemirror]).
Bard also has the ability to manage "sets" of fields inline with your text. These sets can contain any number of other fields of any [fieldtype](/fieldtypes.md), and can be collapsed and neatly rearranged in your content.
## Working With Sets {#sets}
You can use any fieldtypes inside your Bard sets. Make sure to compare the experience with the other meta-fields: [Grid](/fieldtypes/grid.md) and [Replicator](/fieldtypes/replicator.md). You can even use Grids and Replicators inside your Bard sets. Just remember that because you can doesn't mean you should. Your UI experience can vary greatly.
### Set Previews
New to Statamic v6, you can add an image preview of your set, _as well as_ an icon. Previews make it easy to identify sets by showing a screenshot of what the rendered set might look like on the front-end. Clients can now say “ah, that one” without pretending to know the names you carefully gave them.
#### Configuring Set Previews
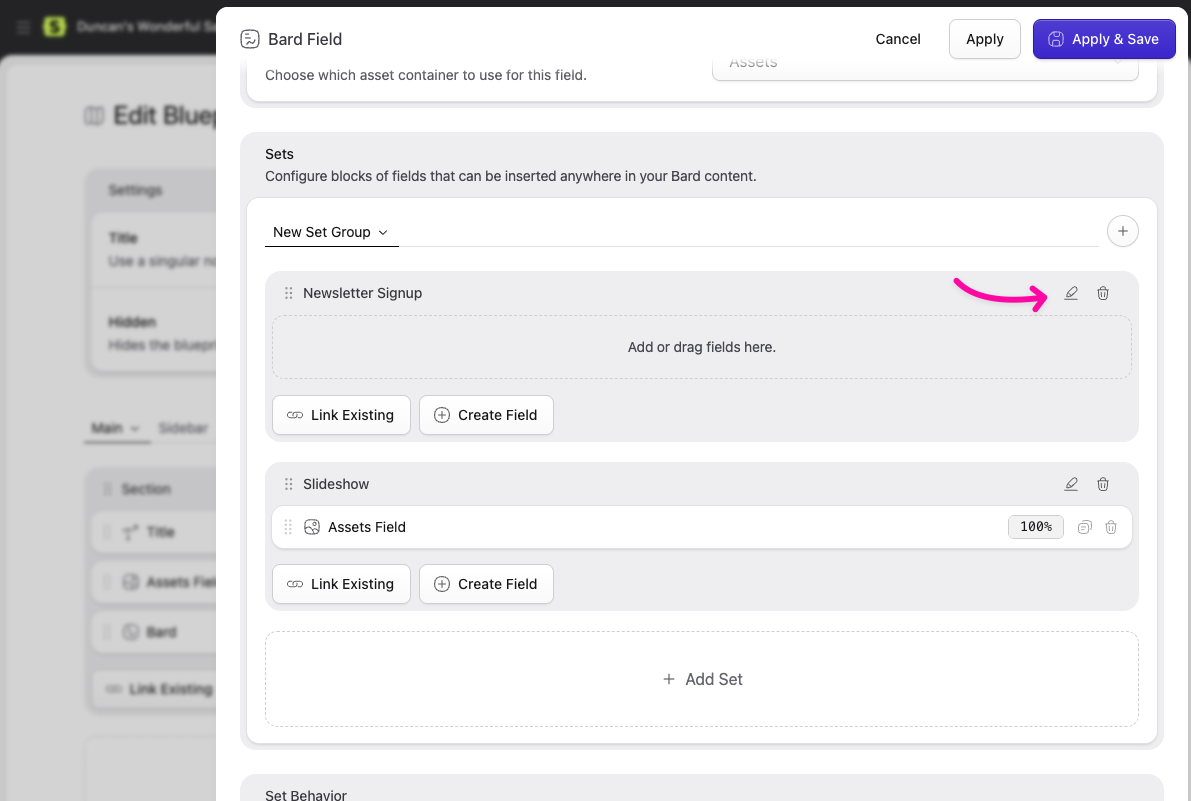
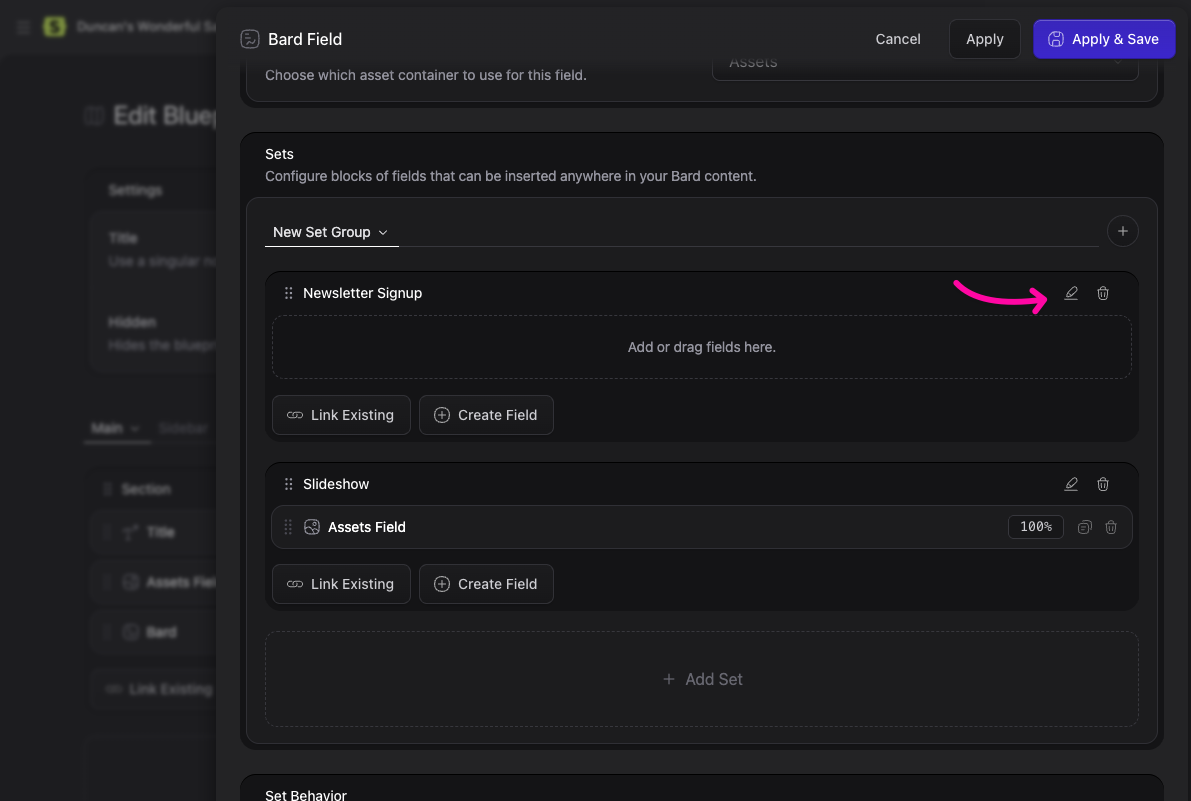
To add a set preview, click the little "pencil" icon next to the set name.
Let's give the set a preview.
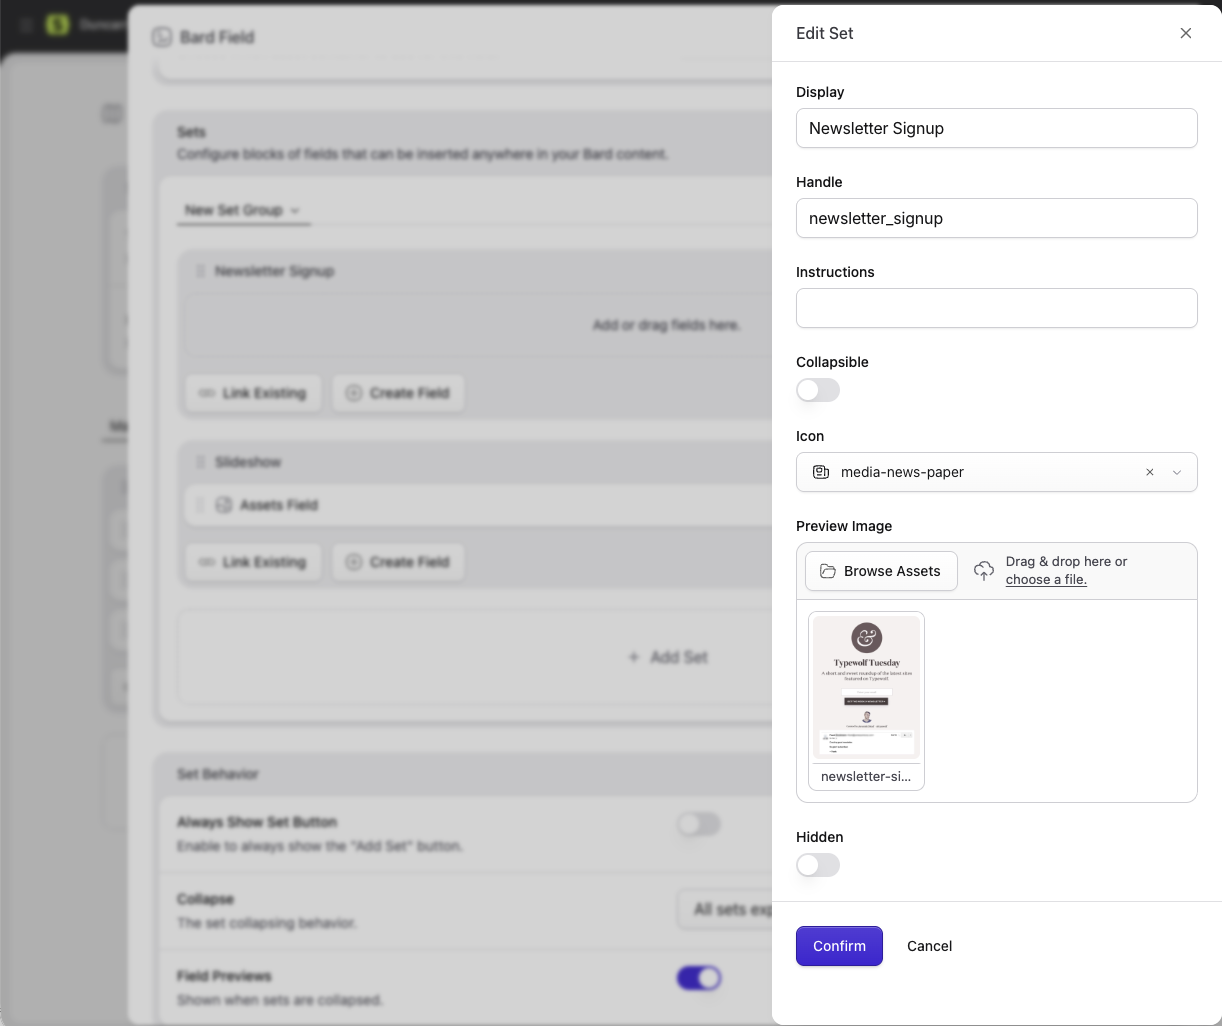
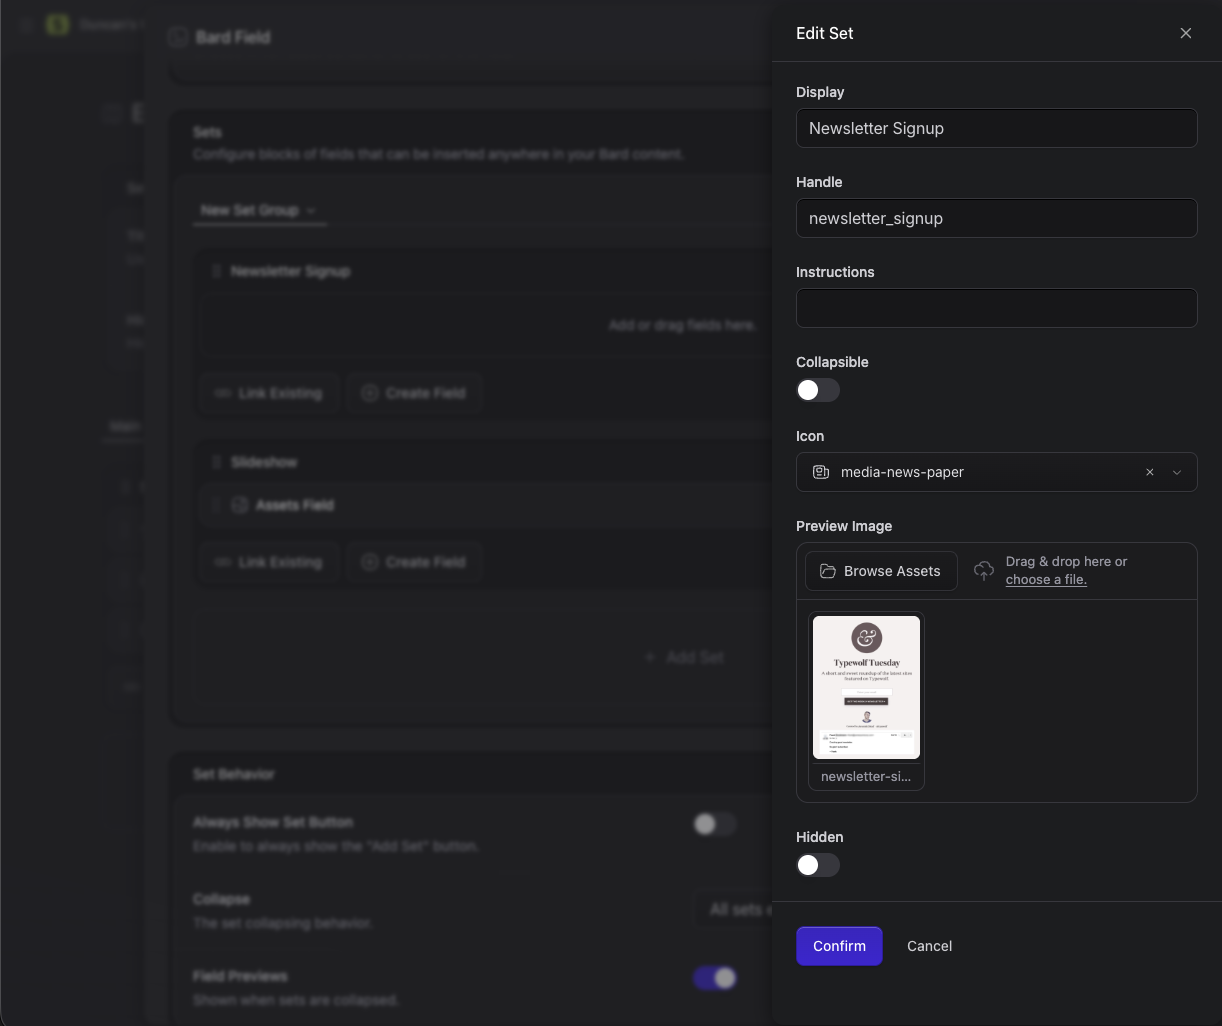
Once you're in the set editor, you can add a preview image and icon. Here we're showing a lovely screenshot of what the newsletter signup form might look like on the front-end. We can even add some instructions to explain how the set is used.
Behold a Preview Image, for the love of all clients.
#### Set Previews in Action
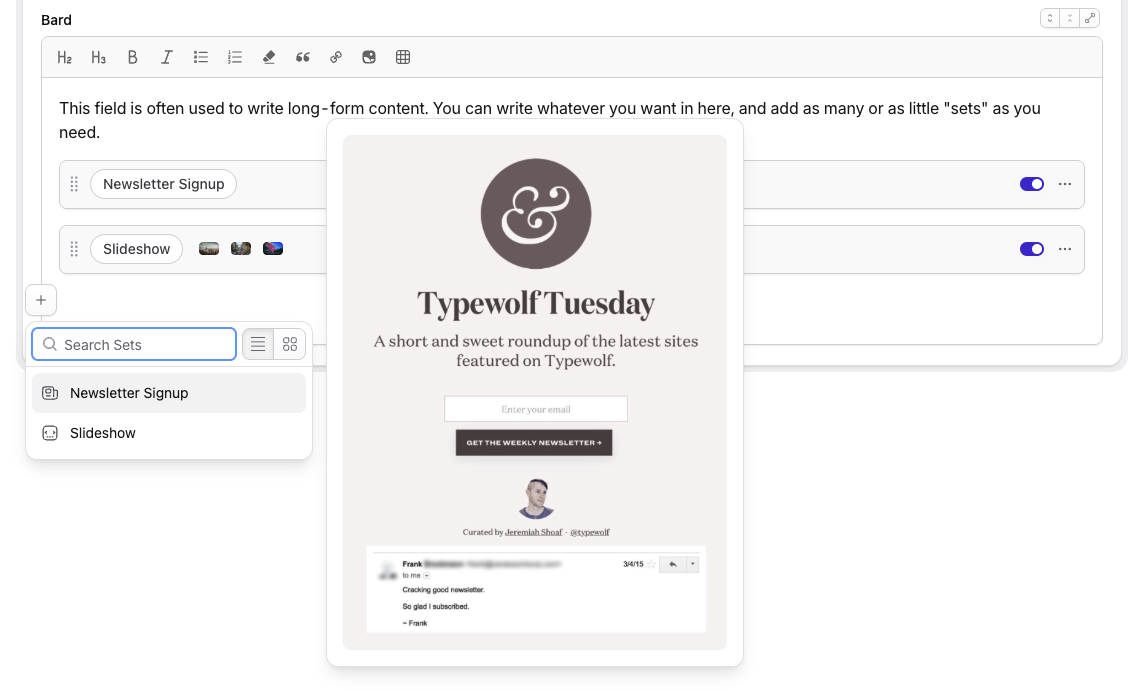
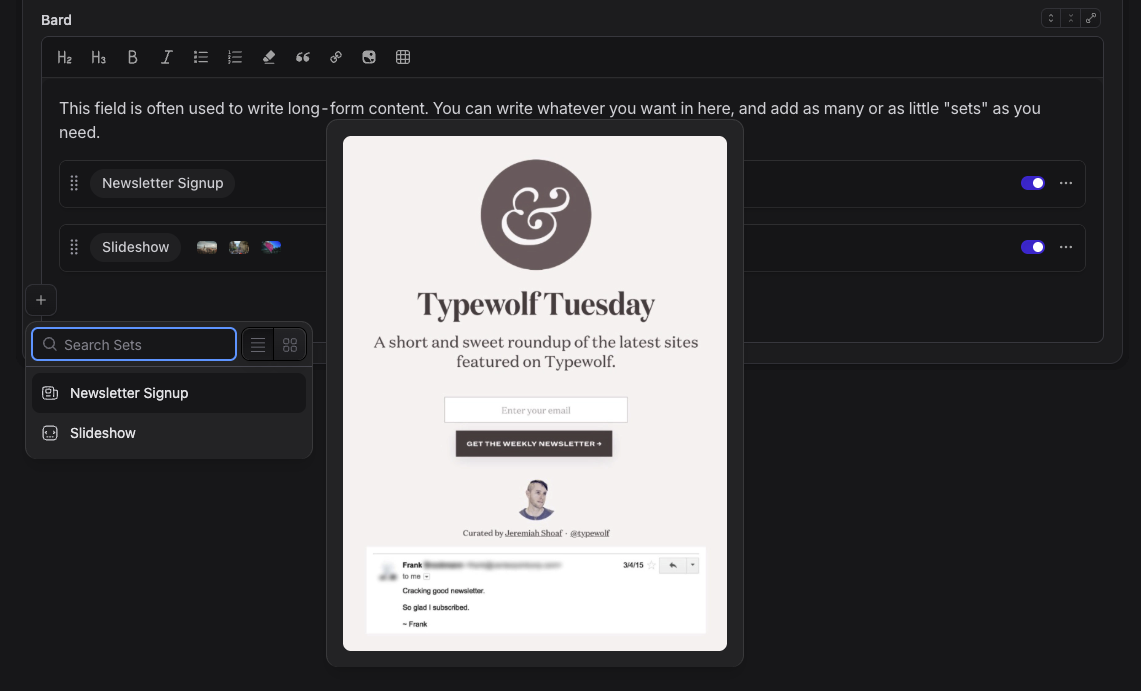
Once you've set a preview image, users adding a bard set can hover over the set to preview what it might look like on the frontend.
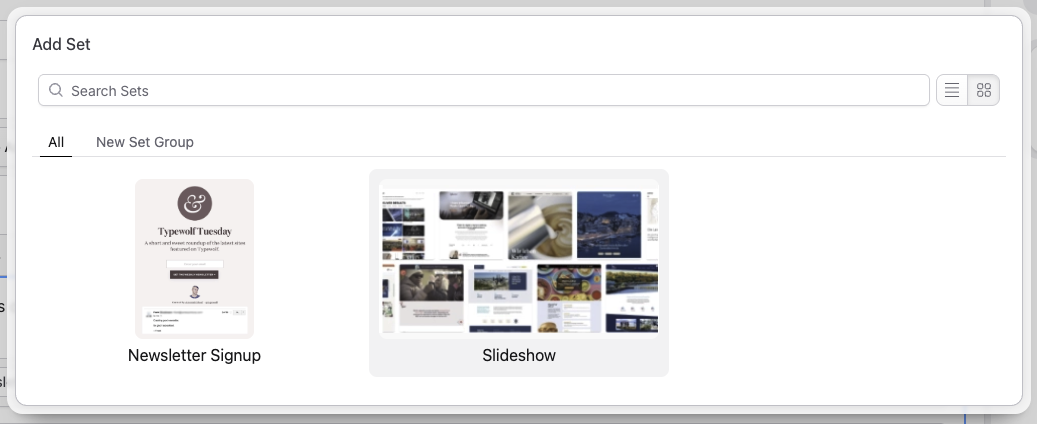
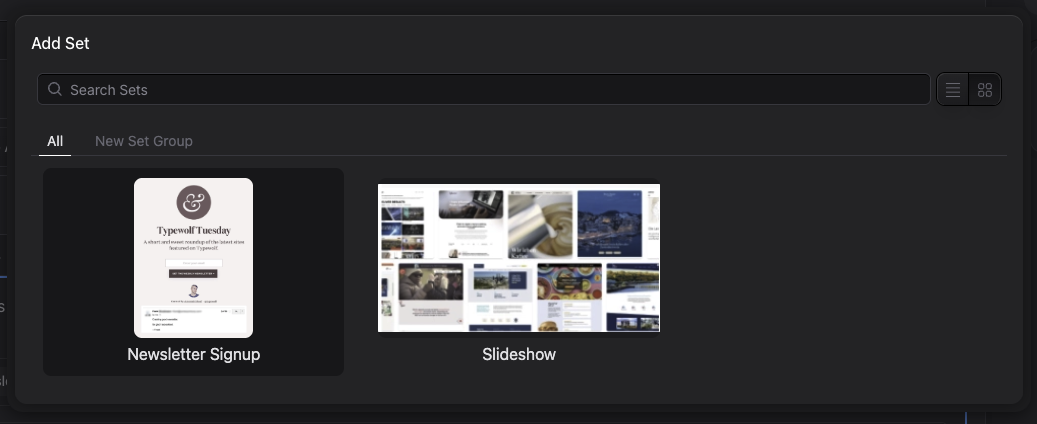
You can view previews in two different UI modes: in a list of set names, or in a grid of sets with their preview images.
A preview in a list of sets.A preview in a grid of sets. Previews fall back to the set icon if no preview image is set.
### Custom Set Icons
You can change the icons available in the set picker by configuring an icon set in a service provider.
For example, you can drop this into your `AppServiceProvider`'s `boot` method:
```php
use Statamic\Fieldtypes\Sets;
public function boot()
{
Sets::useIcons('heroicons', resource_path('svg/heroicons'));
}
```
## Data Structure
Bard stores your data as a [ProseMirror document](https://prosemirror.net/docs/ref/#model.Document_Structure). You should never need to interact with this data directly, thanks to [augmentation](/augmentation.md).
## Templating
### Without Sets
If you are using Bard just as a rich text editor and have no need for sets you would use a single tag to render the content.
::tabs
```antlers
{{ bard_field }}
```
::tab
```blade
{!! $bard_field !!}
```
::
### With Sets
When working with sets, you should use the tag pair syntax and `if/else` conditions on the `type` variable to style each set accordingly. **Note**: any content that is entered _not_ in a set (i.e. your normal rich-text content) needs to be rendered using the "text" type. See the first condition using "text."
::tabs
```antlers
{{ bard_field }}
{{ if type == "text" }}
@endif
@endforeach
```
::
An alternative approach (for those who like DRY or small templates) is to create multiple "set" partials and pass the data to them dynamically, moving the markup into corresponding partials bearing the set's name.
::tabs
::tab antlers
```antlers
{{ bard_field }}
{{ partial src="sets/{type}" }}
{{ /bard_field }}
```
``` files theme:serendipity-light
resources/views/partials/sets/
gallery.antlers.html
hero_image.antlers.html
poll.antlers.html
text.antlers.html
video.antlers.html
```
::tab blade
:::tip
By using `[...$set]`, you can access the set variables within the set's Blade file without having to reference `$set` for each variable.
For example, `{!! $set->text !!}` becomes `{!! $text !!}`.
:::
```blade
@foreach ($bard_field_with_sets as $set)
@include('fieldtypes.bard.sets.'.$set->type, [...$set])
@endforeach
```
``` files theme:serendipity-light
resources/views/partials/sets/
gallery.blade.php
hero_image.blade.php
poll.blade.php
text.blade.php
video.blade.php
```
::
## Extending Bard
Bard uses [TipTap](https://tiptap.dev/) (which in turn is built on top of [ProseMirror][prosemirror]) as the foundation for our quintessential block-based editor.
[prosemirror]: https://prosemirror.net/
### Required Reading
Before you attempt to create any Bard extensions, it is wise to learn how to write a Tiptap extension first. Otherwise you'd be trying to learn how to ride a motorcycle before you can even ride a bike. Or a unicycle before you can juggle. To have a better understanding of how to write a Tiptap extension, you'd in turn benefit greatly on reading about how ProseMirror works.
:::tip
Writing custom extensions for Bard is pretty complicated, but can be rewarding and provide powerful results.
:::
In short, here's a quick-start of the things you should probably start with:
- [The ProseMirror guide](https://prosemirror.net/docs/guide/) — Yes, it's really long, but you should at least pretend to read it
- Checking out the [The Tiptap documentation](https://tiptap.dev/docs/editor/getting-started/overview) and [code samples for the core Tiptap extensions](https://github.com/ueberdosis/tiptap/tree/develop/packages), so you can understand how Tiptap relates to ProseMirror
- If you don't know [how to extend the control panel](/control-panel/css-javascript.md) yet, go ahead and read up on that first. The code snippets later will be part of your extension to the control panel. Alternatively, you may also [extend the control panel through the creation of an addon](/addons/building-an-addon.md).
- Come back here again and keep on going.
### Adding New Extensions
You may add your own Tiptap extensions to Bard using the `addExtension` method. The callback may return a single extension, or an array of them.
``` js
const { Node, Mark, Extension } = Statamic.$bard.tiptap.core;
Statamic.$bard.addExtension(() => Node.create({...}));
```
``` js
Statamic.$bard.addExtension(() => {
return [
Node.create({...}),
Mark.create({...}),
Extension.create({...}),
]
});
```
Check out [Tiptap's custom extension documentation](https://tiptap.dev/docs/editor/extensions/custom-extensions) and [code samples for the core Tiptap extensions](https://github.com/ueberdosis/tiptap/tree/develop/packages) to find out how to write an extension.
If you're providing a new mark or node and intend to use this Bard field on the front-end, you will also need to create a Mark or Node class to be used by the PHP [renderer](#tiptap-php-rendering).
:::tip
If you need any other Tiptap helpers or utilities you can use our [Tiptap API](#tiptap-api).
:::
### Replacing Existing Extensions
If you'd like to replace a [native extension](https://github.com/ueberdosis/tiptap/tree/develop/packages) (e.g. headings or paragraphs) you can use the `replaceExtension` method. It takes the `name` of the extension, and a callback that returns a single extension instance.
```js
const { Node } = Statamic.$bard.tiptap.core;
Statamic.$bard.replaceExtension('heading', ({ extension, bard }) => {
return Node.create({
name: 'heading',
...
});
});
```
The callback will provide you with the existing extension instance, so if you are doing simple tweaks to an extension (e.g. customizing an input rule) you can simply extend the existing instance. Then you don't need to author an entire extension:
```js
const { nodeInputRule } = Statamic.$bard.tiptap.core;
Statamic.$bard.replaceExtension('heading', ({ extension, bard }) => {
return extension.extend({
addInputRules() {
return [
nodeInputRule({...}),
];
},
});
});
```
You can also reconfigure extensions (e.g. to add Tailwind classes to headings or disable specific "smart typography" rules):
```js
Statamic.$bard.replaceExtension('heading', ({ extension, bard }) => {
return extension.configure({
HTMLAttributes: {
class: 'font-bold',
},
});
});
```
```js
Statamic.$bard.replaceExtension('typography', ({ extension, bard }) => {
return extension.configure({
oneHalf: false,
oneQuarter: false,
threeQuarters: false,
});
});
```
### Buttons
To add a button to the toolbar, provide a callback to the `buttons` method.
The callback will receive two arguments:
- `buttons` - an array of the existing buttons in the toolbar (more about that in a moment)
- `button` - a function that wraps your button objects
The callback may return a `button` object, or an array of them.
``` js
Statamic.$bard.buttons((buttons, button) => {
return button({
name: 'custom_bold',
text: __('Custom Bold'), // Tooltip text
svg: 'bold', // Name of an SVG icon
html: '', // Custom icon HTML
args: { class: 'font-bold' }, // The command arguments
command: (editor, args) => editor.chain().focus().setCustomBold(args).run(), // The command to run
activeName: 'customBold', // The active node/mark type that will activate this button (falls back to name)
active: (editor, args) => editor.isActive('bold'), // Active check callback (overrides activeName)
visibleWhenActive: 'example', // The active node/mark type that will show this button (always visible if not set)
visible: (editor, args) => editor.isActive('example'), // Visible check callback (overrides visibleWhenActive)
});
});
```
``` js
Statamic.$bard.buttons((buttons, button) => [
button({...}),
button({...}),
]);
```
Returning values to the `buttons` method will push them onto the end. If you need more control, you can manipulate the supplied `buttons` argument, and then return nothing. For example, we'll add a button after wherever the existing bold button happens to be:
``` js
Statamic.$bard.buttons((buttons, button) => {
const indexOfBold = _.findIndex(buttons, { name: 'bold' });
buttons.splice(indexOfBold + 1, 0, button({...}));
});
```
:::tip
Using the `button()` method will make the button only appear if the Bard field has been configured to show your button.
If you'd like your button to appear on all Bard fields, regardless of whether it's been configured to use that button, you can just return an object. Don't wrap with `button()`.
:::
### Tiptap API
In your extensions, you may need to use functions from the `tiptap` library. Rather than importing the library yourself and bloating your JS files, you may use methods through our API.
``` js
Statamic.$bard.tiptap.core; // `tiptap` (core, commands, utilities and helpers)
Statamic.$bard.tiptap.pm.state; // `prosemirror-state`
Statamic.$bard.tiptap.pm.model; // `prosemirror-model`
Statamic.$bard.tiptap.pm.view; // `prosemirror-view`
```
You could shorten things up by using destructuring. For example:
``` js
const { InputRule, insertText, getAttributes } = Statamic.$bard.tiptap.core;
new InputRule(...);
insertText(...);
getAttributes(...);
```
### Tiptap PHP Rendering
If you have created an extension on the JS side to be used inside the Bard fieldtype, you will need to be able to render it on the PHP side (in your views).
The Bard `Augmentor` class is responsible for converting the ProseMirror structure to HTML.
You can use the `addExtension` or `replaceExtension` methods to bind an extension class into the renderer. Your AppServiceProvider's `boot` method is a good place to do this.
``` php
use Statamic\Fieldtypes\Bard\Augmentor;
public function boot()
{
// Pass an object
Augmentor::addExtension('myExtension', new MyExtension);
// or a closure. You will be passed the bard fieldtype and an array of options as arguments.
Augmentor::addExtension('myExtension', function ($bard, $options) {
return new MyExtension(['foo' => $bard->config('should_foo')];
});
// Same for replacing extensions.
Augmentor::replaceExtension('paragraph', new MyCustomParagraph);
// Closures too. There will be an additional argument at the front which is the existing extension.
Augmentor::replaceExtension('paragraph', function ($existing, $bard, $options) {
return new CustomParagraph;
});
}
```
Check out [code samples for the core Tiptap extensions](https://github.com/ueberdosis/tiptap-php/tree/main/src) to find out how to write PHP extensions.