# Assets

Assets are files managed by Statamic and made available to your writers and developers with tags and fieldtypes. They can be images, videos, PDFs, or any other type of file. Assets can have fields and content attached to them, just like entries, making them very powerful.

## Overview

Assets live in directories on your local server, in an [Amazon S3 bucket](https://aws.amazon.com/s3), or other cloud storage services. Each defined location is called a **container**.

Statamic scans the files in each container and caches [meta information](#metadata) (like `width` and `height` for images) on them. This cache is used to speed up interactions and response times when working with them on the [frontend](/frontend.md) of your site.

## Asset browser

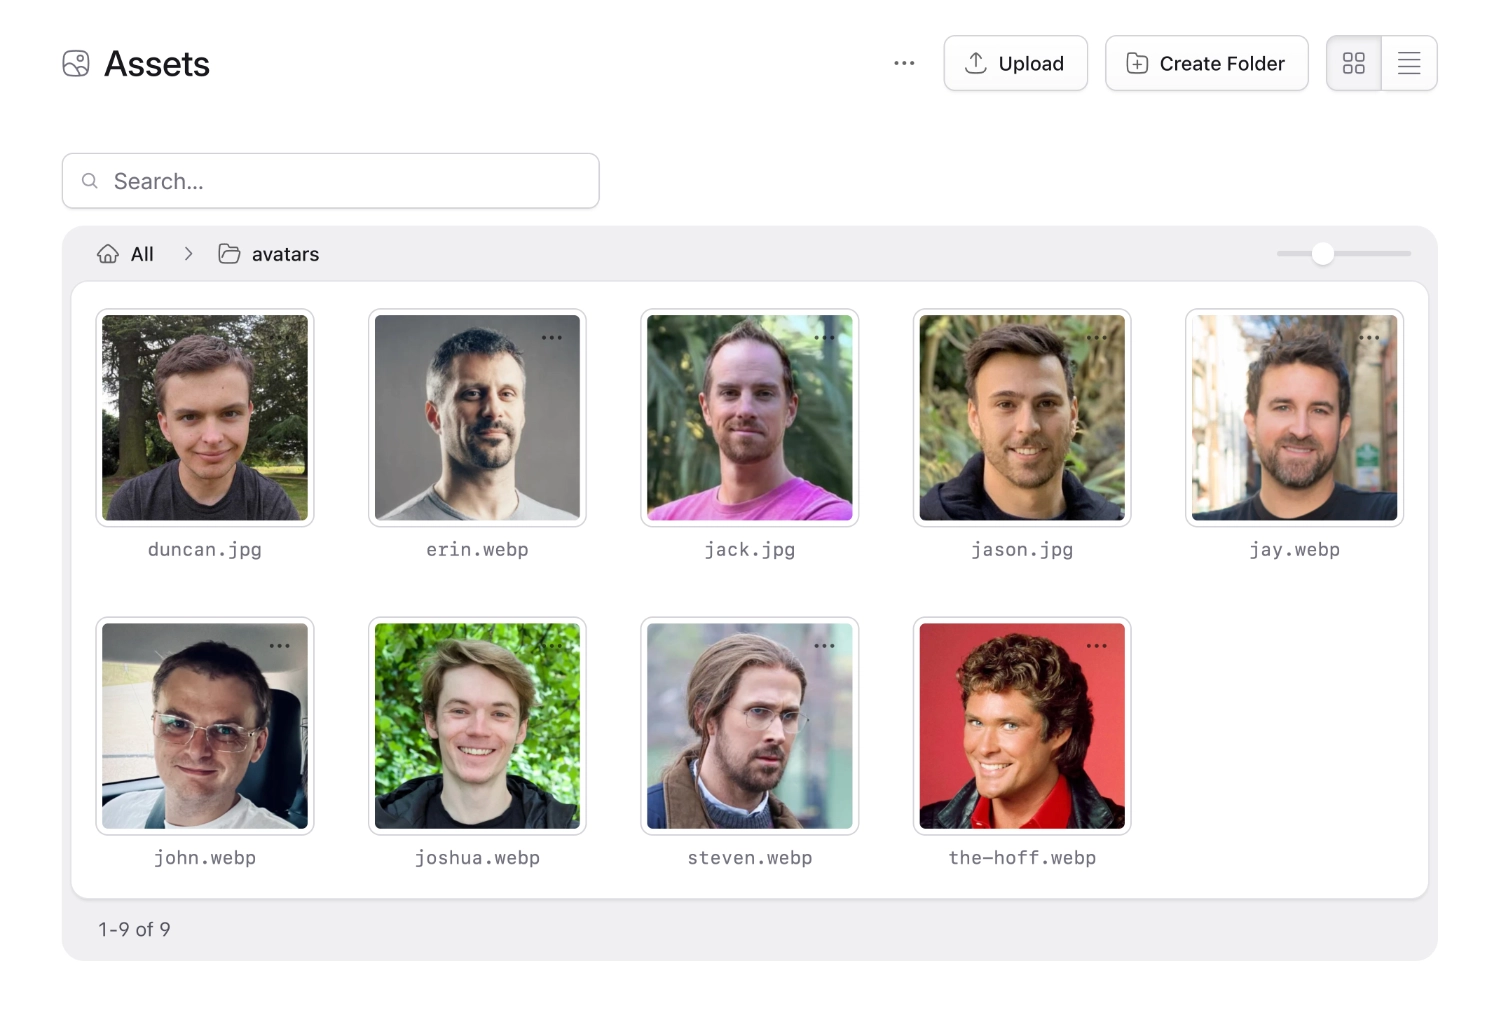
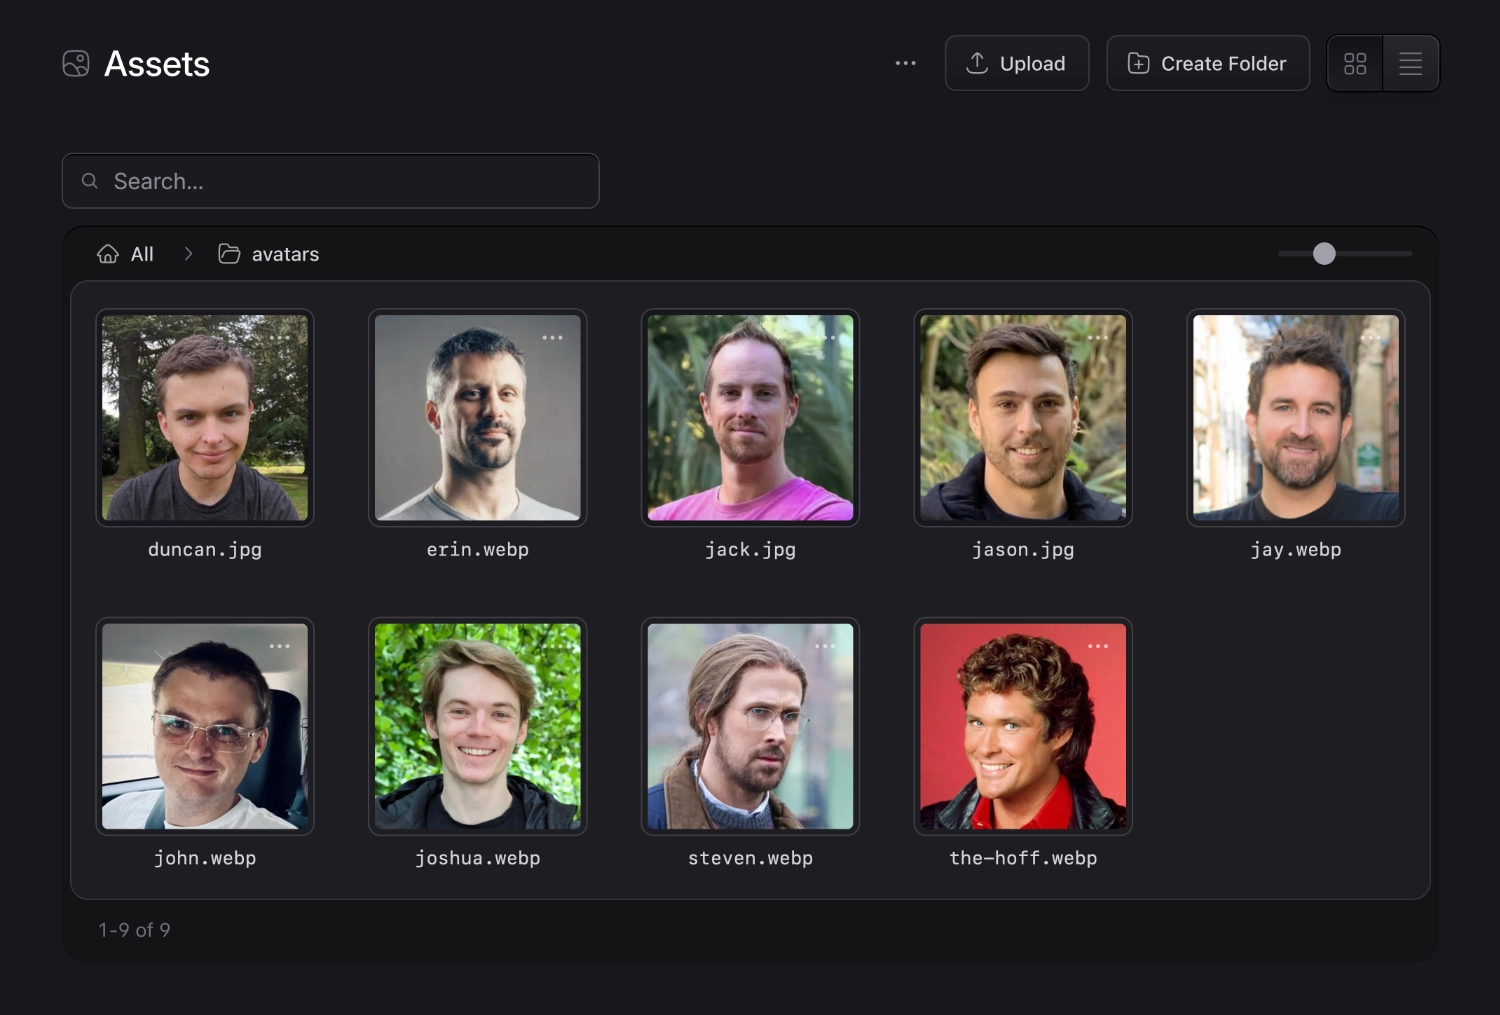
You can explore these files in the Control Panel's asset browser. You can edit, sort, search, move, rename, replace, reupload, preview, and — if working with images — even set focal crop points to make dynamically resized images look their best.

<figure>
    <img src="/img/asset-browser-v6.webp" alt="Assets browser" class="u-hide-in-dark-mode">
    <img src="/img/asset-browser-v6-dark.webp" alt="Assets browser" class="u-hide-in-light-mode">
    <figcaption>Browsing some assets.</figcaption>
</figure>

## Asset actions

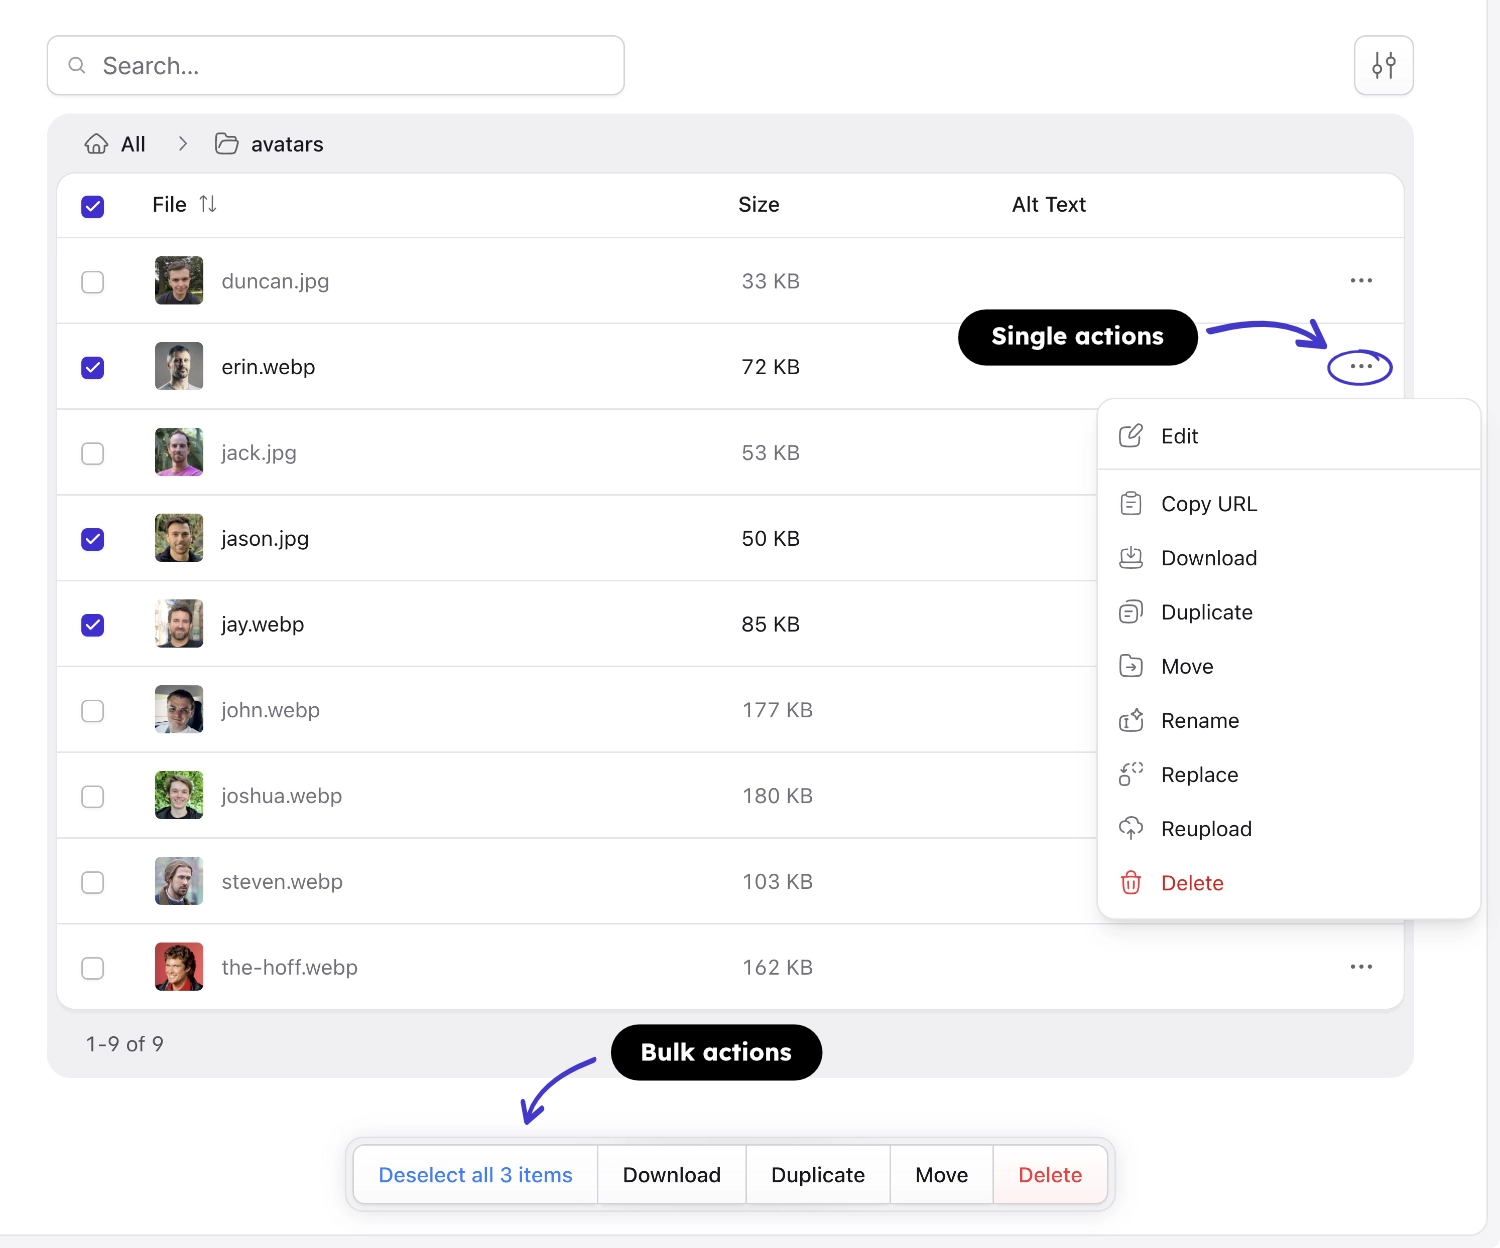
There are a number of actions that can be taken on assets while in the asset browser. Some can be run in bulk (on multiple assets at once), while others are only available on individual assets.

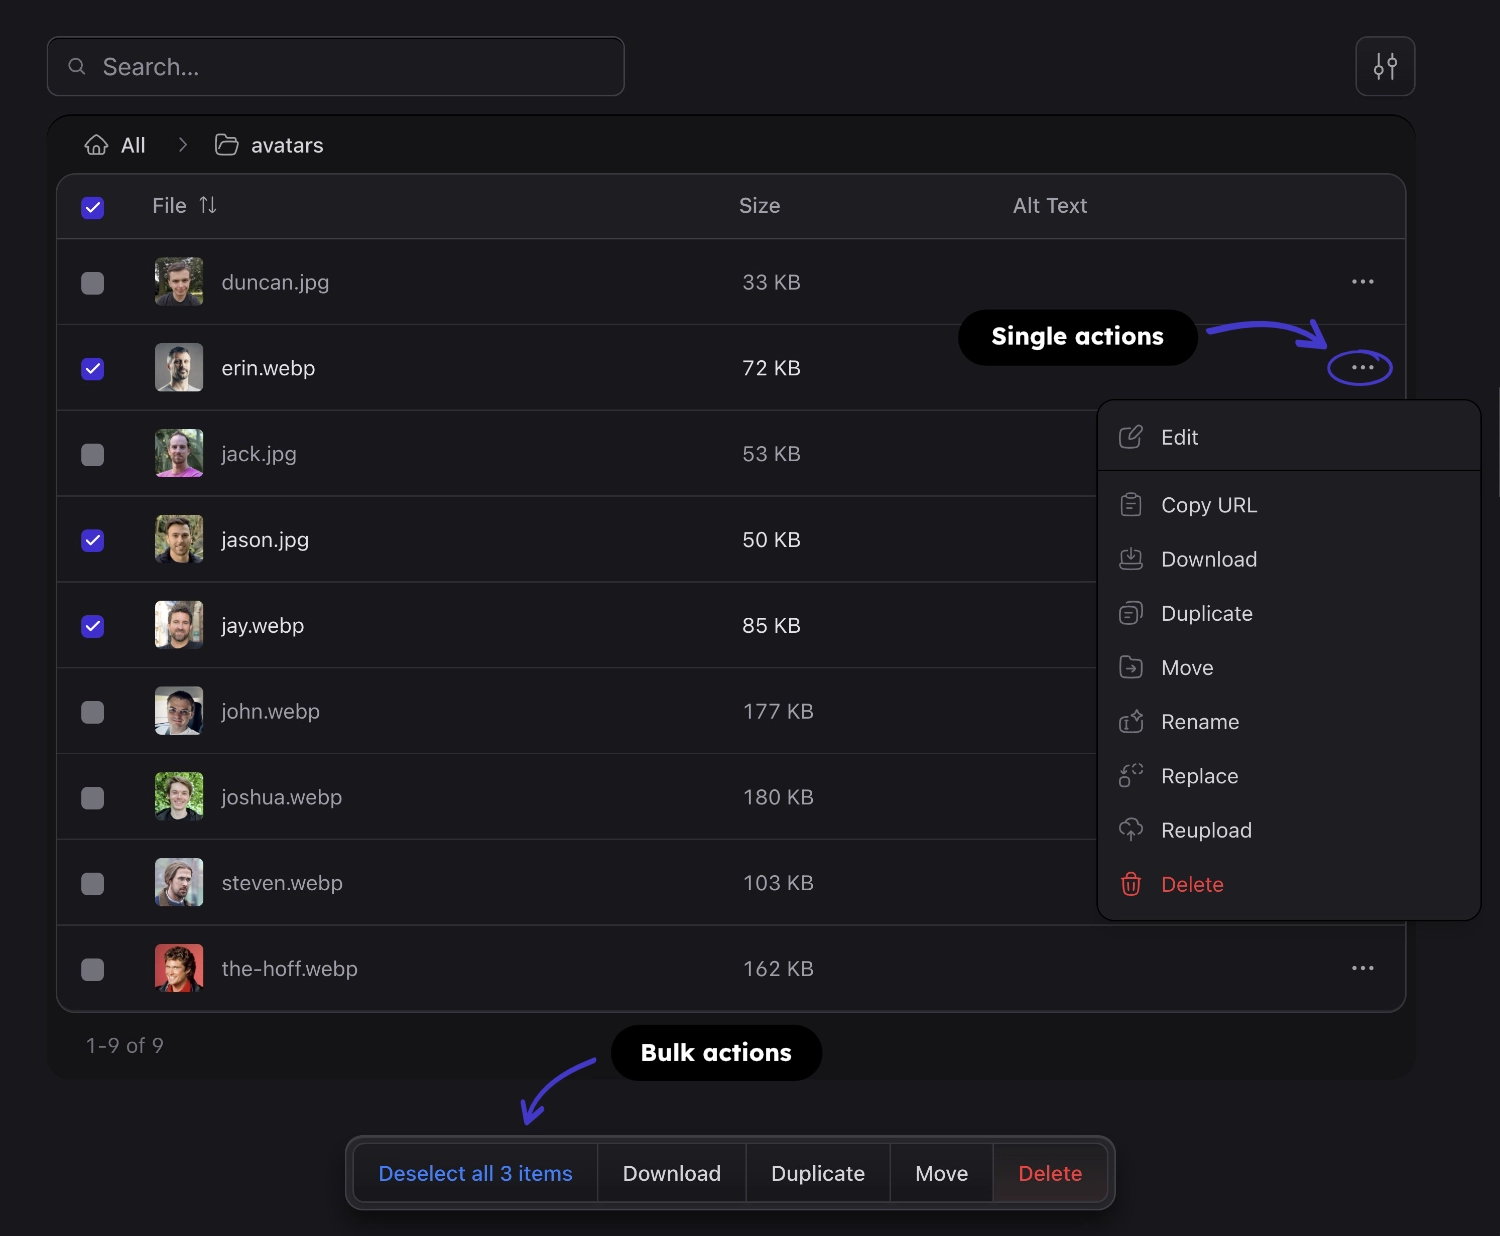
Single asset actions are available by clicking the options menu (three-dot icon) associated with the asset, and picking the desired action from the dropdown list.

Bulk asset actions are available in a floating toolbar at the bottom of the asset browser whenever you have one or more assets selected.

<figure>
    <img src="/img/asset-actions.webp" alt="Assets actions" class="u-hide-in-dark-mode">
    <img src="/img/asset-actions-dark.webp" alt="Assets actions" class="u-hide-in-light-mode">
    <figcaption>Check out those sweet actions.</figcaption>
</figure>

### Edit
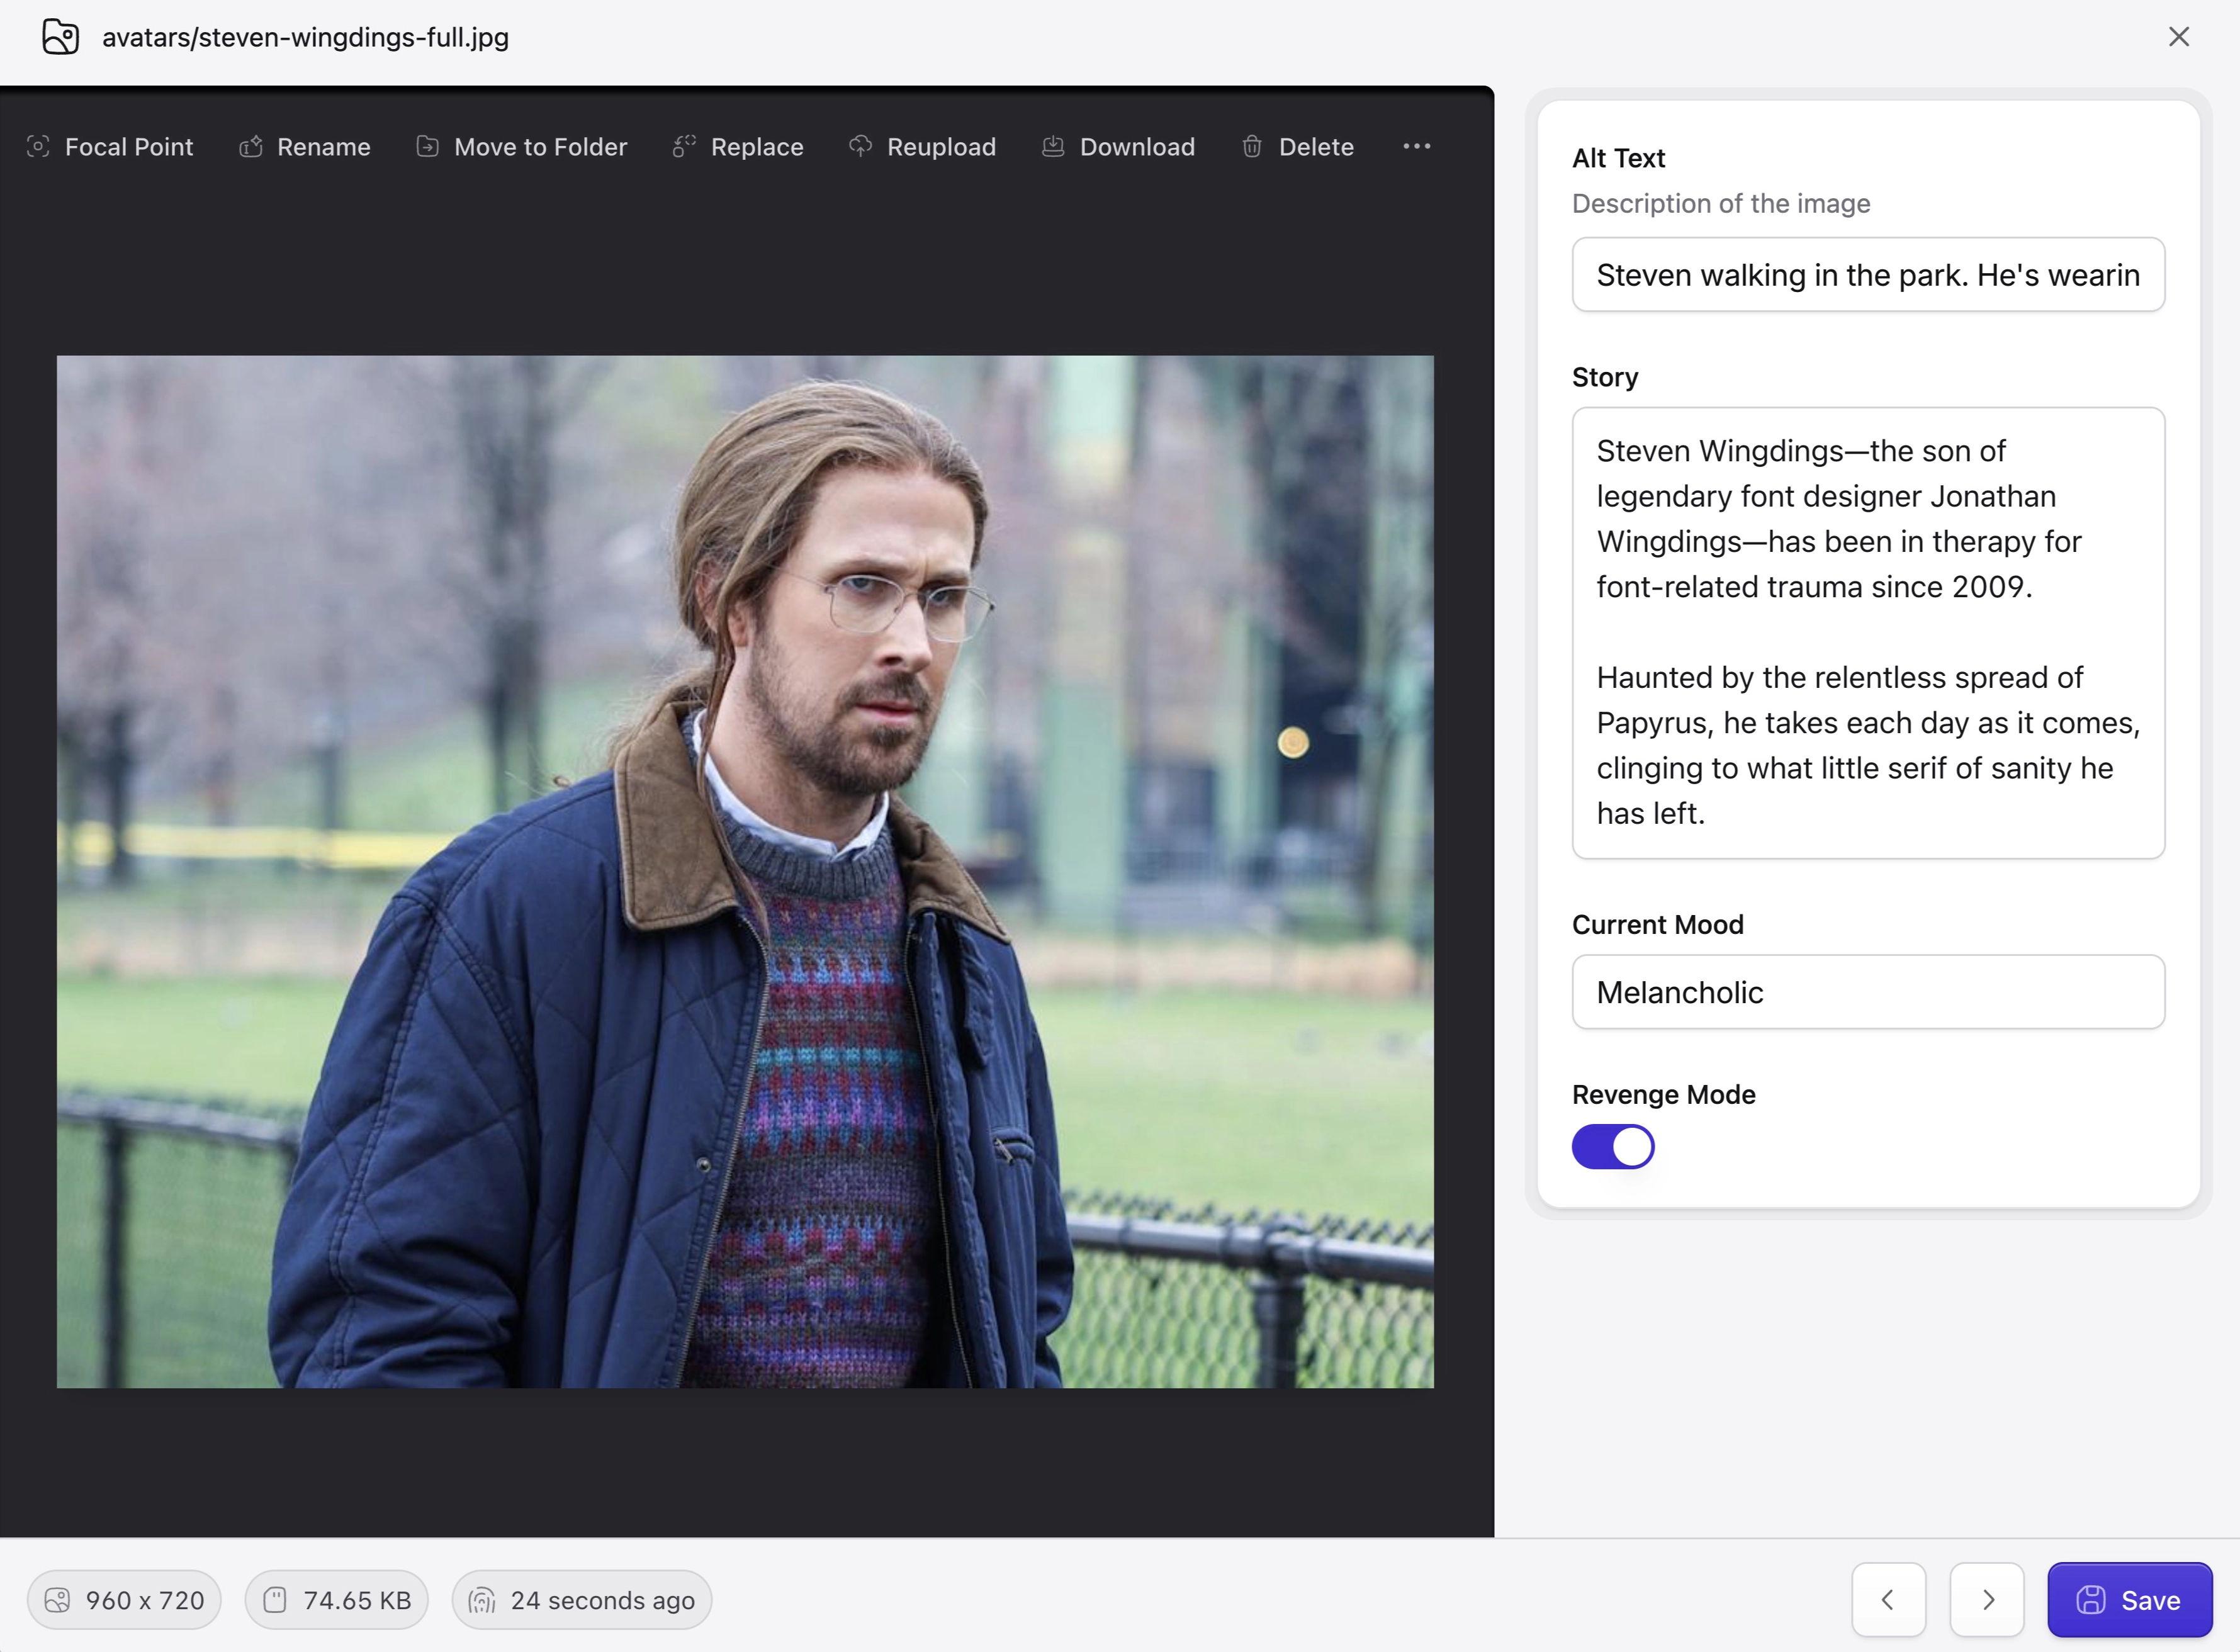
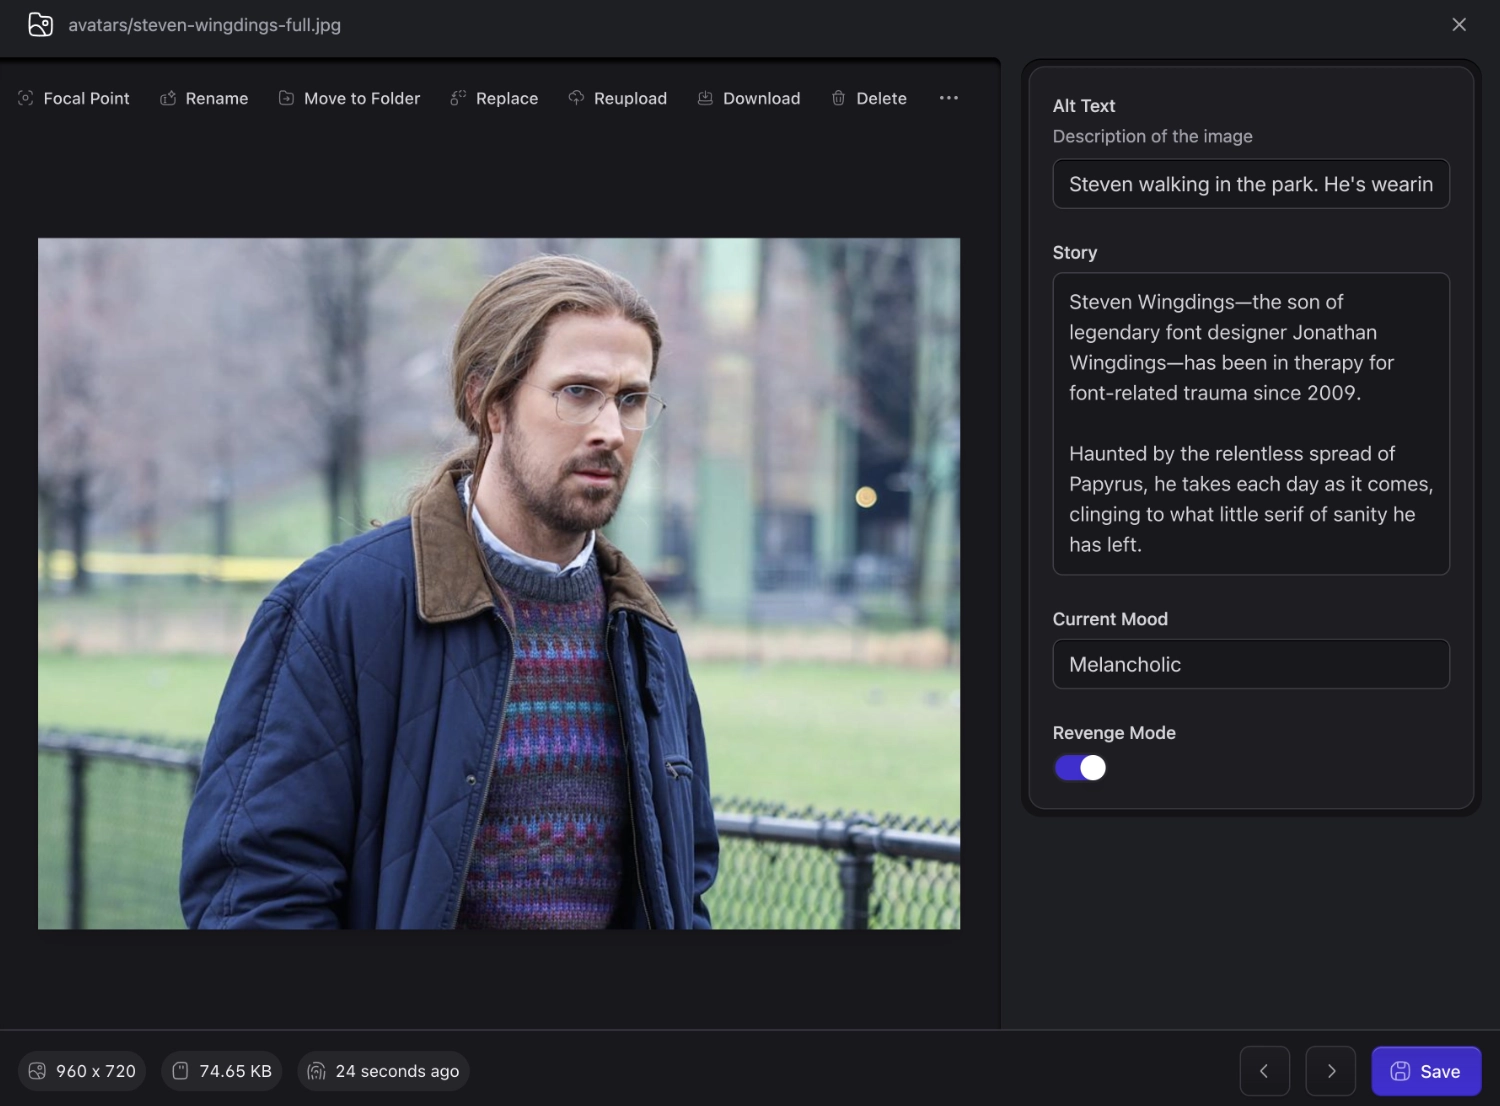
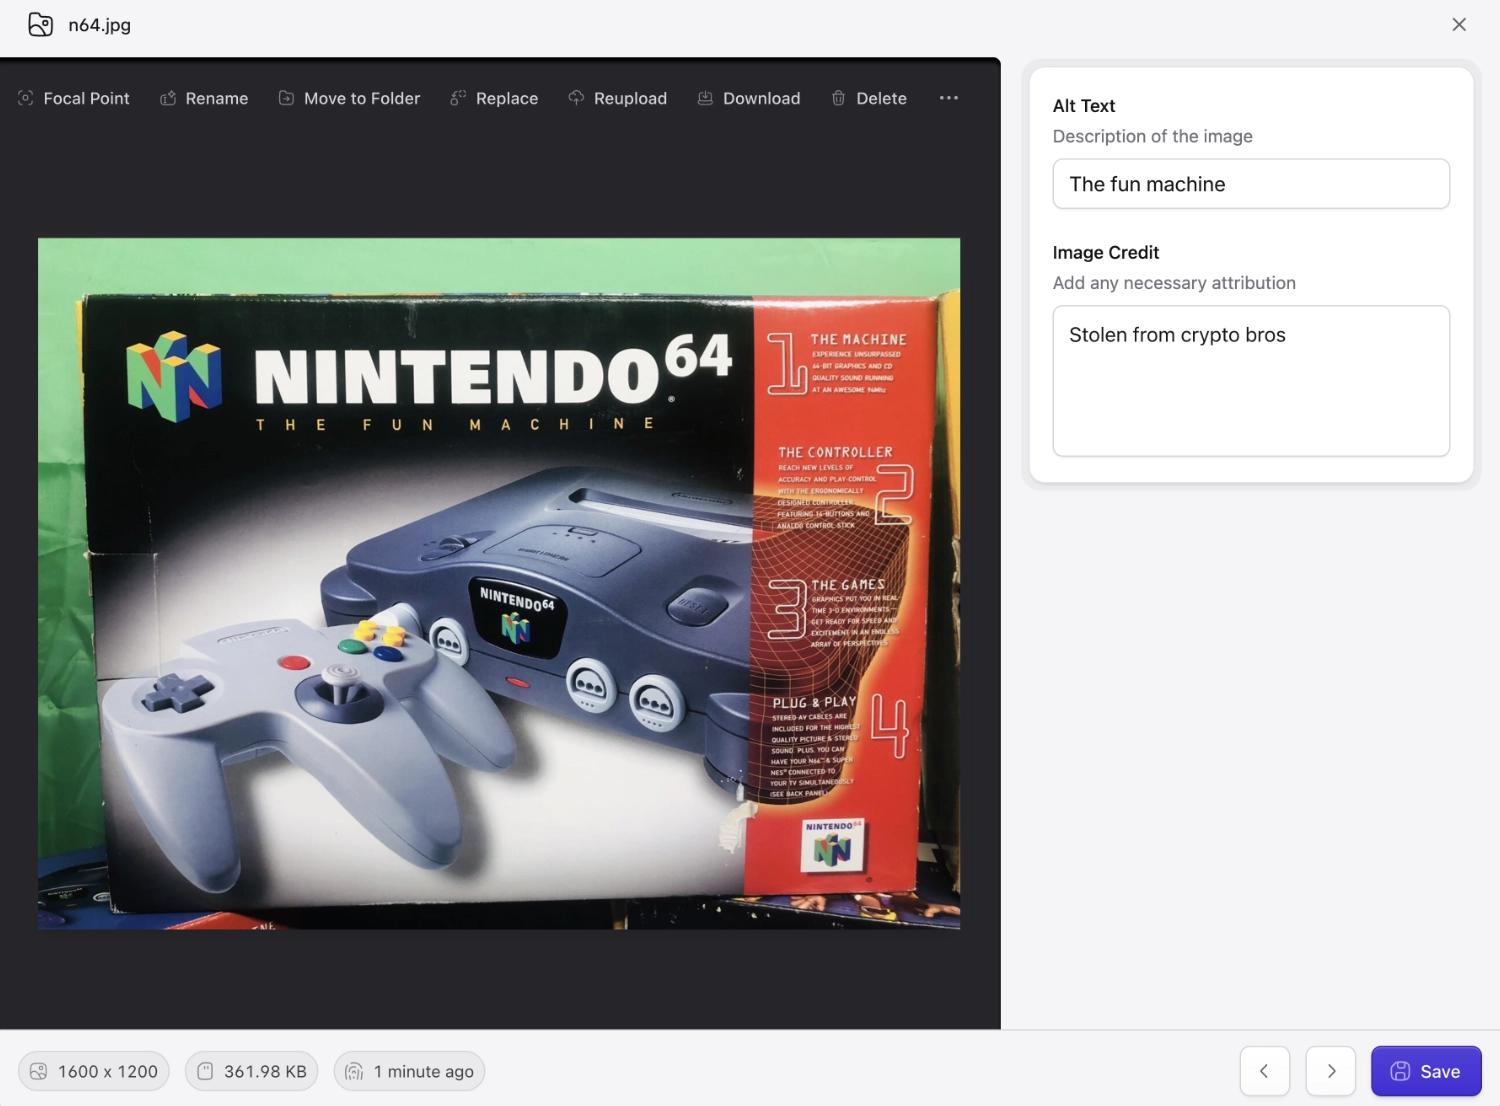
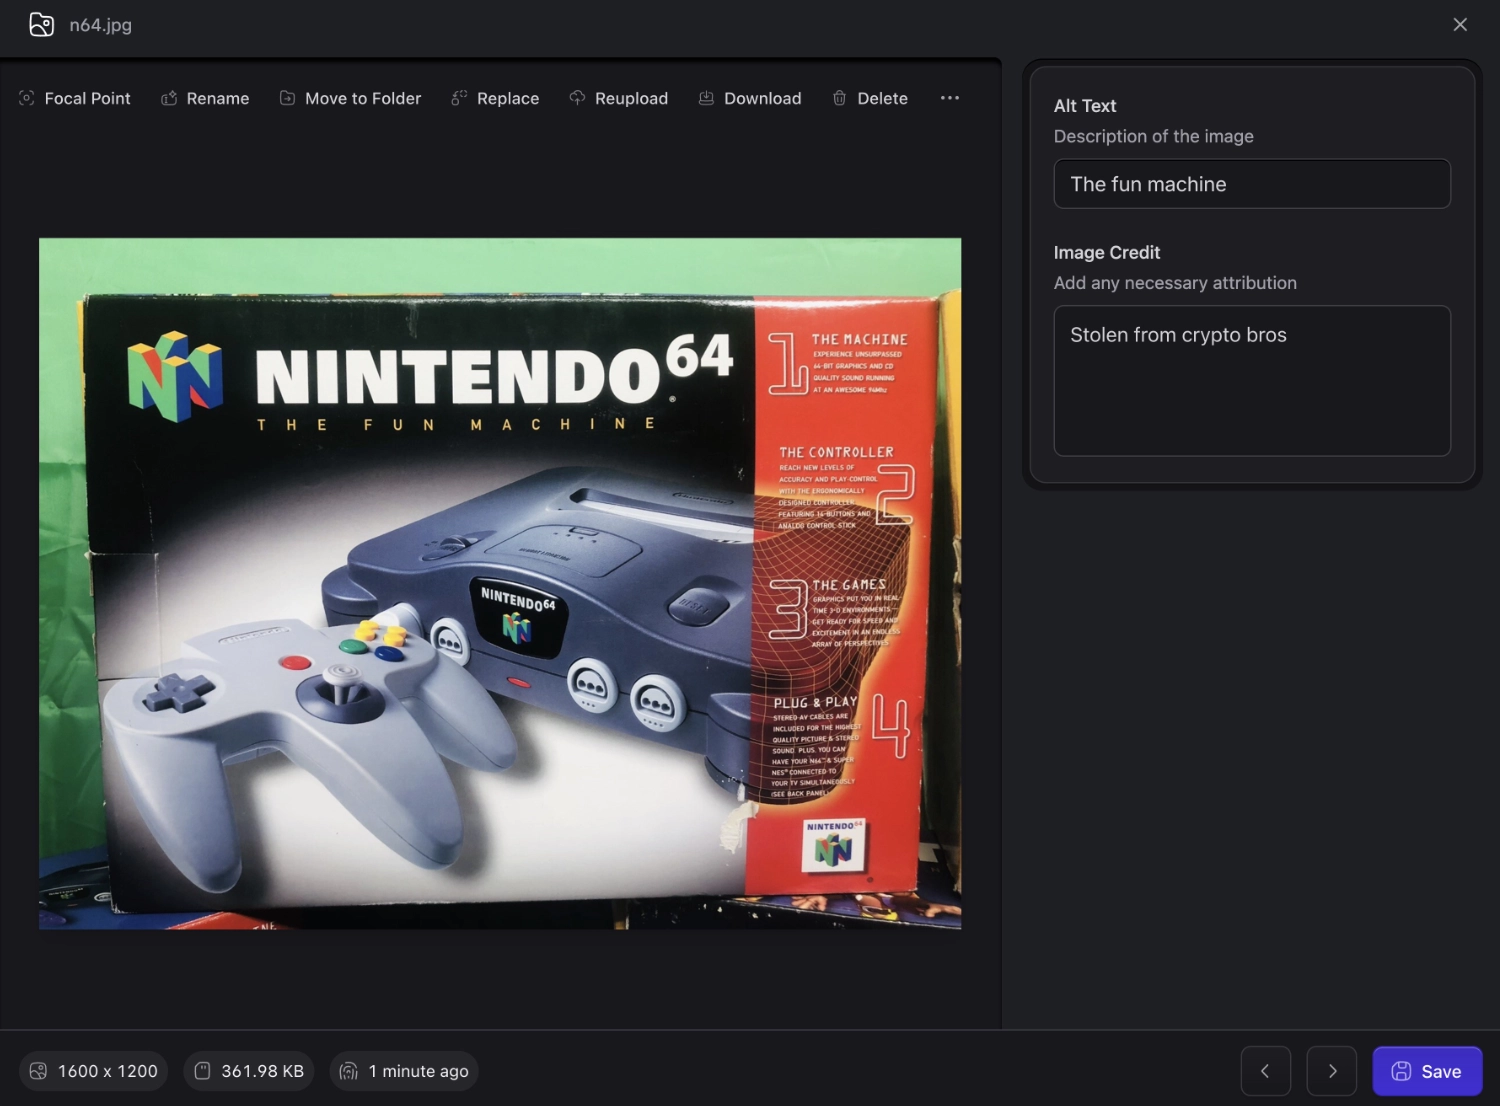
Editing an asset opens a new modal window with a number of additional options, as well as any blueprint fields, like title, alt text, description, or other meta data defined on your asset container.

Most of the asset actions are also available inside the editor, along with the ability to set a Focal Point for images.

<figure>
    <img src="/img/asset-editor-v6.webp" alt="The Statamic Asset Editor" class="u-hide-in-dark-mode">
    <img src="/img/asset-editor-v6-dark.webp" alt="The Statamic Asset Editor" class="u-hide-in-light-mode">
    <figcaption>The asset editor is pretty slick, if we say so ourselves.</figcaption>
</figure>

### Crop
The crop action lets you visually crop an image directly in the Control Panel. It's available from the toolbar inside the [Asset Editor](#edit) for any image asset (except GIFs) when the current user has permission to upload to the container.

You can drag to define a custom crop area, or pick one of the [aspect ratio presets](#crop-aspect-ratios). A flip button rotates the ratio between landscape and portrait orientation. Hold the <kbd>Option</kbd> / <kbd>Alt</kbd> key while resizing to resize from the center, and press <kbd>Enter</kbd> to apply the crop.

After cropping, you'll be asked whether you want to save the crop as a **new copy** (uploaded to the same folder with a timestamped filename) or **replace the original** image. Replacing requires the user to also have the `reupload` permission on the asset.

:::tip
Cropping external images (for example, from an S3 container on a different domain) requires that the source be served with proper CORS headers. If the image can't be loaded cross-origin, the crop editor will warn you and close.
:::

Bulk
: No

#### Crop aspect ratios

Statamic ships with five aspect ratio presets (`16:9`, `4:3`, `3:2`, `2:1`, and `1:1`) available in the crop editor. You can customize them — or remove the dropdown entirely — via the `crop_aspect_ratios` array in `config/statamic/assets.php`.

Each entry can be a `W:H` string, or an array with a `label` and a `ratio`. Labels are passed through Laravel's translator, so you can use translation keys to localize them.

```php
// config/statamic/assets.php

'crop_aspect_ratios' => [
    '16:9',
    '4:3',
    ['label' => 'Wide', 'ratio' => '16:9'],
    ['label' => 'US Letter', 'ratio' => '8.5:11'],
    ['label' => 'Golden', 'ratio' => 1.618],
],
```

Set `crop_aspect_ratios` to an empty array to hide the preset dropdown entirely and force users to drag custom selections.

```php
'crop_aspect_ratios' => [],
```

### Copy URL
Running this action allows you to copy the URL of an asset. You can use the copied URL to share or reference the asset in other places, such as in emails, documents, or on other websites.

Bulk
: No

### Download
With this action, you can download an asset to your local device. It allows you to save a copy of the asset on your computer, making it accessible even when you're offline or outside Statamic.

Bulk
: Yes

### Duplicate
The duplicate action creates a copy of an asset. It's useful when you want to have multiple copies of the same asset, either for organizational purposes or to make variations or modifications to the duplicated version without affecting the original asset.

When duplicated, the new filename will be appended with `-{numberOfDuplicates}`. If you duplicate a file 3 times, you will have new copies named `yourFile-1.ext`, `yourFile-2.ext`, `yourFile-3.ext`. Feel free to rename these. In fact, we encourage it.

Bulk
: Yes

### Move
Moving an asset involves changing its location within the folder structure of your Statamic assets. This action is handy when you want to reorganize your assets or place them in a different folder for better categorization and management.

Assets moved with the move action will update any references to it throughout your content wherever the [Assets field](/fieldtypes/assets.md) is used.

Bulk
: Yes

### Rename
As the name suggests, the rename action allows you to change the name of an asset. It's useful when you want to give a more descriptive or meaningful name to an asset or when you need to update the name to match changes in its content.

Assets renamed with the rename action will update any references to it throughout your content wherever the [Assets field](/fieldtypes/assets.md) is used.

Bulk
: Yes*

_*Each rename action only accepts one new filename, so this is only useful in bulk for renaming files of different extensions._

### Replace
The replace action lets you replace an existing asset with a new version with a new filename. This helps to ensure that your visitors don't run into browser-cached, old versions of your assets. Replaced assets with the replace action will update any references to it throughout your content wherever the [Assets field](/fieldtypes/assets.md) is used.

Bulk
: No

### Reupload
Reuploading an asset involves uploading a new version of an existing asset, effectively replacing the previous version with the **same exact filename**. Keep in mind that by not changing the filename, your visitors may encounter browser-cached, old versions of the asset.

Bulk
: No

### Delete
The delete action removes an asset from your site and server, permanently. Exercise caution when using this action, as deleted assets cannot always be easily restored.

Bulk
: Yes

## Asset fields

Asset fields are configured like a [blueprint](/blueprints.md) and attached to the [container](#containers). Whenever you edit an asset in the Control Panel, you'll see the fields from the configured blueprint.

This data is stored in the asset's [meta data](#metadata) file.

<figure>
    <img src="/img/asset-editor.webp" alt="The asset editor editing an image" class="u-hide-in-dark-mode">
    <img src="/img/asset-editor-dark.webp" alt="The asset editor editing an image" class="u-hide-in-light-mode">
    <figcaption>Editing an image with the asset editor.</figcaption>
</figure>

## Metadata

Asset metadata is stored in YAML files inside a hidden `.meta` subdirectory inside each container. For example, `images/tree.jpg` gets an `images/.meta/tree.jpg.yaml` cache file.

These files contain cached data, including but not limited to: image dimensions, file size, last modification dates, and so on.

These cache files can also contain user created data. The fields are defined by the asset container's blueprint. Typically these are alt text, focal points, descriptions, and so on, but they could be anything you want at all.

``` yaml
size: 9151
last_modified: 1558533973
width: 216
height: 104
data:
  alt: 'A tree with a tire swing'
  focus: 54-54-1
```

:::tip
You should consider version controlling these files if you plan to set data like alt tags and focal points. Make sure your efforts are preserved.
:::

### Cleaning orphaned metadata

When asset files are deleted outside of Statamic (e.g., directly via the filesystem or an S3 console), their metadata `.yaml` files can be left behind. Run the `assets:meta-clean` command to find and remove these orphaned metadata files, along with any now-empty `.meta` directories.

``` shell
php please assets:meta-clean
```

Pass a container handle to scope the cleanup to a single container, or use `--dry-run` to preview what would be deleted without making any changes.

``` shell
php please assets:meta-clean images --dry-run
```

## Containers

Each container has its own settings, configurable permissions, and [blueprint](#blueprints). One container might be a local filesystem with upload, download, rename, and move permissions enabled, and another could be a read-only remote S3 bucket or stock image service.

Containers can be created through the Control Panel and are defined as YAML files located in `content/assets`. Each container's filename becomes its `handle`.

``` yaml
# content/assets/assets.yaml
title: 'Assets'
disk: 'assets'
```

Each container implements a "disk", also known as a [Laravel Filesystem](https://laravel.com/docs/filesystem). This native Laravel feature groups a [driver](#drivers), URL, location, and [visibility](#container-visibility) together. Statamic includes a local disk on fresh installs. You can modify or delete it, but many sites can simply use it as is.

``` php
'disks' => [
    'assets' => [
        'driver' => 'local',
        'root' => public_path('assets'),
        'url' => '/assets',
        'visibility' => 'public', // (more info about visibility below)
    ],
]
```

Filesystems are defined in `config/filesystems.php`.  They can point to the local filesystem, S3, or any [Flysystem adapter](https://flysystem.thephpleague.com/v2/docs/).

### Private containers

Sometimes it’s handy to store assets that shouldn’t be publicly visible through a direct URL or browser.

:::tip
If your asset container's disk does not have a `url` property, Statamic will not output URLs.
:::

Private containers should be located above webroot. If you leave the disk within the webroot, the files will still be accessible directly outside of Statamic if you know the file path.

``` files theme:serendipity-light
/
  app/
  content/
  config/
  public/
    not-in-here/ # [tl! ~~]
    index.php
  put-it-out-here/ # [tl! ~~]
  resources/
  vendor/
```

Make sure to also set the [visibility](#container-visibility) to `private`.


### Container visibility

Your filesystem's disk can have a `visibility`, which is an abstraction of file permissions. You can set it to `public` or `private`,
which essentially controls whether they're accessible or not.

Be sure to set `'visibility' => 'public'` if you want to be able to see, interact with, and manipulate files in your container.

:::tip
If you're using a service based driver like Amazon S3, and you want the files to be accessible by URL, make sure you set the [visibility](#container-visibility) to `public`.
:::

## Blueprints

The default container [Blueprint](/blueprints.md) contains a single "alt text" field — just useful and simple enough to get you started.

You can customize the fields on the blueprint by visiting the container in the Control Panel and choosing "Edit Blueprint" in the options dropdown.

If you want to edit the blueprint file directly, you can do so in `resources/blueprints/assets/{handle}.yaml`.

## Ordering

### Default sort order in listings

You can choose which field and direction to sort the list of assets in the Control Panel by setting the `sort_by` and `sort_dir` variables in your container.yaml. By default the file name will be used.

## Drivers

Statamic uses Flysystem and includes the core `local` driver. S3, SFTP, and other drivers can be [installed with composer](https://laravel.com/docs/filesystem#driver-prerequisites).

Flysystem is not limited to these three, however. There are adapters for many other storage systems. You can [create a custom driver](https://laravel.com/docs/filesystem#custom-filesystems) if you want to use one of these additional adapters in your Laravel application.


## Frontend templating {#templating}

There are two main methods for working with Asset data on the frontend. The Assets Fieldtype, and the Assets Tag.

### Assets fieldtype

The [Assets Fieldtype](/fieldtypes/assets.md) can be used in your content Blueprints to attach assets to your entries, taxonomy terms, globals, or user accounts. It can be used to create image galleries, video players, zip downloads, or anything else you can think of.

All of the data stored on your Assets will be available on the frontend without having to create any kind of duplication.

#### Example

If you had a `slideshow` field with a whole bunch of images selected, you can render them by looping through them.

::tabs

::tab antlers
```antlers
<div class="slideshow">
    {{ slideshow }}
        <img src="{{ url }}" alt="{{ alt }}">
    {{ /slideshow }}
</div>
```
::tab blade
```blade
<div class="slideshow">
  @foreach($slideshow as $image)
      <img src="{{ $image->url }}" alt="{{ $image->alt }}">
  @endforeach
</div>
```
::

Learn more about the [Assets Fieldtype](/fieldtypes/assets.md).

### Assets tag

If you ever find yourself needing to loop over all of the assets in a container (or folder inside a container) instead of selecting them manually with the Assets Fieldtype, this is the way.

#### Example

::tabs

::tab antlers
```antlers
{{ assets container="photoshoots" limit="10" sort="rating" }}
    <img src="{{ url }}" alt="{{ alt }}" />
{{ /assets }}
```
::tab blade
```blade
<statamic:assets
  container="photoshoots"
  limit="10"
  sort="rating"
>
  <img src="{{ $url }}" alt="{{ $alt }}" />
</statamic:assets>
```
::

Learn more about the [Assets Tag](/tags/assets.md) and what you can do with it.

### Manipulating images

Statamic uses the [Glide library](https://glide.thephpleague.com/) to dynamically resize, crop, and manipulate images. It's really easy to use and has [its own tag](/tags/glide.md).

::tabs

::tab antlers
```antlers
{{ glide:image width="120" height="500" filter="sepia" }}
```
::tab blade
```blade
{{-- Using Statamic Tags --}}
<statamic:glide
  :src="$img"
  width="120"
  height="500"
  filter="sepia"
/>

{{-- Using Fluent Tags --}}

{{
  Statamic::tag('glide')
    ->src($img)
    ->width(120)
    ->height(500)
    ->filter('sepia')
    ->fetch()
}}
```
::

## Search indexes

You can configure search indexes for your collections to improve the efficiency and relevancy of your users searches. Learn [how to connect indexes](search.md#connecting-indexes).

## Allowed file extensions

For security reasons, Statamic restricts the file extensions that can be uploaded via the Control Panel and the Assets field on [Forms](/forms.md).

Common extensions like `.jpg`, `.csv` and `.txt` are permitted by default. To upload additional file extensions, specify them in `config/statamic/assets.php`:

```php
// config/statamic/assets.php

'additional_uploadable_extensions' => [
    'gpx', 'vcf', // ...
],
```

## Upload validation

Each [container](#containers) can define [Laravel validation rules](https://laravel.com/docs/validation#available-validation-rules) that are applied to every file uploaded to it — through the Control Panel asset browser, the [Assets fieldtype](/fieldtypes/assets.md), or [Forms](/forms.md).

You can configure rules in the Control Panel by editing the container and filling out the **Validation Rules** field, or by editing the container's YAML file directly:

``` yaml
# content/assets/images.yaml
title: Images
disk: assets
validate:
  - 'mimes:jpg,jpeg,png,webp'
  - 'max:2048'
  - 'dimensions:min_width=600,min_height=600'
```

Rules are merged with Statamic's built-in `file` and [allowed extension](#allowed-file-extensions) checks, so you only need to specify the additional constraints you care about. Failing uploads return a `422` response and surface the first validation message in the uploader UI.

## Filename character replacements

When files are uploaded, Statamic sanitizes the filename by replacing a handful of characters (spaces, `#`, `:`, `/`, `\`, `?`, `<`, `>`, `"`, `|`, `*`, `%`, `'`, and double dashes) with a single dash to keep filenames URL-safe.

If you need to replace additional characters — for example, commas and parentheses that clients keep sneaking their ways into filenames — you can add them to `config/statamic/assets.php`. These are **merged** with the native replacements and cannot override them.

```php
// config/statamic/assets.php

'additional_filename_replacements' => [
    ',' => '',
    '(' => '',
    ')' => '',
],
```

With the config above, `My Photo, (v2).jpg` would be saved as `my-photo-v2.jpg`.

## SVG sanitization

For security reasons, Statamic automatically sanitizes uploaded SVG files.

However, if you **trust your users** and need to upload SVG files without them being sanitization, you may disable it:

```php
// config/statamic/assets.php

'svg_sanitization_on_upload' => false,
```

## Video thumbnails

Statamic can generate thumbnails for video assets so they display alongside images in the Control Panel's asset browser, instead of showing a generic file icon.

### Requirements

Video thumbnail generation relies on [FFmpeg](https://ffmpeg.org/) being installed and available on your server.

``` shell
# macOS (Homebrew)
brew install ffmpeg

# Ubuntu/Debian
sudo apt install ffmpeg
```

If FFmpeg isn't found on the system `PATH`, you can point Statamic at the binary explicitly in `config/statamic/assets.php`:

```php
// config/statamic/assets.php

'ffmpeg' => [
    'binary' => '/usr/local/bin/ffmpeg',
    'cache_path' => storage_path('statamic/glide/ffmpeg'),
],
```

Generated thumbnails are cached to disk at `cache_path` so FFmpeg only runs once per video.

### Disabling

Video thumbnail generation is enabled by default. To disable it, set `video_thumbnails` to `false` in `config/statamic/assets.php`:

```php
//config/statamic/assets.php

'video_thumbnails' => false,
```

## Custom cache stores

Statamic leverages [Laravel's application cache](https://laravel.com/docs/cache) to cache asset metadata and folders. However, this means that whenever you run `php artisan cache:clear`, the cached asset information will be cleared.

If you have a lot of assets and/or folders, you might want to specify a custom cache store so the cached assets are persisted when you clear your application cache.

The cache store can be customized in `config/cache.php`.

```php
// config/cache.php

'asset_meta' => [
    'driver' => 'file',
    'path' => storage_path('statamic/asset-meta'),
],
'asset_container_contents' => [
    'driver' => 'file',
    'path' => storage_path('statamic/asset-container-contents'),
],
```

To clear these caches, run `php please assets:clear-cache`.

## Performance

If you're using [custom asset cache stores](#custom-cache-stores) and you're experiencing performance issues with Assets, like slow queries or a slow asset browser, it might be worth moving your assets to the database using the Eloquent Driver. It takes a different approach to caching asset metadata, which sometimes works better for sites with more assets.

You can find out more about [moving assets to the database here](/tips/storing-content-in-a-database.md#moving-content-to-the-database).