# Deploying Statamic with Laravel Cloud
Laravel Cloud is a fully managed infrastructure platform. It's relentlessly optimized for Laravel and PHP. It's our favorite way to deploy Statamic sites that need to scale.
:::warning
Currently, Statamic's [Git automation](/git-automation.md) doesn't work on Laravel Cloud.
This may change in the future as Laravel Cloud continues to evolve. For now, we recommend moving [content](/tips/storing-content-in-a-database.md) and [users](/tips/storing-users-in-a-database.md) into the database, and moving assets [onto Laravel Cloud's object storage](#creating-an-object-storage-bucket) service.
Alternatively, if you prefer to keep everything in flat files, you can disable the Control Panel and manually push any content changes from your local environment.
:::
## Creating your application
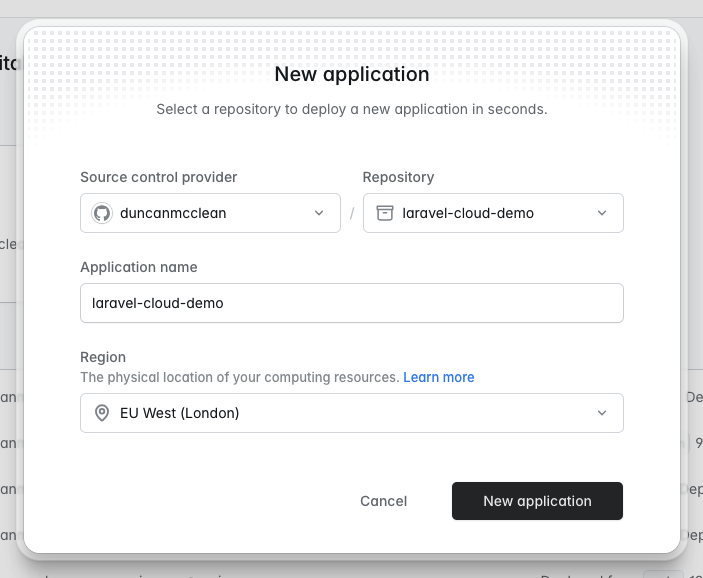
Once you've created your [Laravel Cloud](https://app.laravel.cloud) account, click "New application" to get started.
If it's your first application, you'll be asked to connect your Git provider of choice (GitHub, GitLab or Bitbucket).
From there, select the repository you want to deploy, give it a name and pick the region where you want your application deployed.
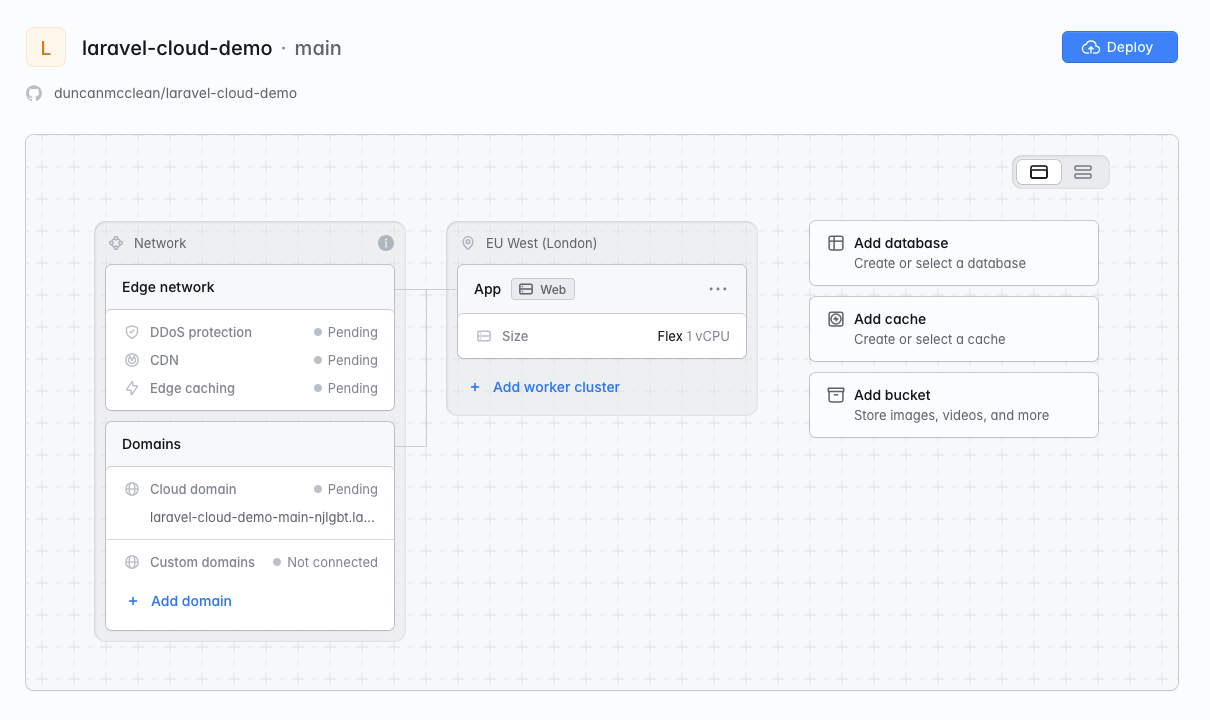
Upon creation, you can setup any "resources" needed for your application, like a database or object storage bucket.
Make sure to click "Save" after making changes to your application's resources.
### Creating a database
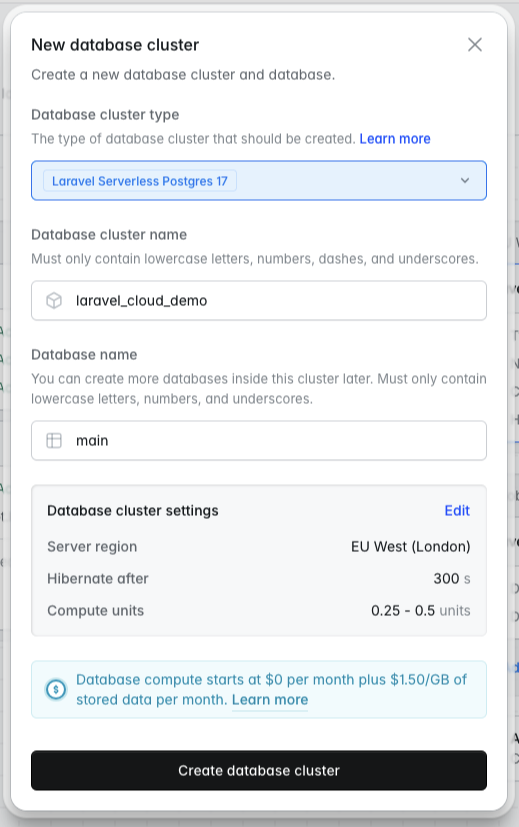
If you're storing content and users in the database (which), you'll need to create a database cluster in Laravel Cloud. You can do this from the environment overview page:
Once you've created your database cluster, you'll probably need to import data from an existing database you might have, whether that be locally or from a staging server.
You can use a database GUI, like [TablePlus](https://tableplus.com/) to do this.
1. Open your existing database, select all of the tables, and right click "Export". Make sure to save your export as a `.sql` file.
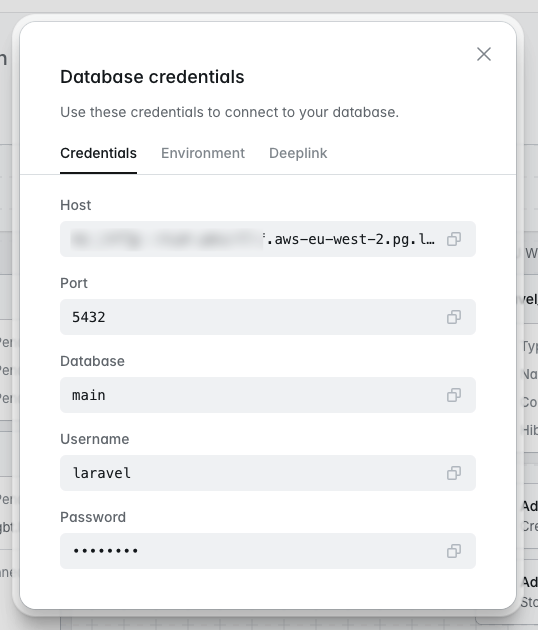
2. Connect to your new Laravel Cloud database using the "View credentials" button.
If you're using TablePlus (or another GUI that supports it), you can open the database directly from the "Deeplink" tab.
3. Finally, import your database by right-clicking the tables list and selecting "Import -> From SQL File". From here, you can choose the `.sql` file you just exported.
### Creating an object storage bucket
Since the [Git Automation](/git-automation.md) does not work on Laravel Cloud, we recommend moving assets to Laravel Cloud's object storage service.
Laravel Cloud provides an S3-compatible filesystem, so you will need to install the S3 Flysystem driver in your project:
```
composer require league/flysystem-aws-s3-v3 "^3.0" --with-all-dependencies
```
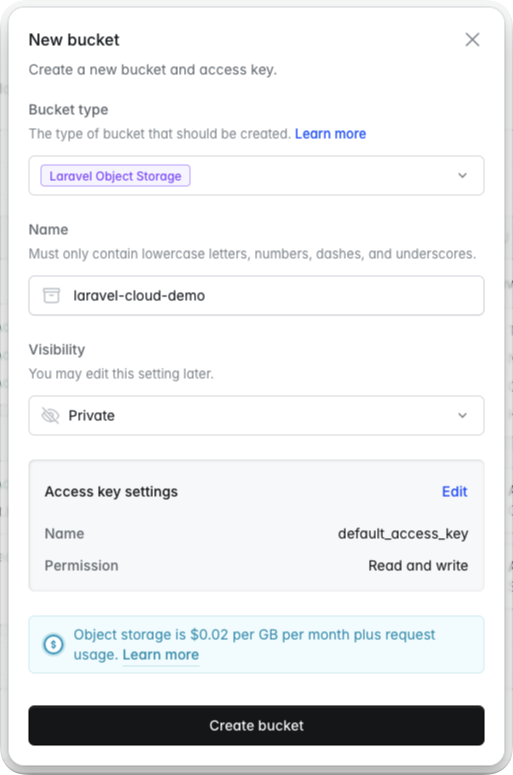
Then, in Laravel Cloud, you can create a new bucket from the environment overview page:
You will then be prompted to select a filesystem disk for the bucket, it should match a disk in your `config/filesystems.php` config.
Once the bucket is created, you can upload existing assets using a tool like [Transmit](https://panic.com/transmit/), [Cyberduck](https://cyberduck.io/), or any similar app that supports S3-compatible filesystems.
## Deploying your application
Now that you've got everything set up, all thats left to do is trigger your first deployment. 🚀
If you're using Vite to build CSS/JavaScript, make sure to uncomment the `npm` commands in your application's deployment settings.
For more information about Laravel Cloud, please see its [documentation](https://cloud.laravel.com/docs).
## Static Caching
You can't use full-measure static caching with Laravel Cloud, as there's no way to edit the underlying Nginx config.
However, you can use [half-measure static caching](/static-caching.md#application-driver), which stores the cached HTML pages in your application's cache. In order for the static cache to persist between deployments, you should use a persistent cache driver like [`database` or `redis`](https://laravel.com/docs/master/cache#configuration).
## Troubleshooting
### Upstream sent too big header while reading response header from upstream
You may encounter this error when submitting a form on the frontend, or updating content in the Control Panel.
You can fix it by changing your application's session driver from `cookie` to another driver, like `database` or `redis`.
You can find more information about session drivers on the [Laravel documentation](https://laravel.com/docs/13.x/session#introduction).