# Install Statamic Locally Using Laravel Herd
Using Laravel Herd to run Statamic locally is the **easiest and fastest way** to get started with the best CMS out there. It is also very **beginner-friendly**.
## Overview
Laravel Herd offers a straightforward approach to setting up your machine with all the necessary dependencies for PHP development, like a web server and Composer, and of course PHP itself. It's easier compared to using Homebrew, less error-prone, and blazingly fast. It's our preferred and recommended way to get started with Statamic and Laravel development on a Mac and Windows.
:::watch https://www.youtube-nocookie.com/embed/MZZYTXSysrQ?si=7sMSYltGFHLndWcf
Watch this guide as a video 🐘
:::
## Prerequisites
To install Herd and run Statamic locally you will need the following:
- A Macintosh running macOS 12.0+
- A personal computer running Windows 10+
- That's it.
## Install Laravel Herd
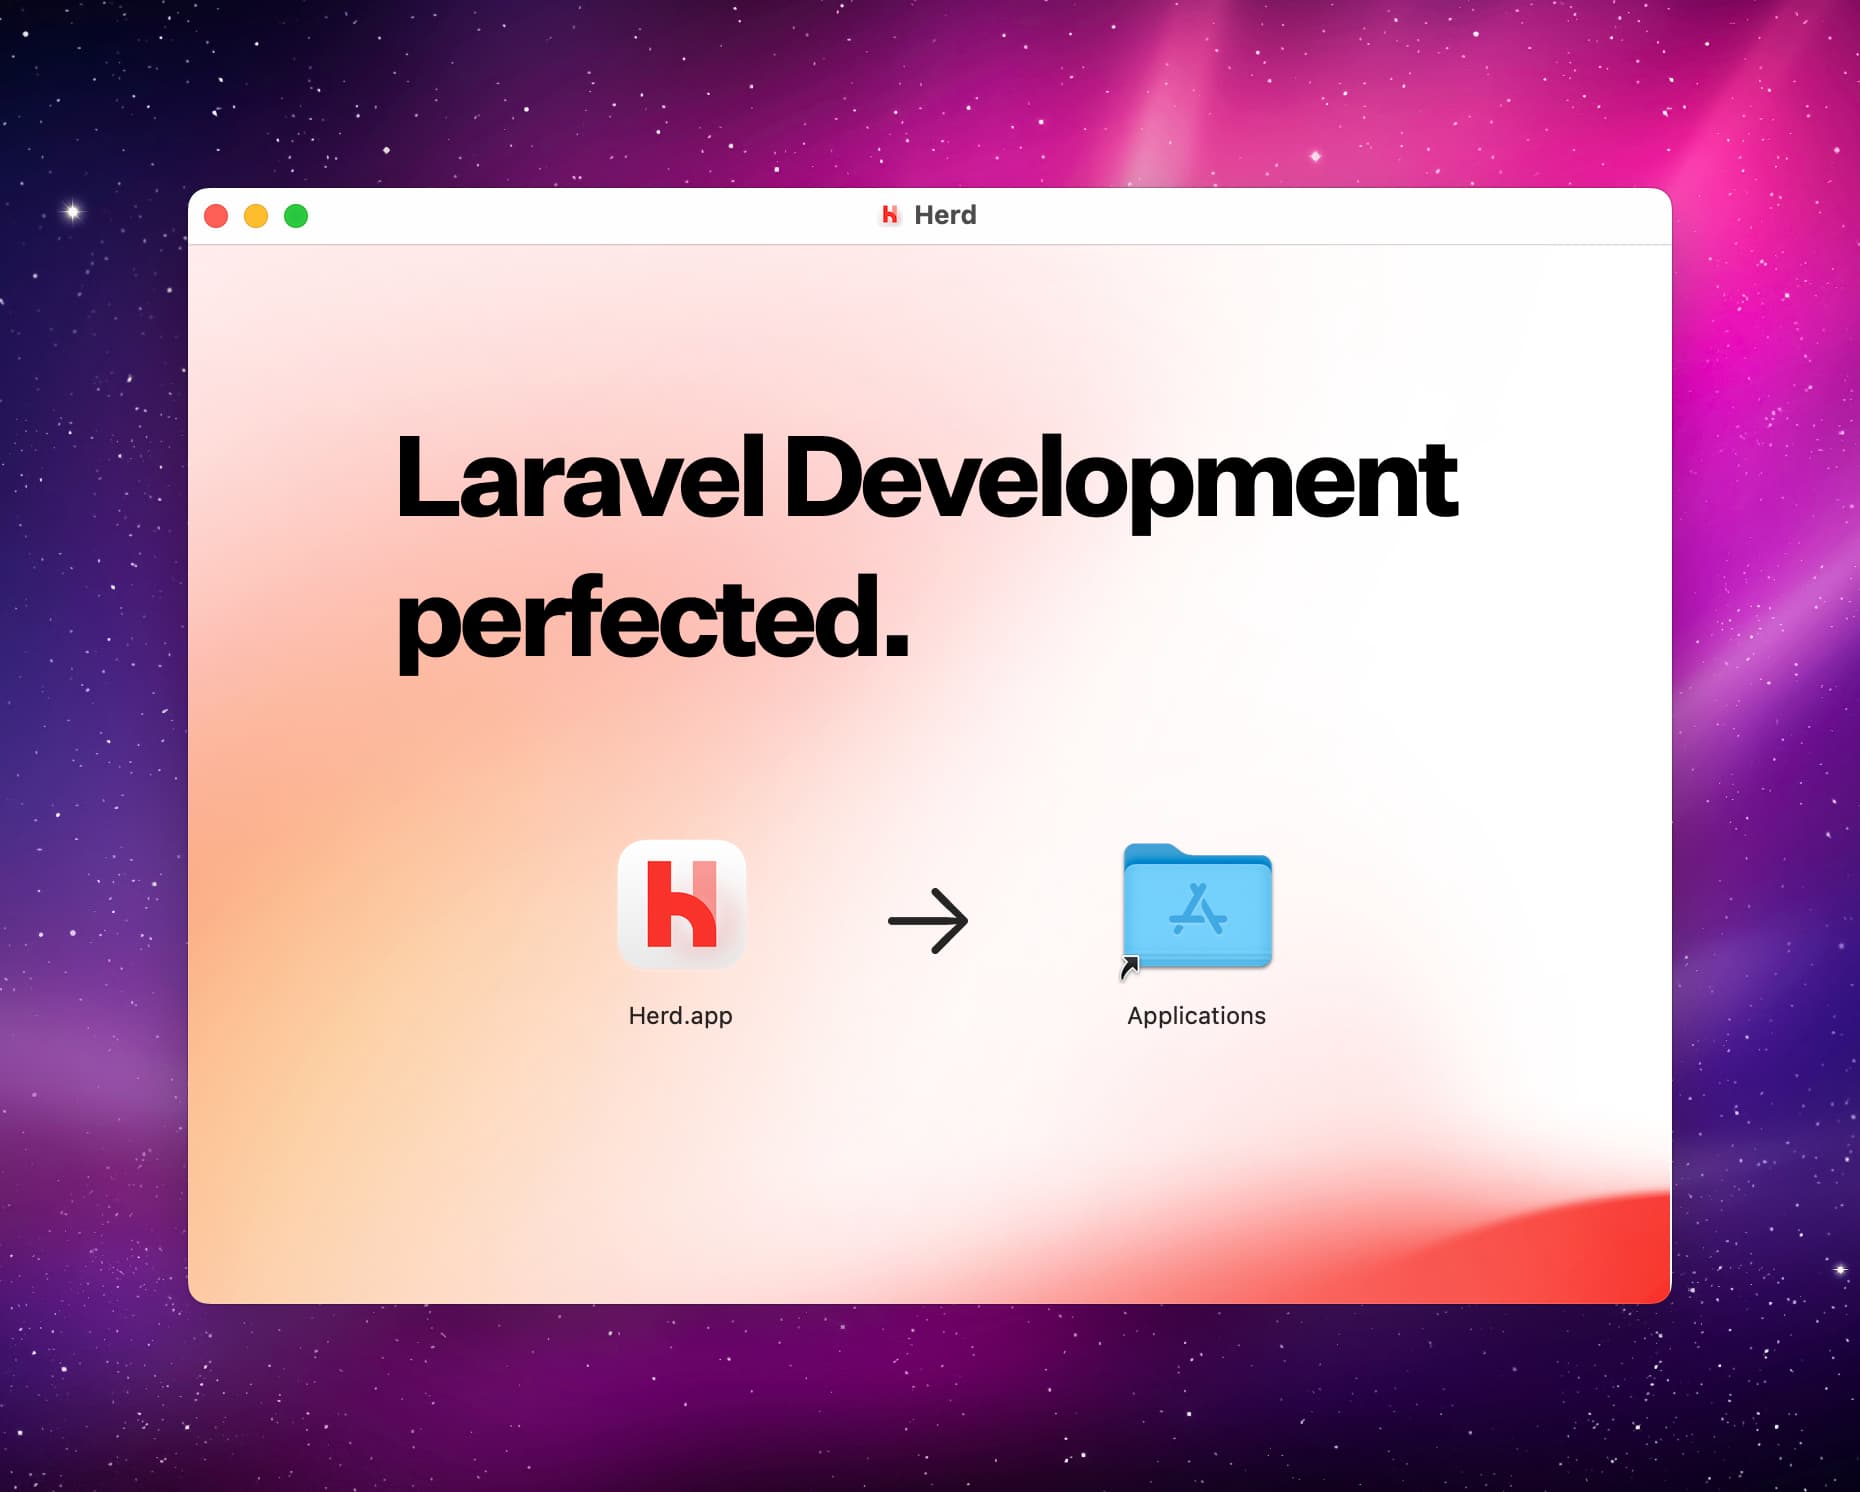
Installing Herd is super easy and the same process as with any other application. Just download the latest version on [herd.laravel.com](https://herd.laravel.com).
Drag'n'Drop It Like It's Hot
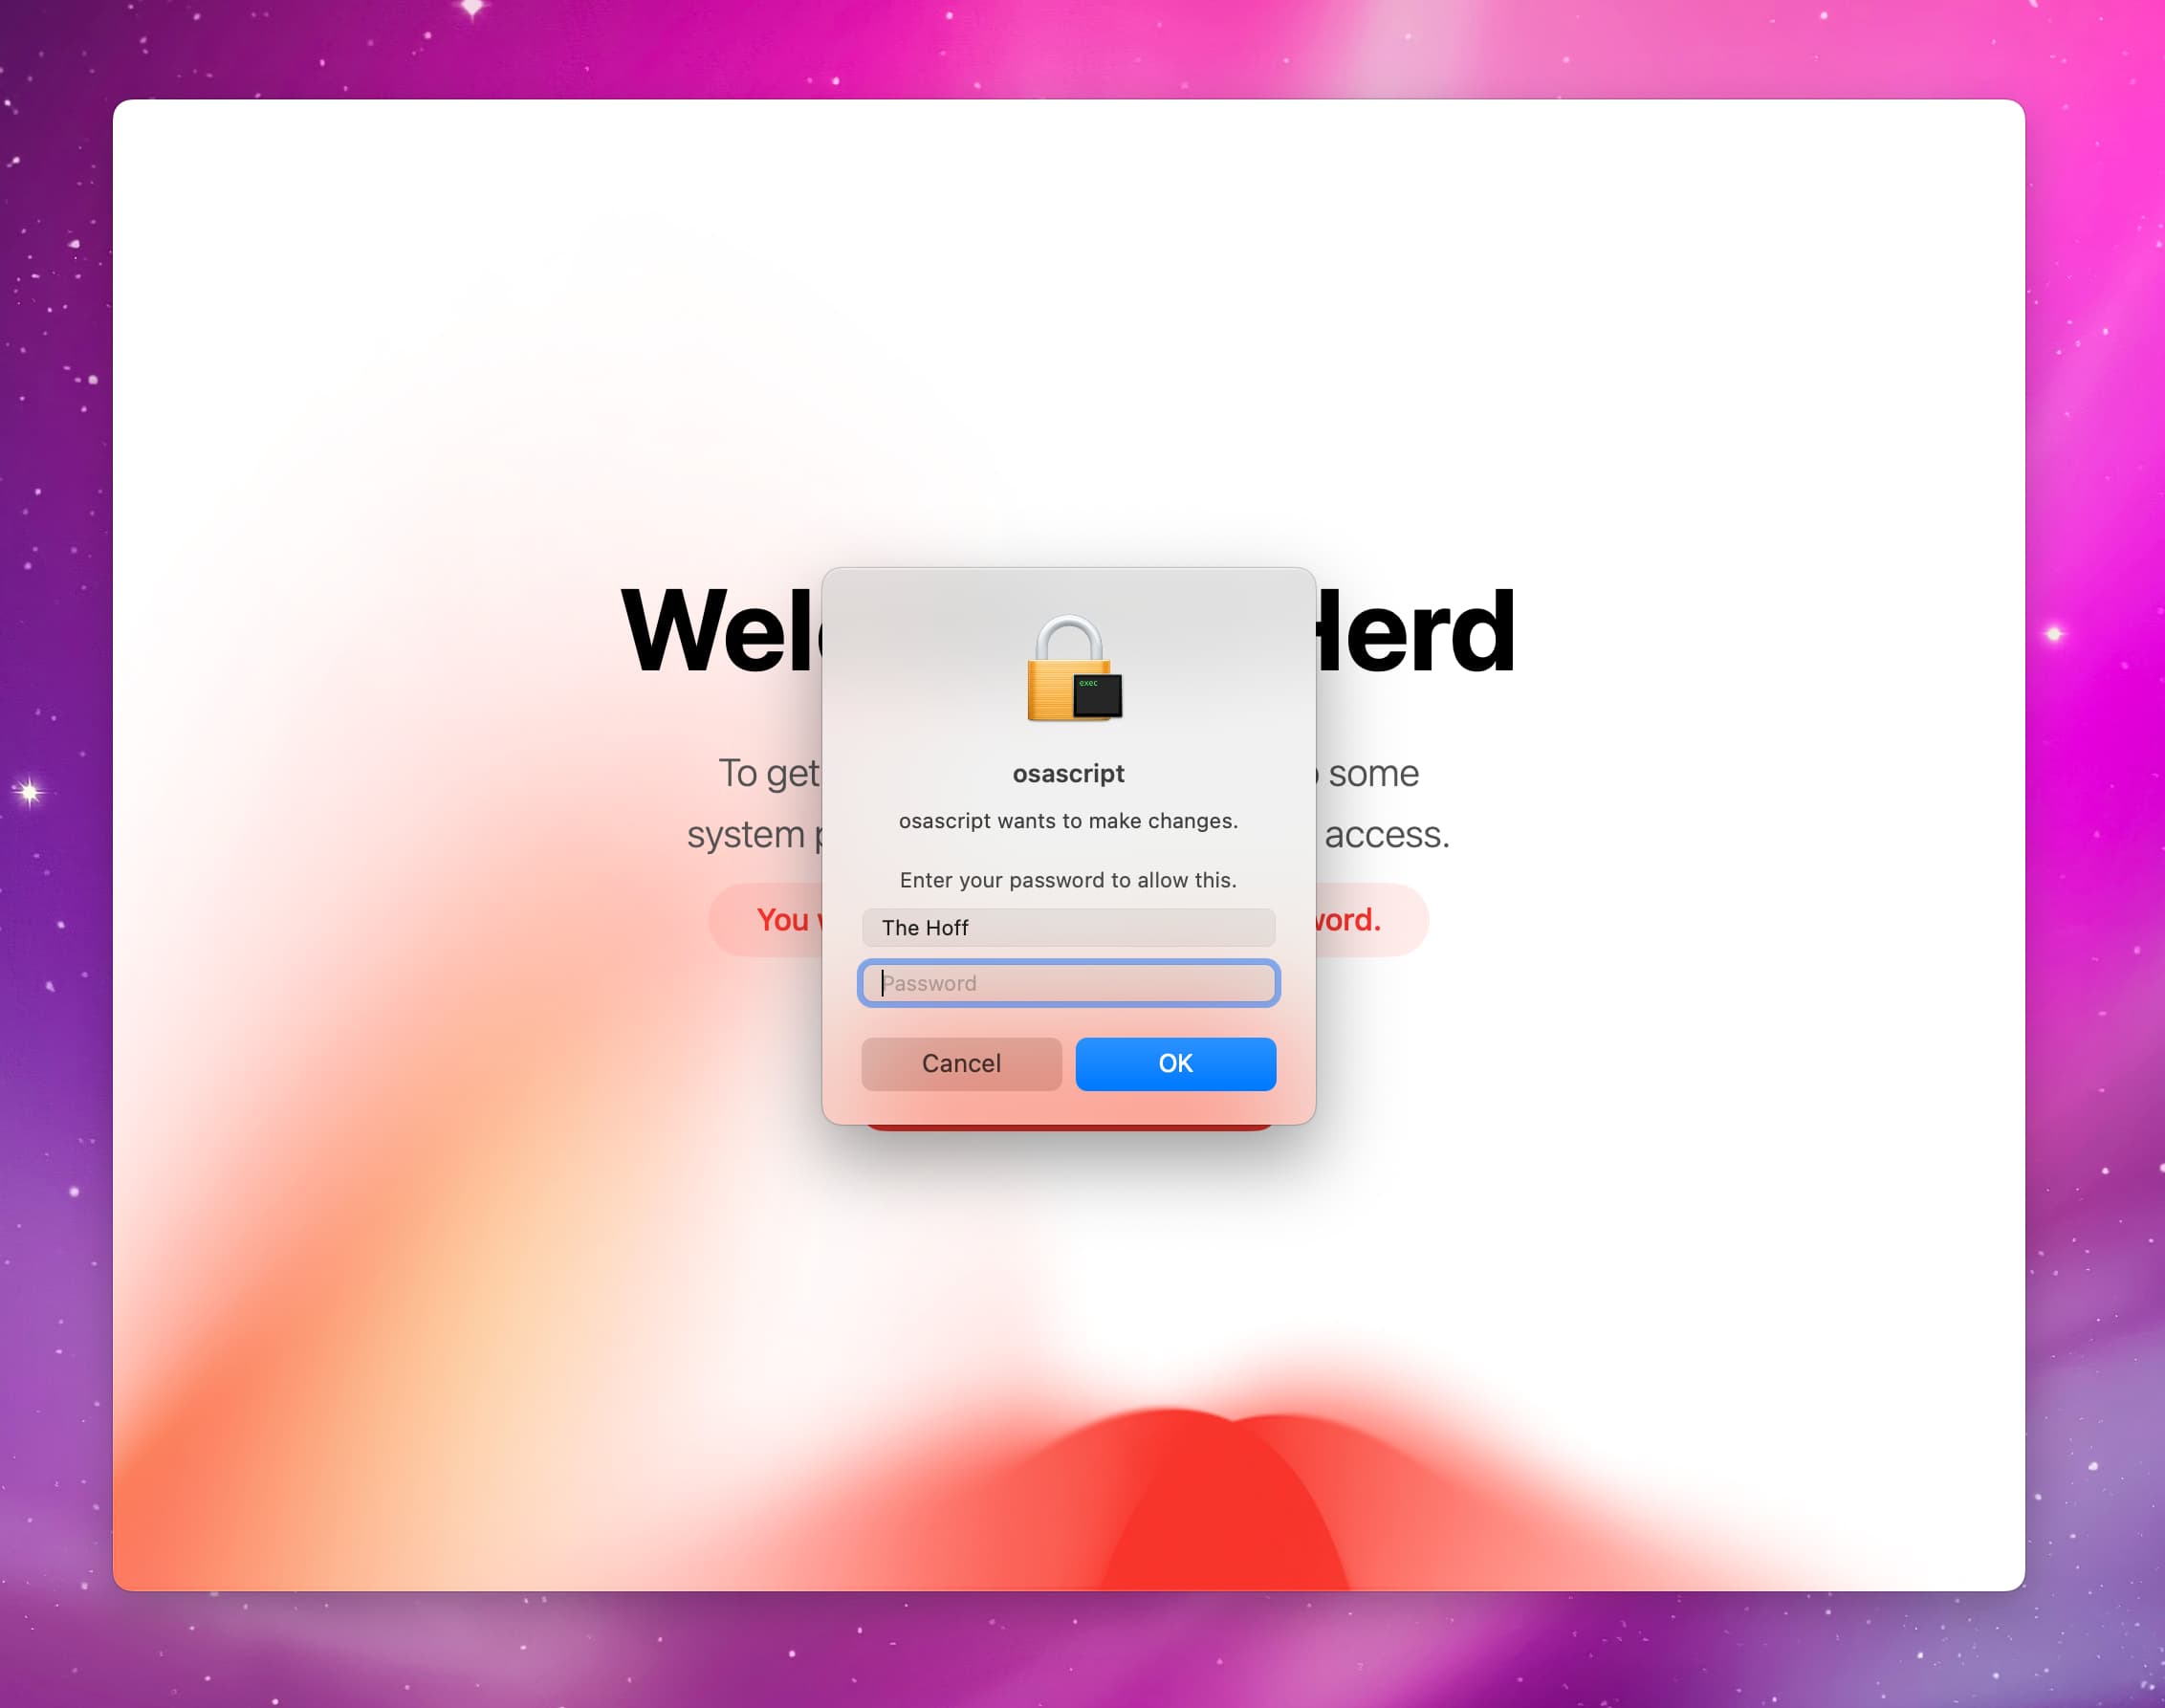
After you open it for the first time, you will get prompted to type in your admin password so all the necessary files can be put in the right places.
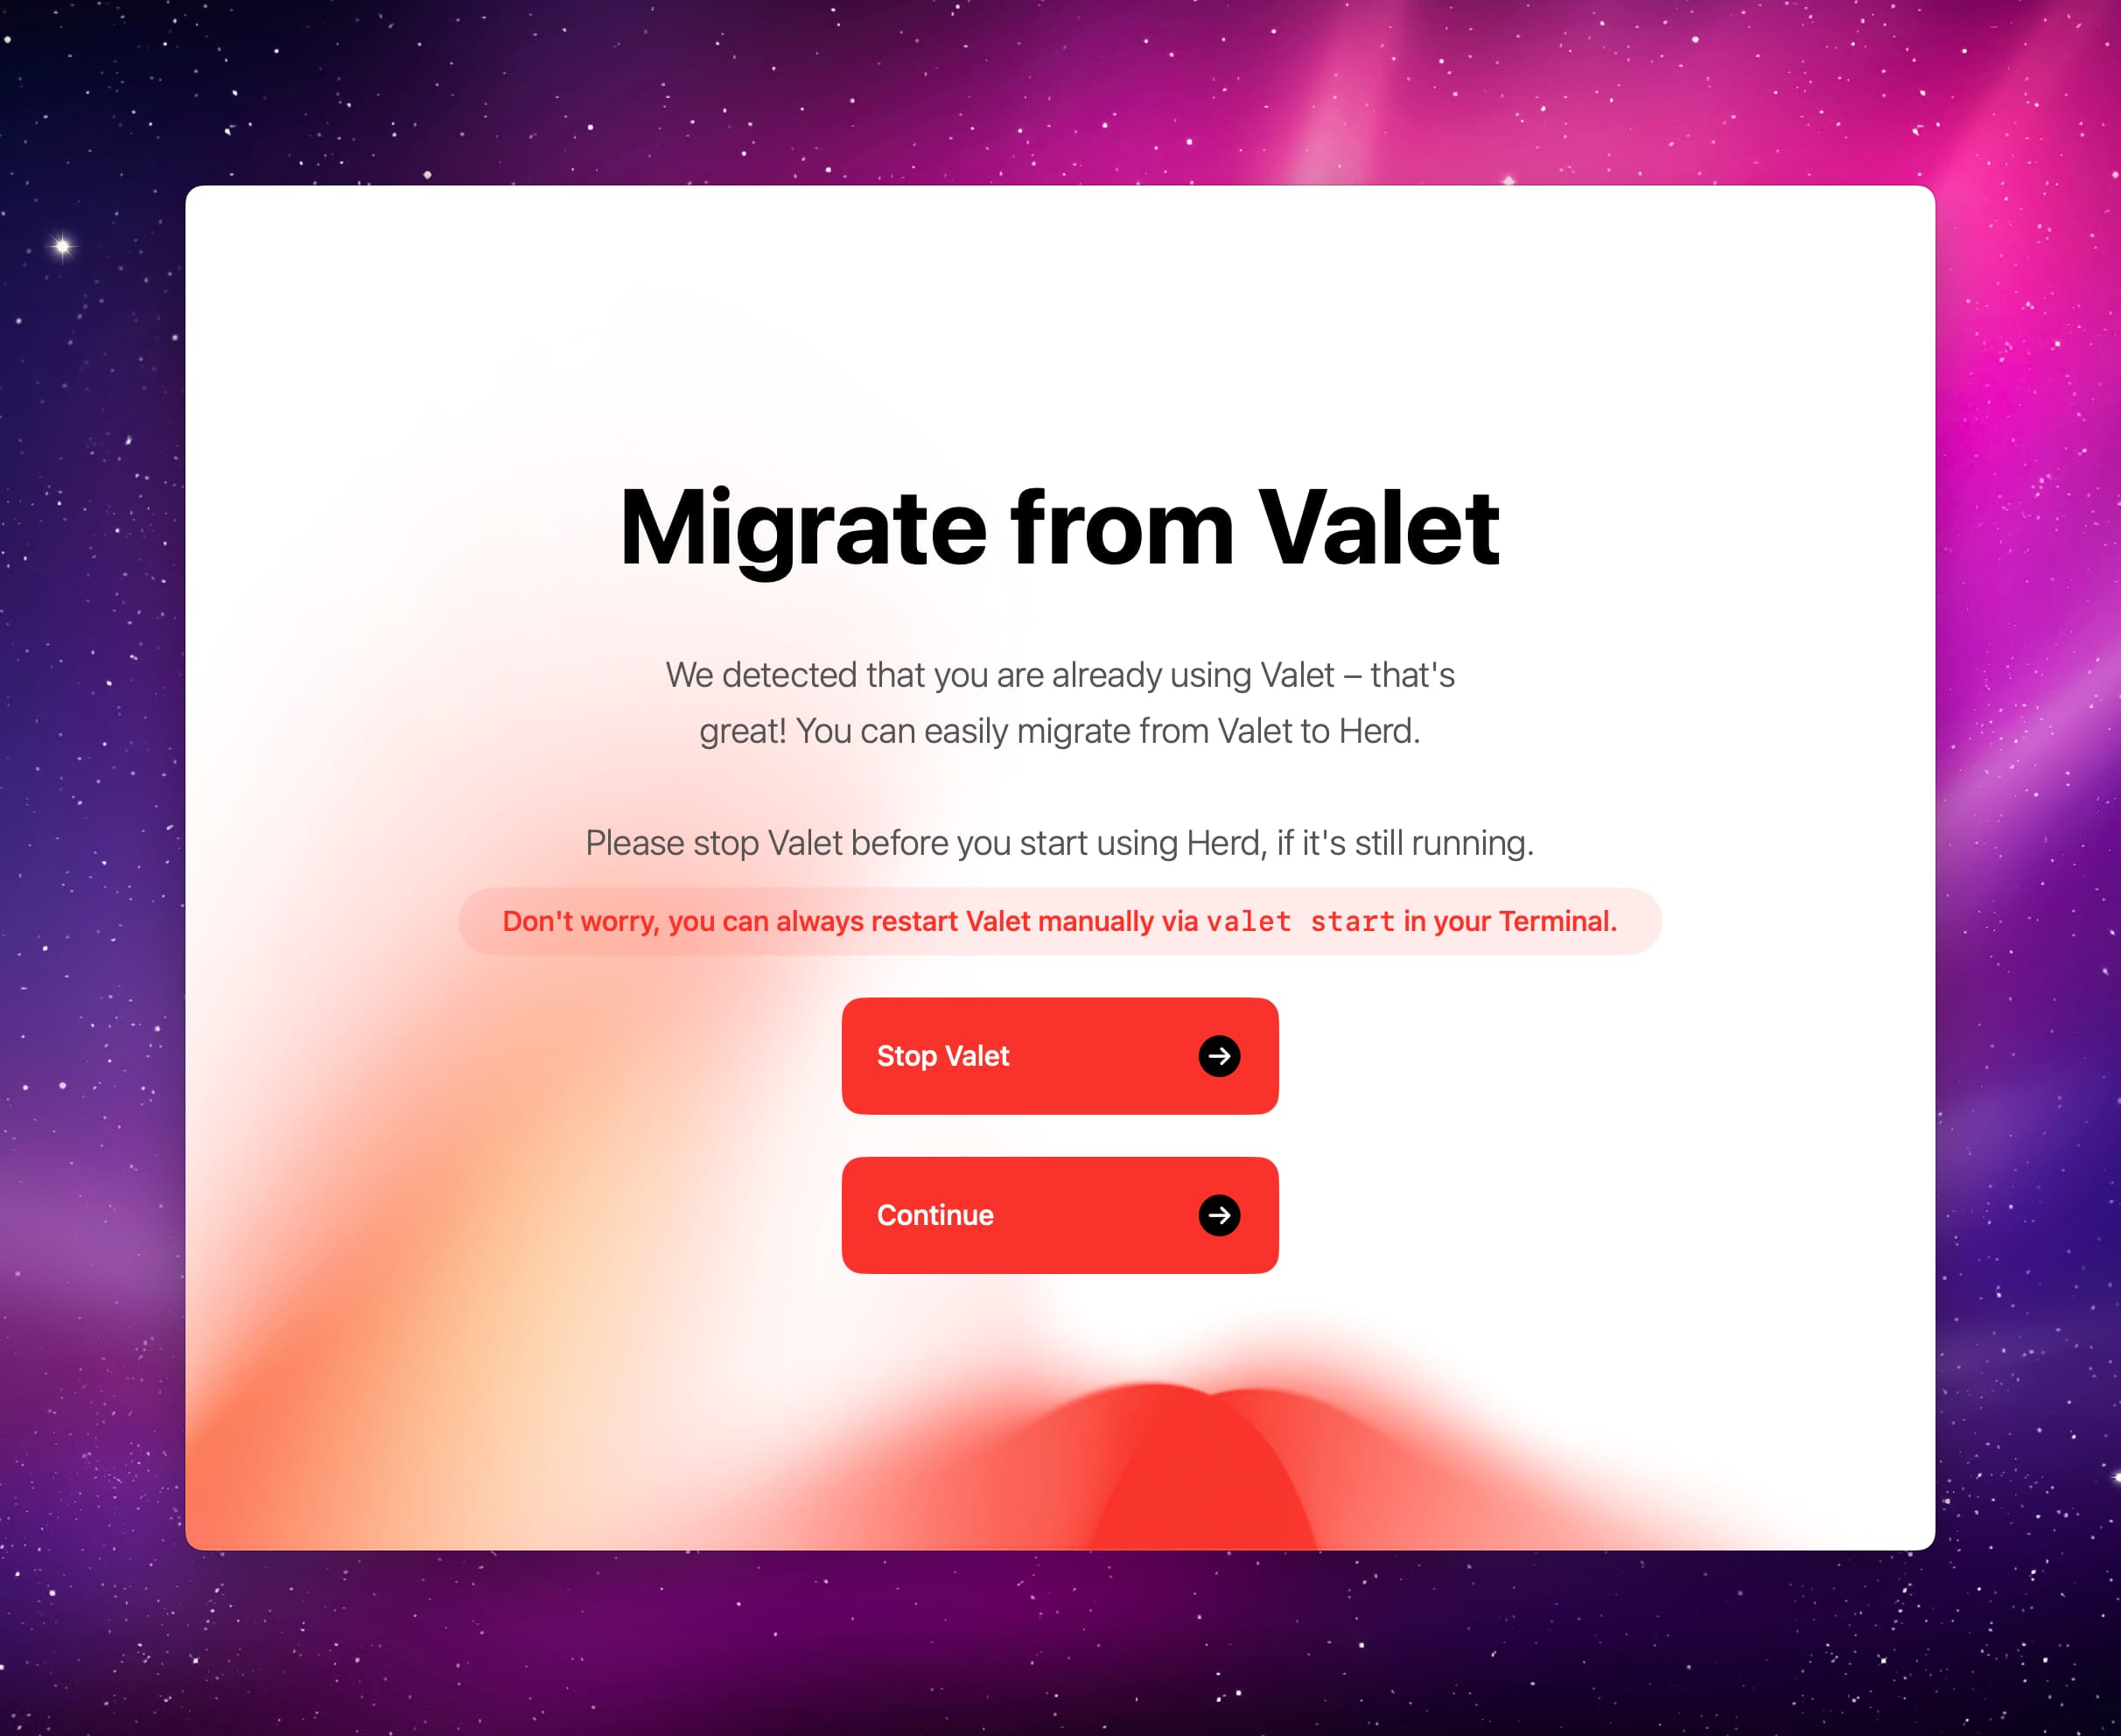
If you previously used Laravel Valet on Mac you can migrate to Herd and all settings, like linked projects and installed PHP versions, will be synced. Didn't use Valet before? Then you won't see this screen.
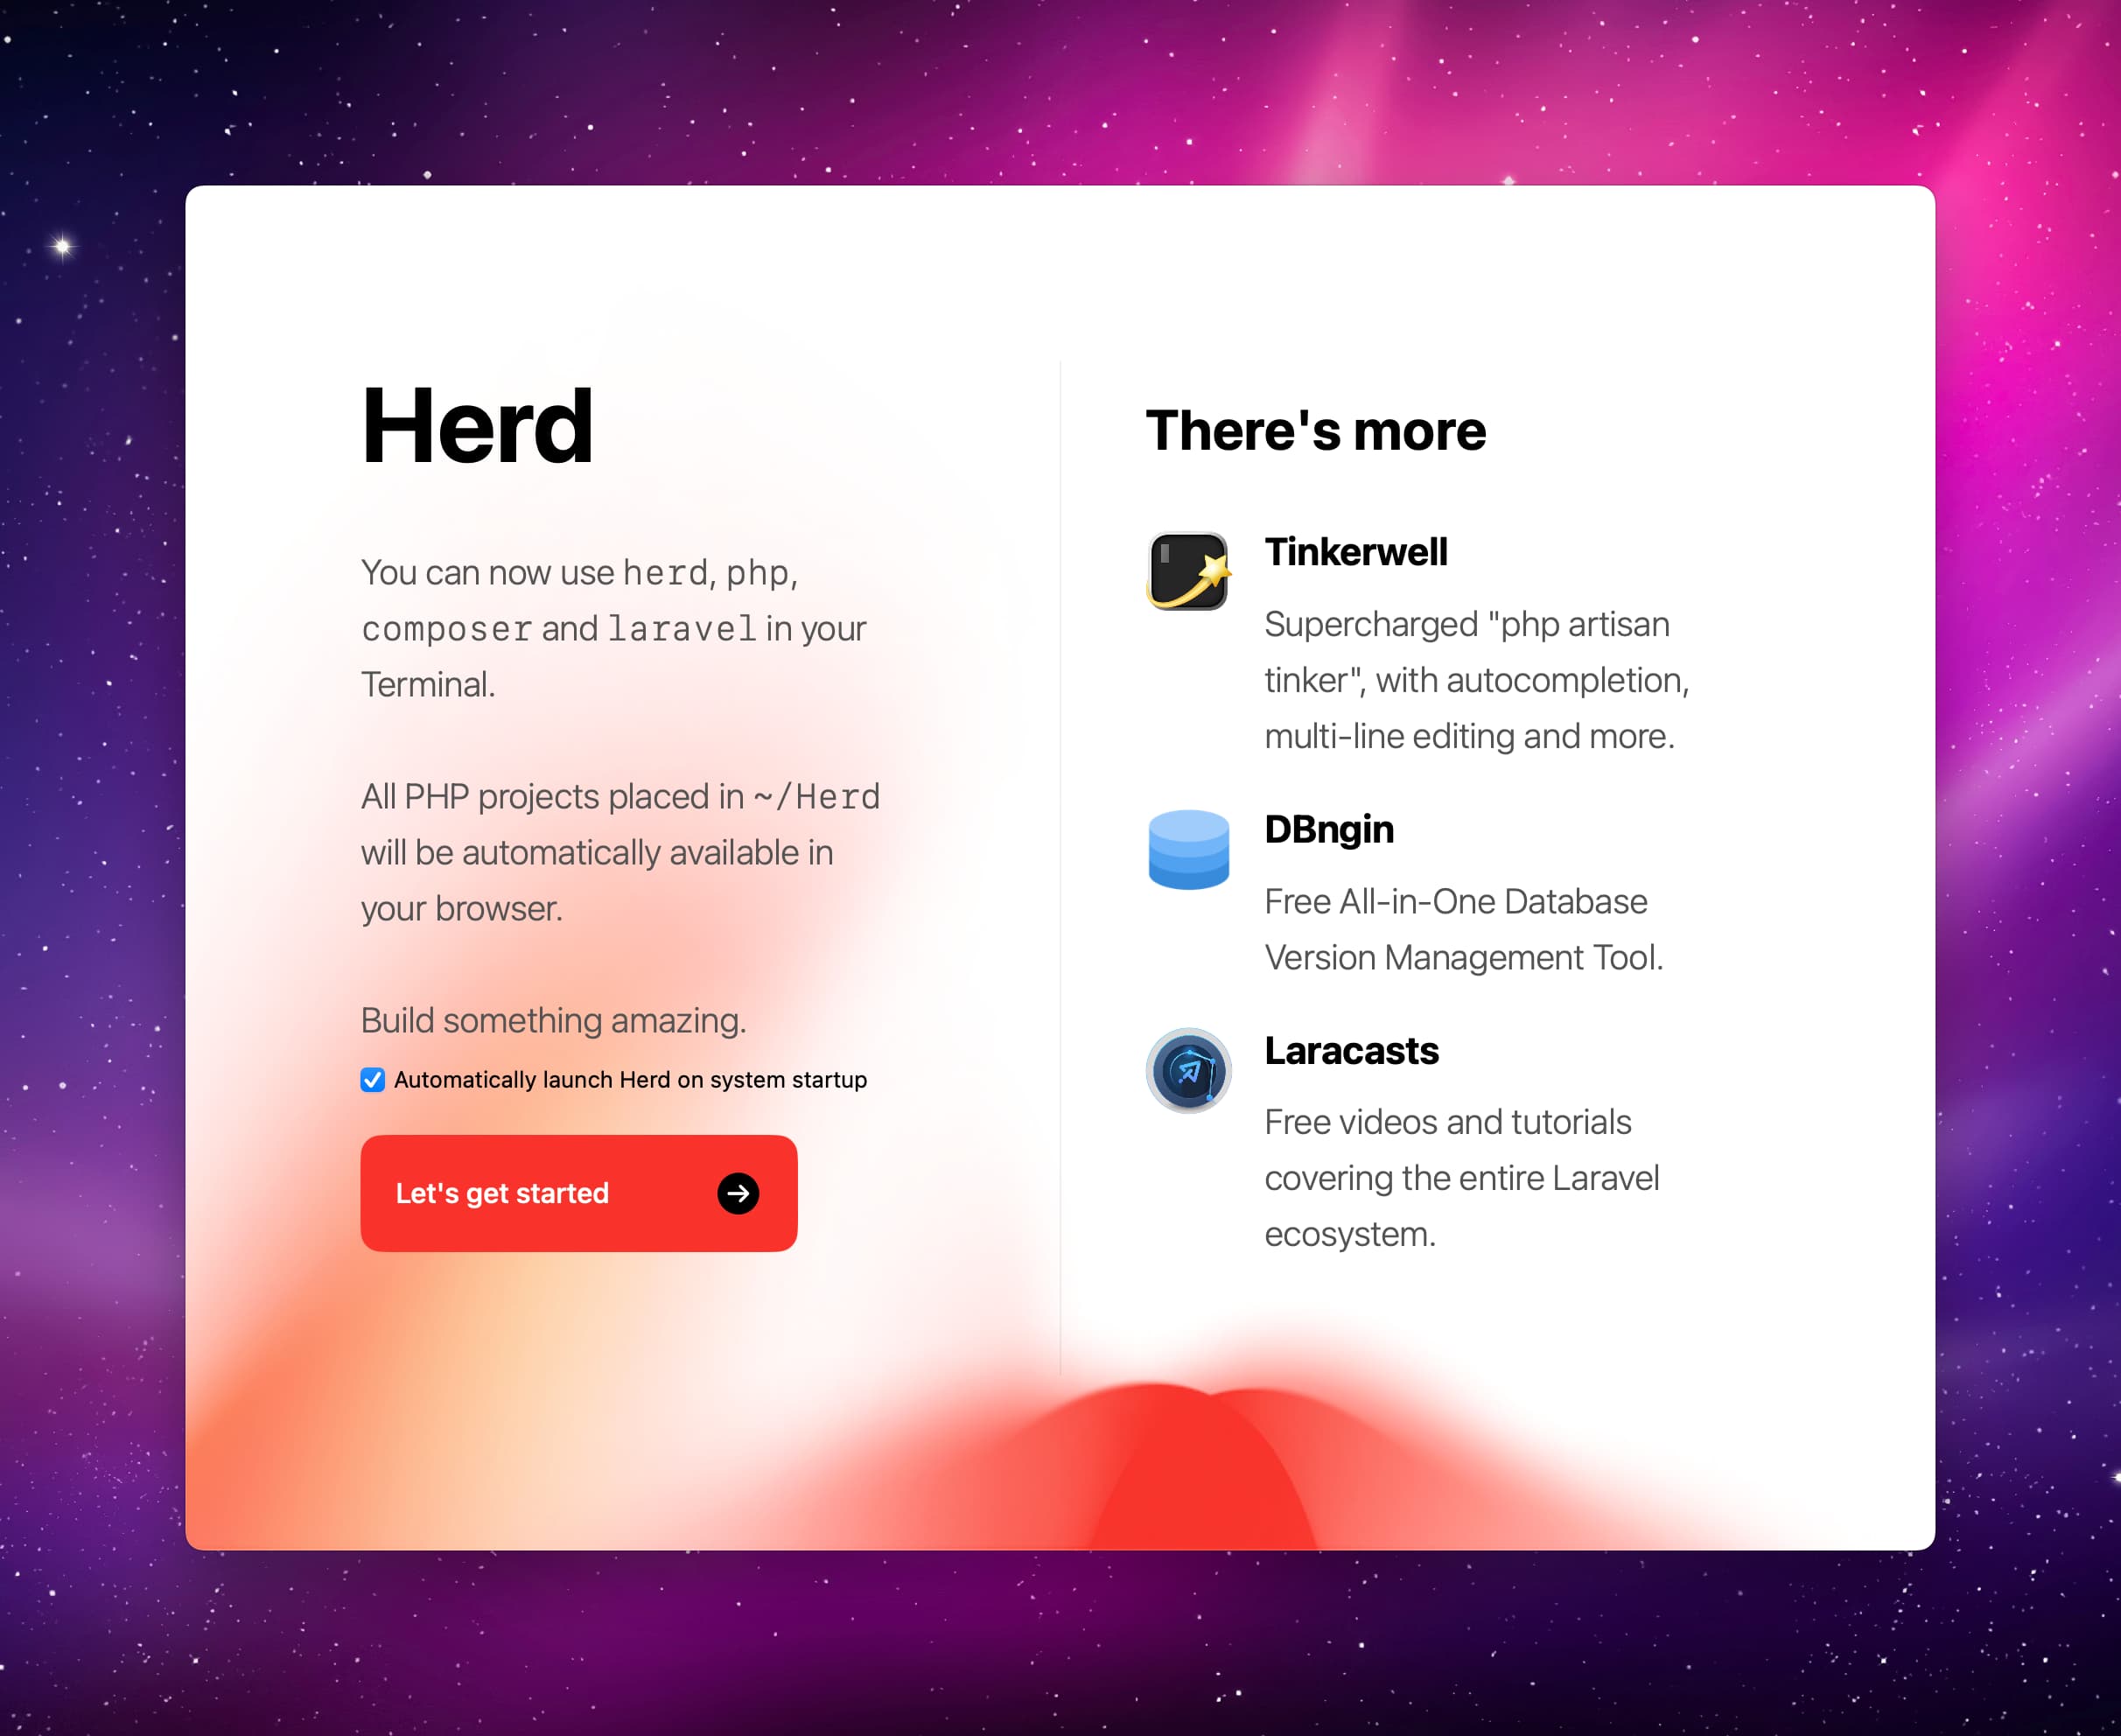
Next, you're presented with a screen saying that you can now use Herd, Composer, and more. The default location to place your projects in is `~/Herd` which you can change in the settings, if you like. You can also choose to automatically launch Herd on startup which we would recommend.
After that's done, Herd has been successfully installed and you now have a local PHP development environment on your machine.
Harold congratulates you from Hungary 🇭🇺
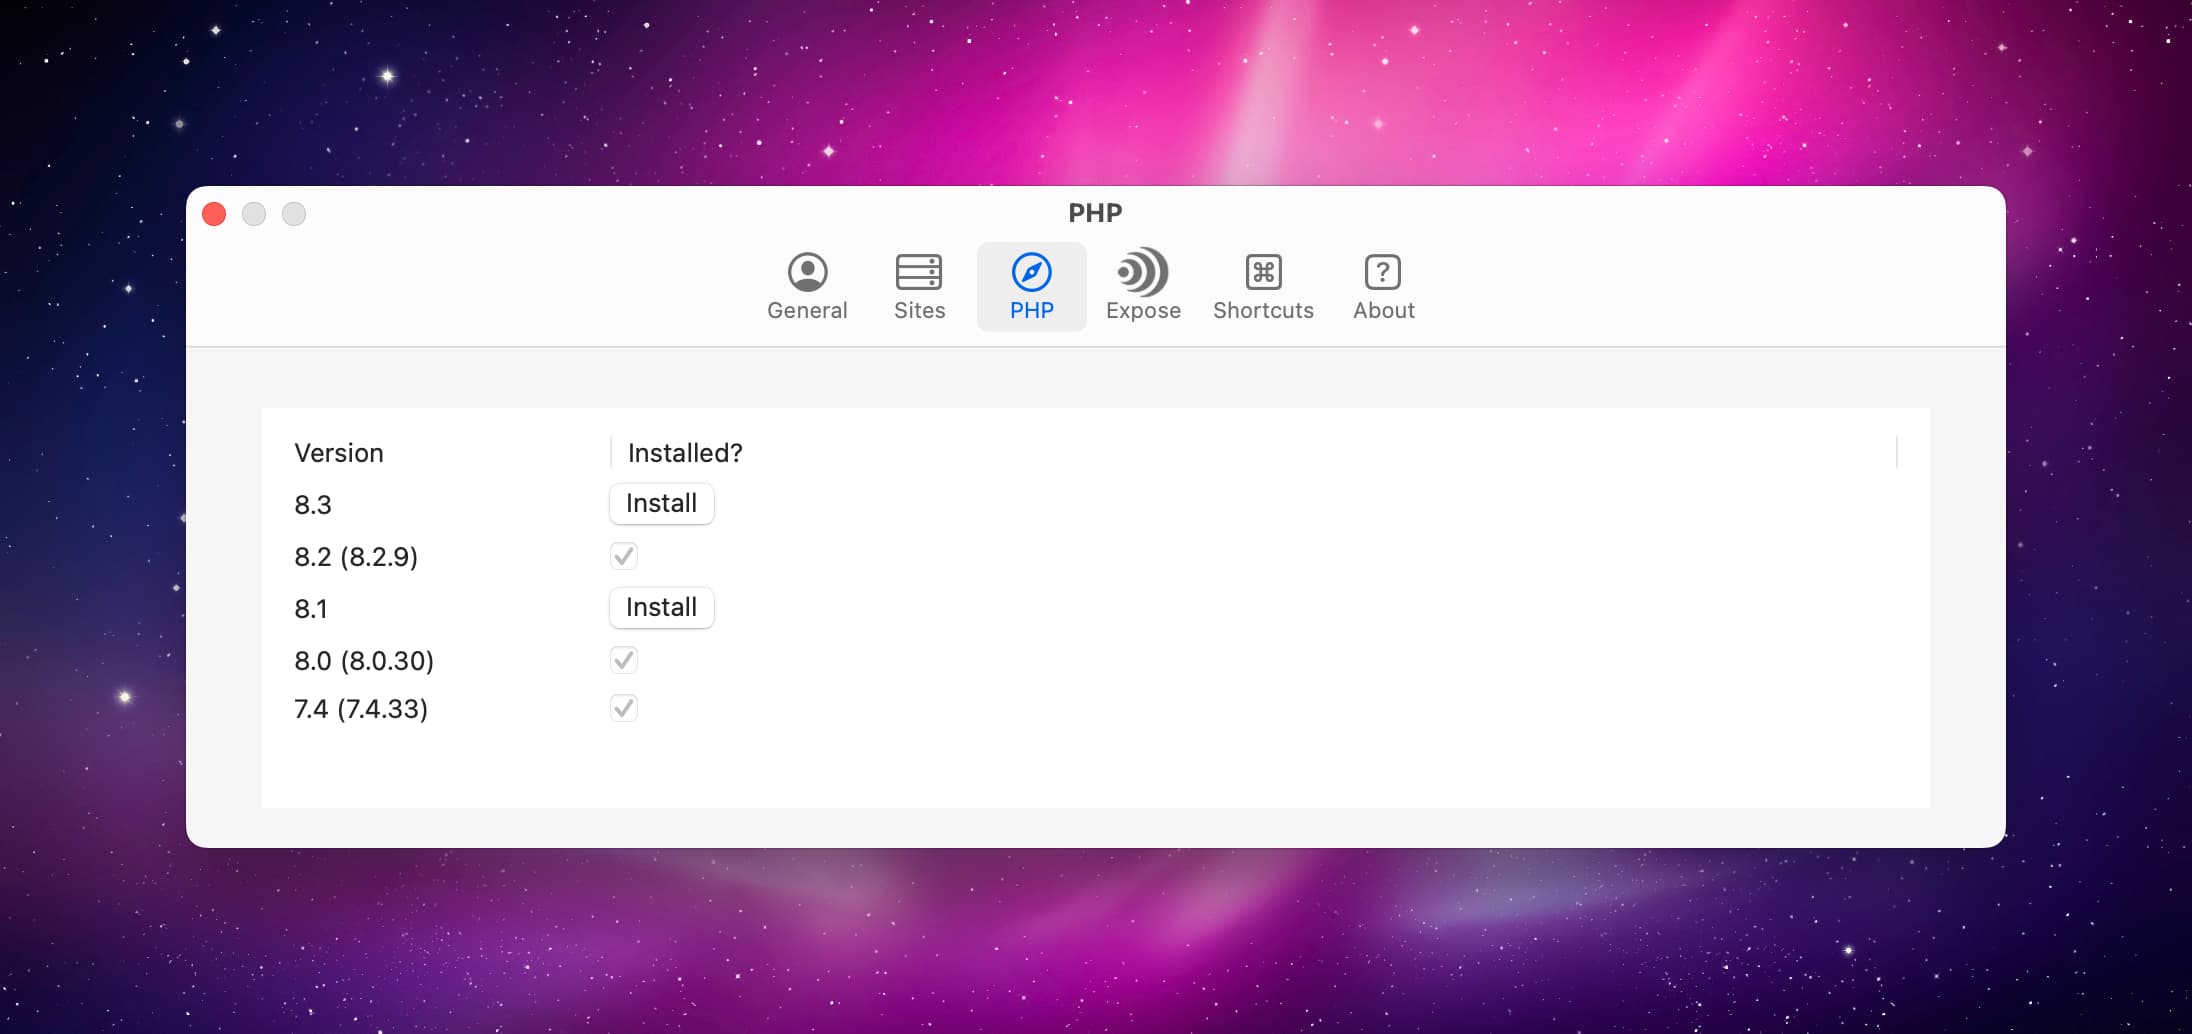
If you want to install additional PHP versions or make your local sites available through [Expose](http://expose.dev/) via secure tunnels, open the Herd settings to get access to a range of different options.
## Install Statamic CLI
Next up on your journey to greatness is installing the Statamic CLI. To do this, run the following command in your terminal:
``` shell
composer global require statamic/cli
```
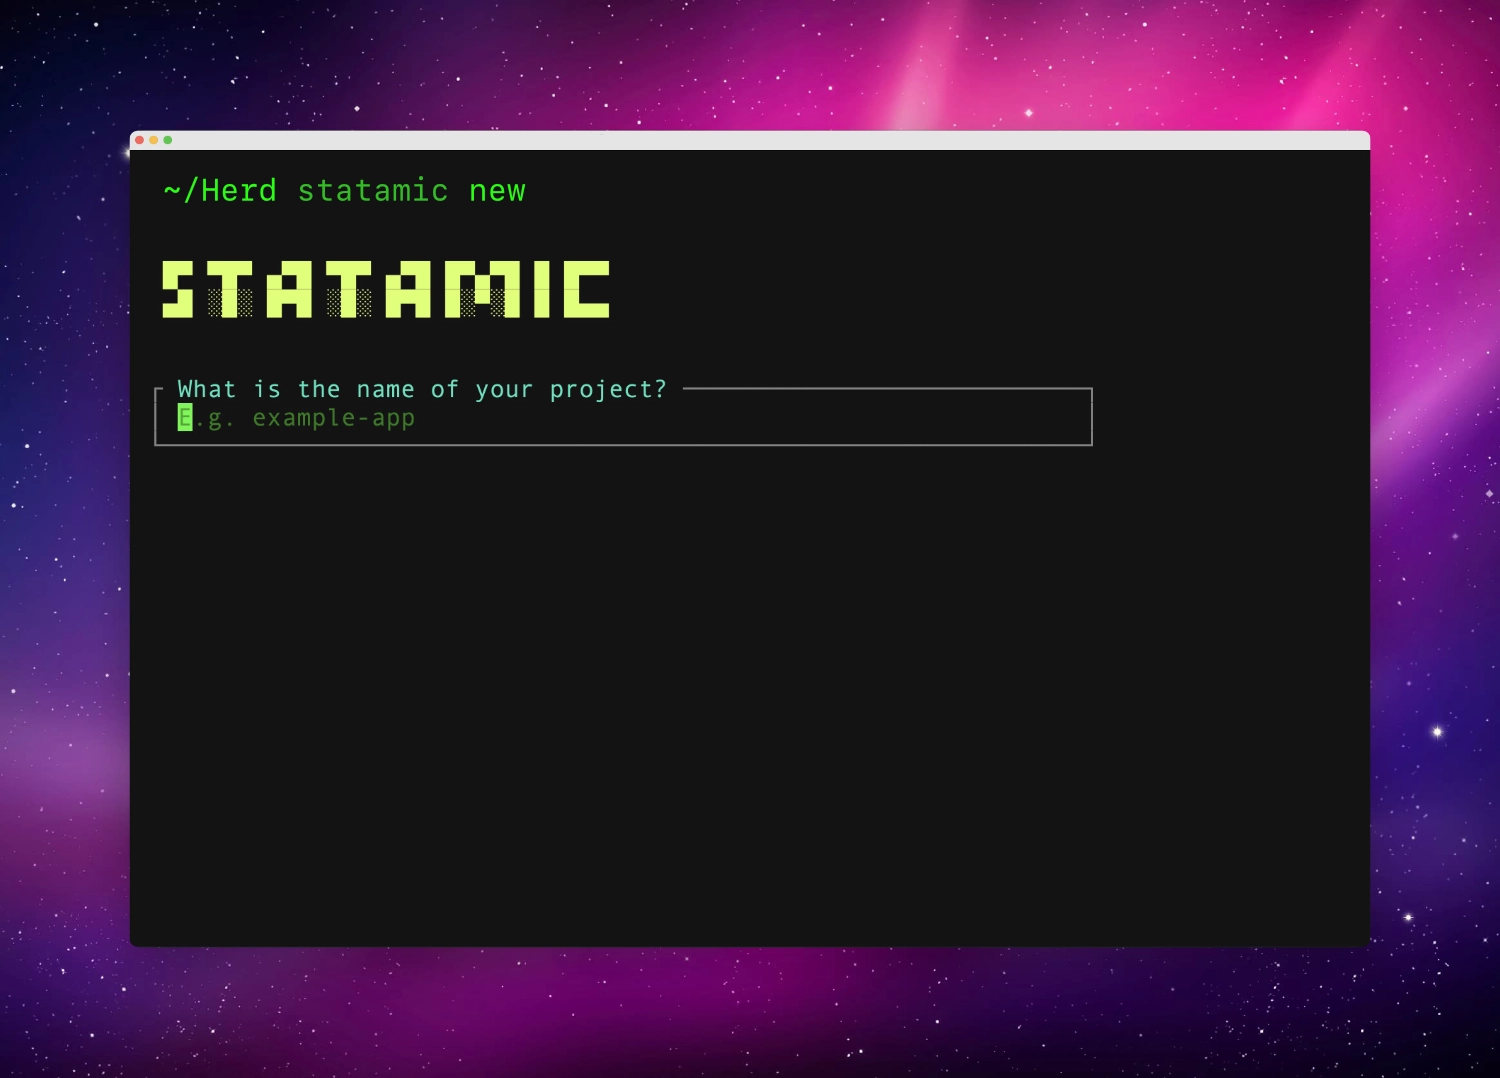
Upon installation, you can now use the `statamic new` command to spin up fresh Statamic sites with a CLI setup wizard 🧙♂️ to guide you through a variety of settings and options.
Our CLI is essentially a super fancy wrapper around the `composer create-project` command. You can choose to not install it. Though it offers a wide range of really neat features and we recommend it.
## Create a new site
Let's take the last big step toward you enjoying all of Statamic's radness™.
In your terminal, run `statamic new your-project-name` and follow the prompts to create a new site. The command will create the site **in the current directory** you're in. So with Herd on Mac, you should run this command from the `~/Herd` directory.
If you encounter any issues running `statamic new`, like a `Command not found` error, have a look at [our tips on troubleshooting this](/troubleshooting/command-not-found-statamic.md).
Lime green and zesty spirit 🍋
## Access the site
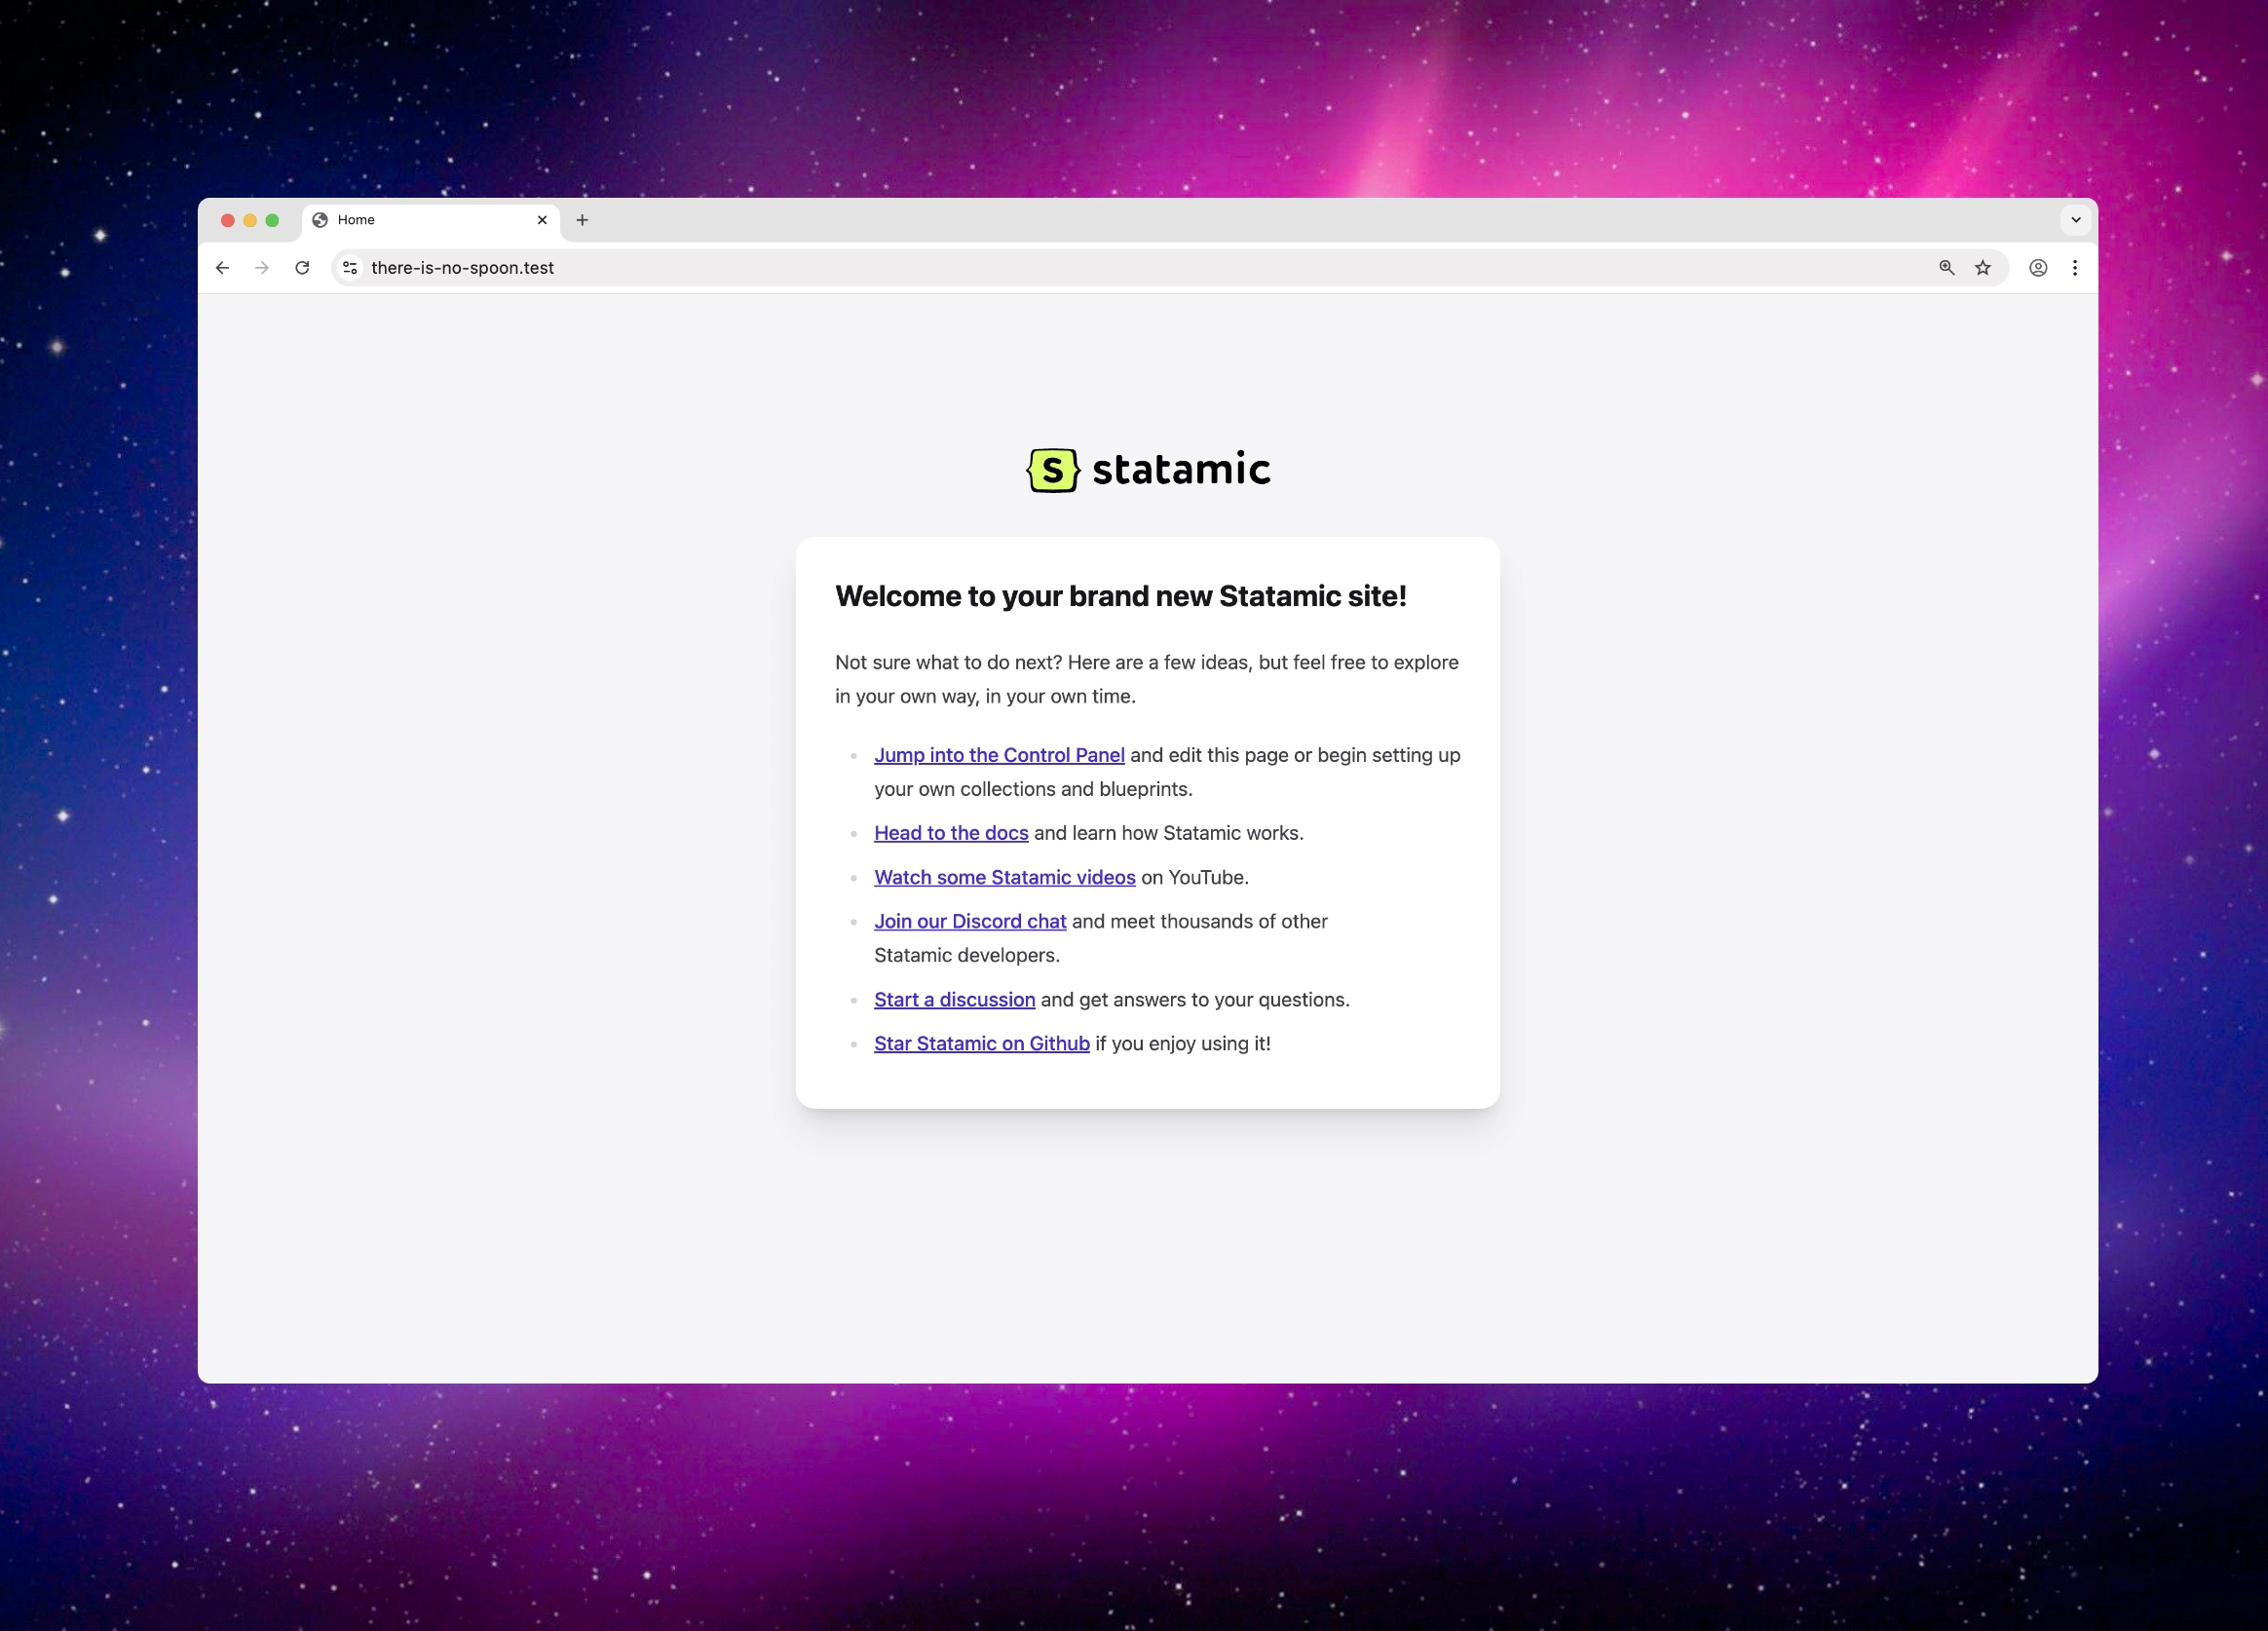
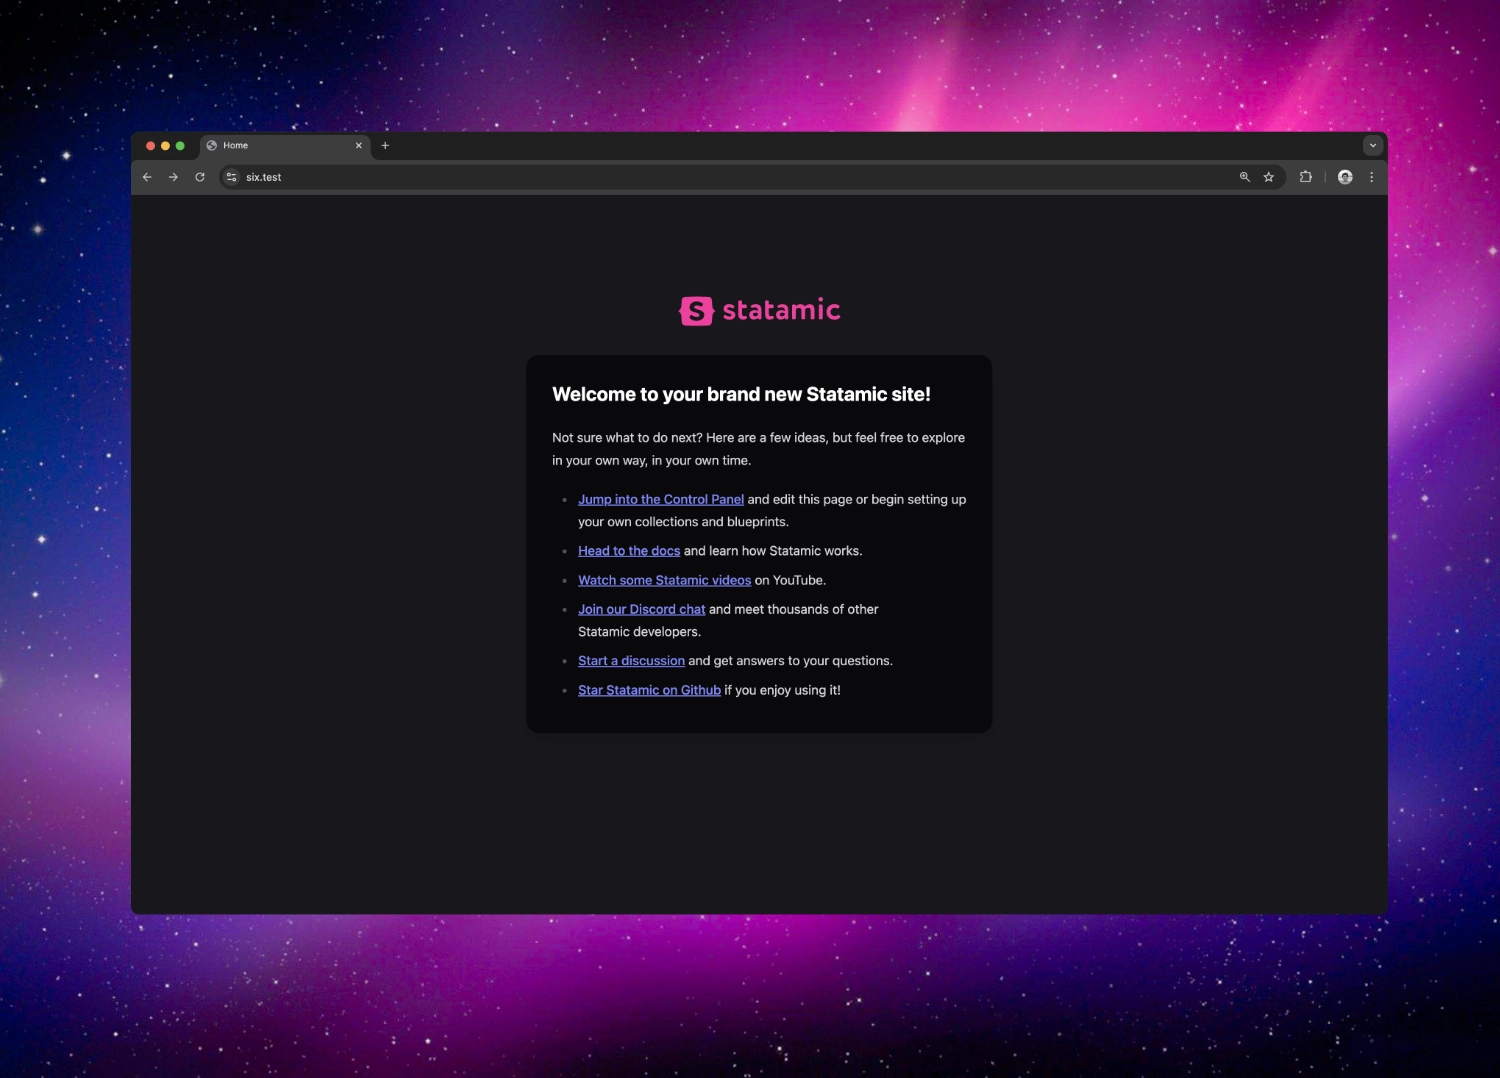
Sweet, if you did all the previous steps you should now be able to open your site at `http://your-project-name.test`.
The Control Panel, Statamic's admin area, can be accessed at `/cp` where you can log in with the user you created during the CLI's setup wizard.
## What's Next
Well done, you have turned your computer into a local PHP development environment, installed the Statamic CLI, and set up your first Statamic site! 🎉
Get creative, explore everything, and build something rad.
Want to learn more about Statamic? Watch [our series on Laracasts](https://laracasts.com/series/learn-statamic-with-jack) or just continue to browse through the docs.
For additional information on Laravel Herd, have a look at its [documentation](https://herd.laravel.com/docs).
:::tip
Use all of Statamic's Pro features while in development (like unlimited users, permissions, GraphQL, REST API, and more), by setting `'pro' => true` in `config/statamic/editions.php`.
:::