
Overview
The best part of the serverless approach is that your site's resources and can scale up and down on demand, which can save you money and provide your users a better experience in the long run.
Prepare your dependencies
App Platform uses heroku-php-apache2 to run PHP applications. The default modules don't quite cover everything you might need while using Statamic, so we'll need to tell DigitalOcean to install them.
Add the following dependencies to your composer.json file's require block.
{ "require": { "ext-bcmath": "*", "ext-exif": "*", "ext-gd": "*", "ext-mbstring": "*", }}Be sure to run composer update and commit those changes (composer.json and composer.lock) to your repo before you continue, or you'll have to traverse a painful platform-level cache clearing adventure later on.
Learn more about customizing your PHP extensions with Heroku PHP Apache2.
Creating a New App
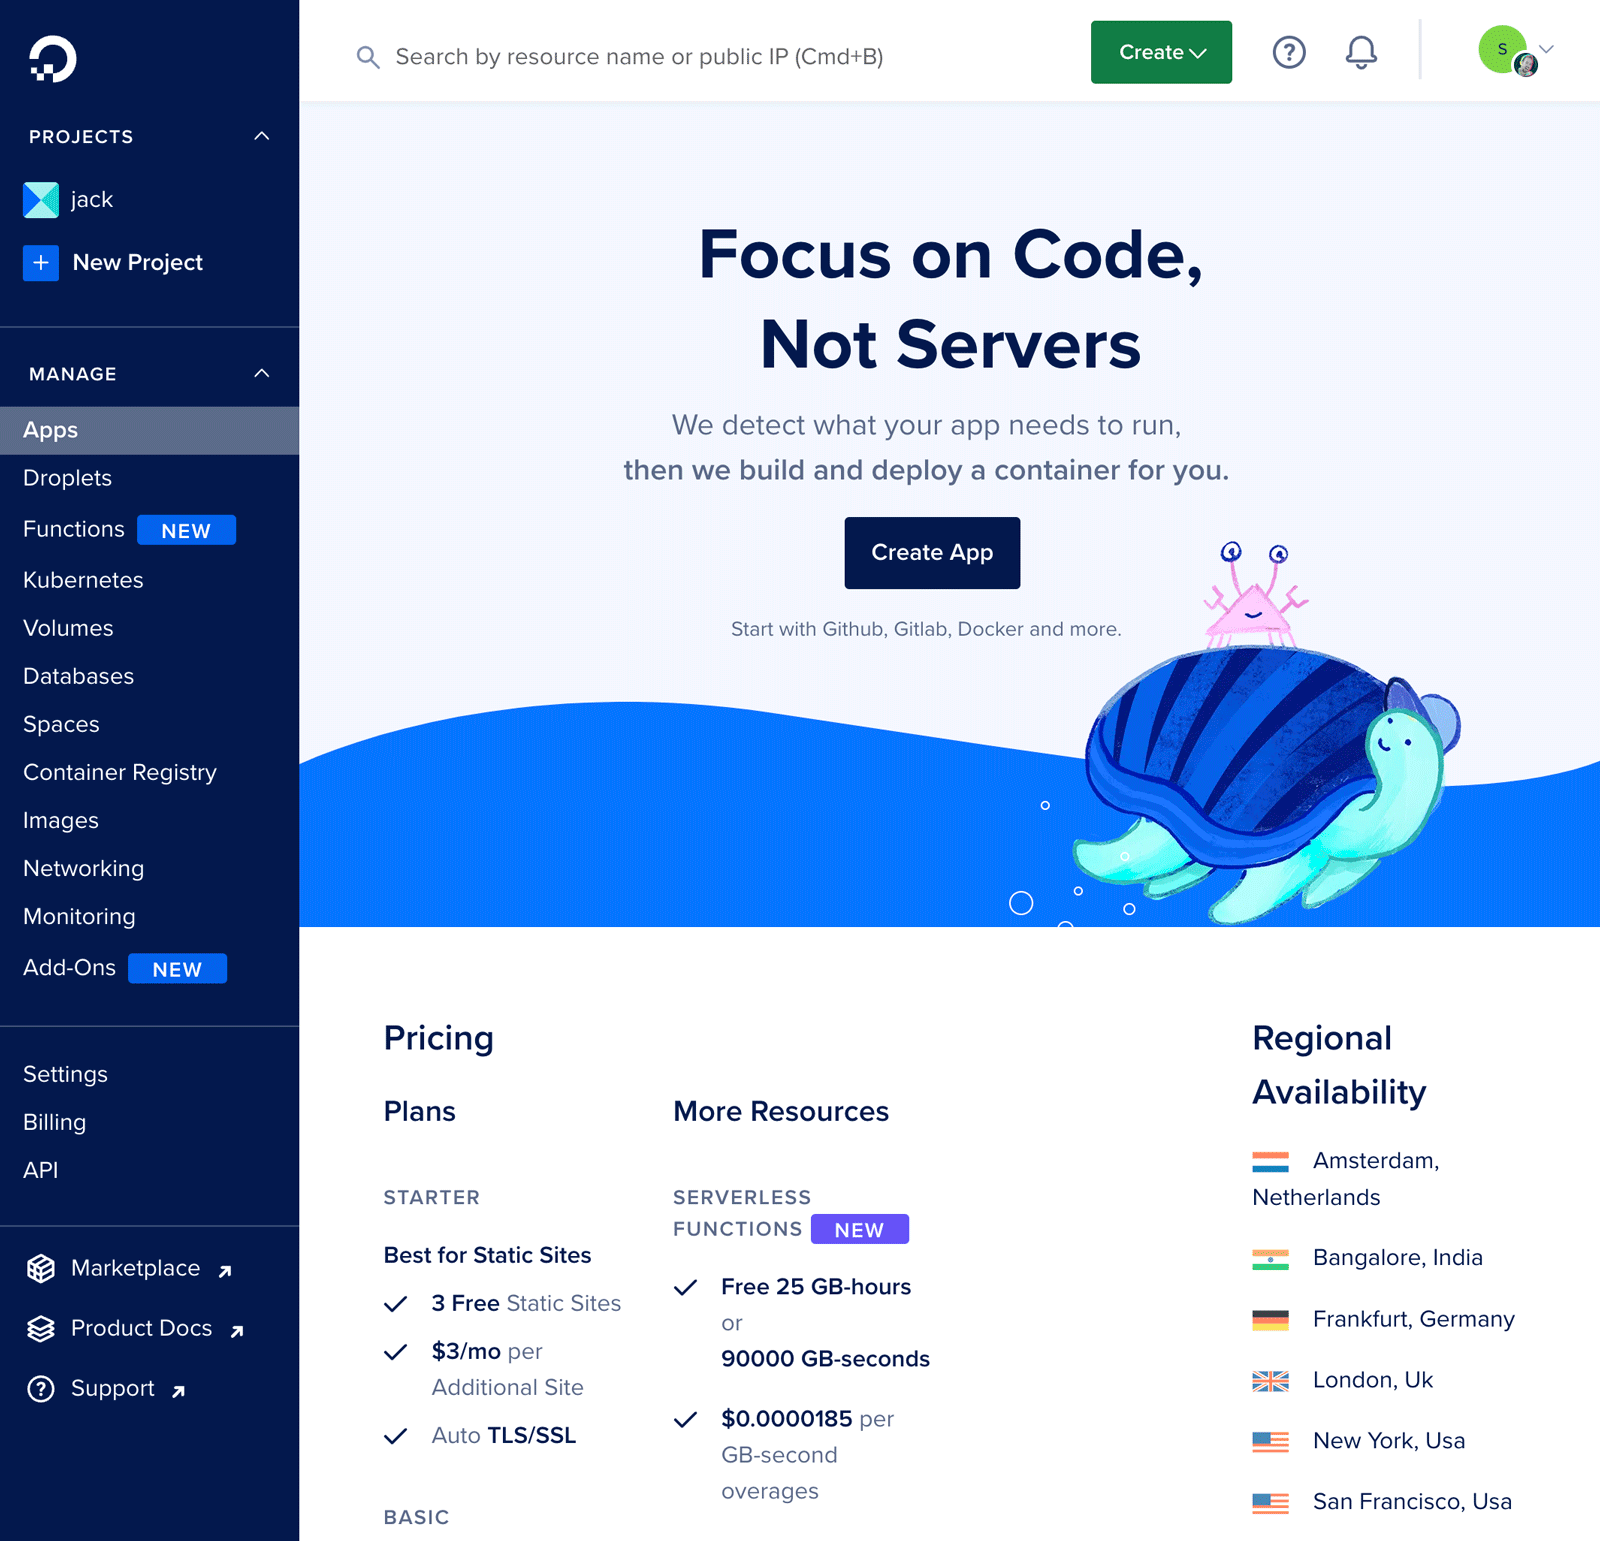
Assuming you have a DigitalOcean account, let's get started by logging in. The first thing to do is to create a new application by going to Apps and clicking Create App.
Next, you'll need to connect your Github (or other Source Code provider) account and authorize DigitalOcean access to the desired repo or repos.
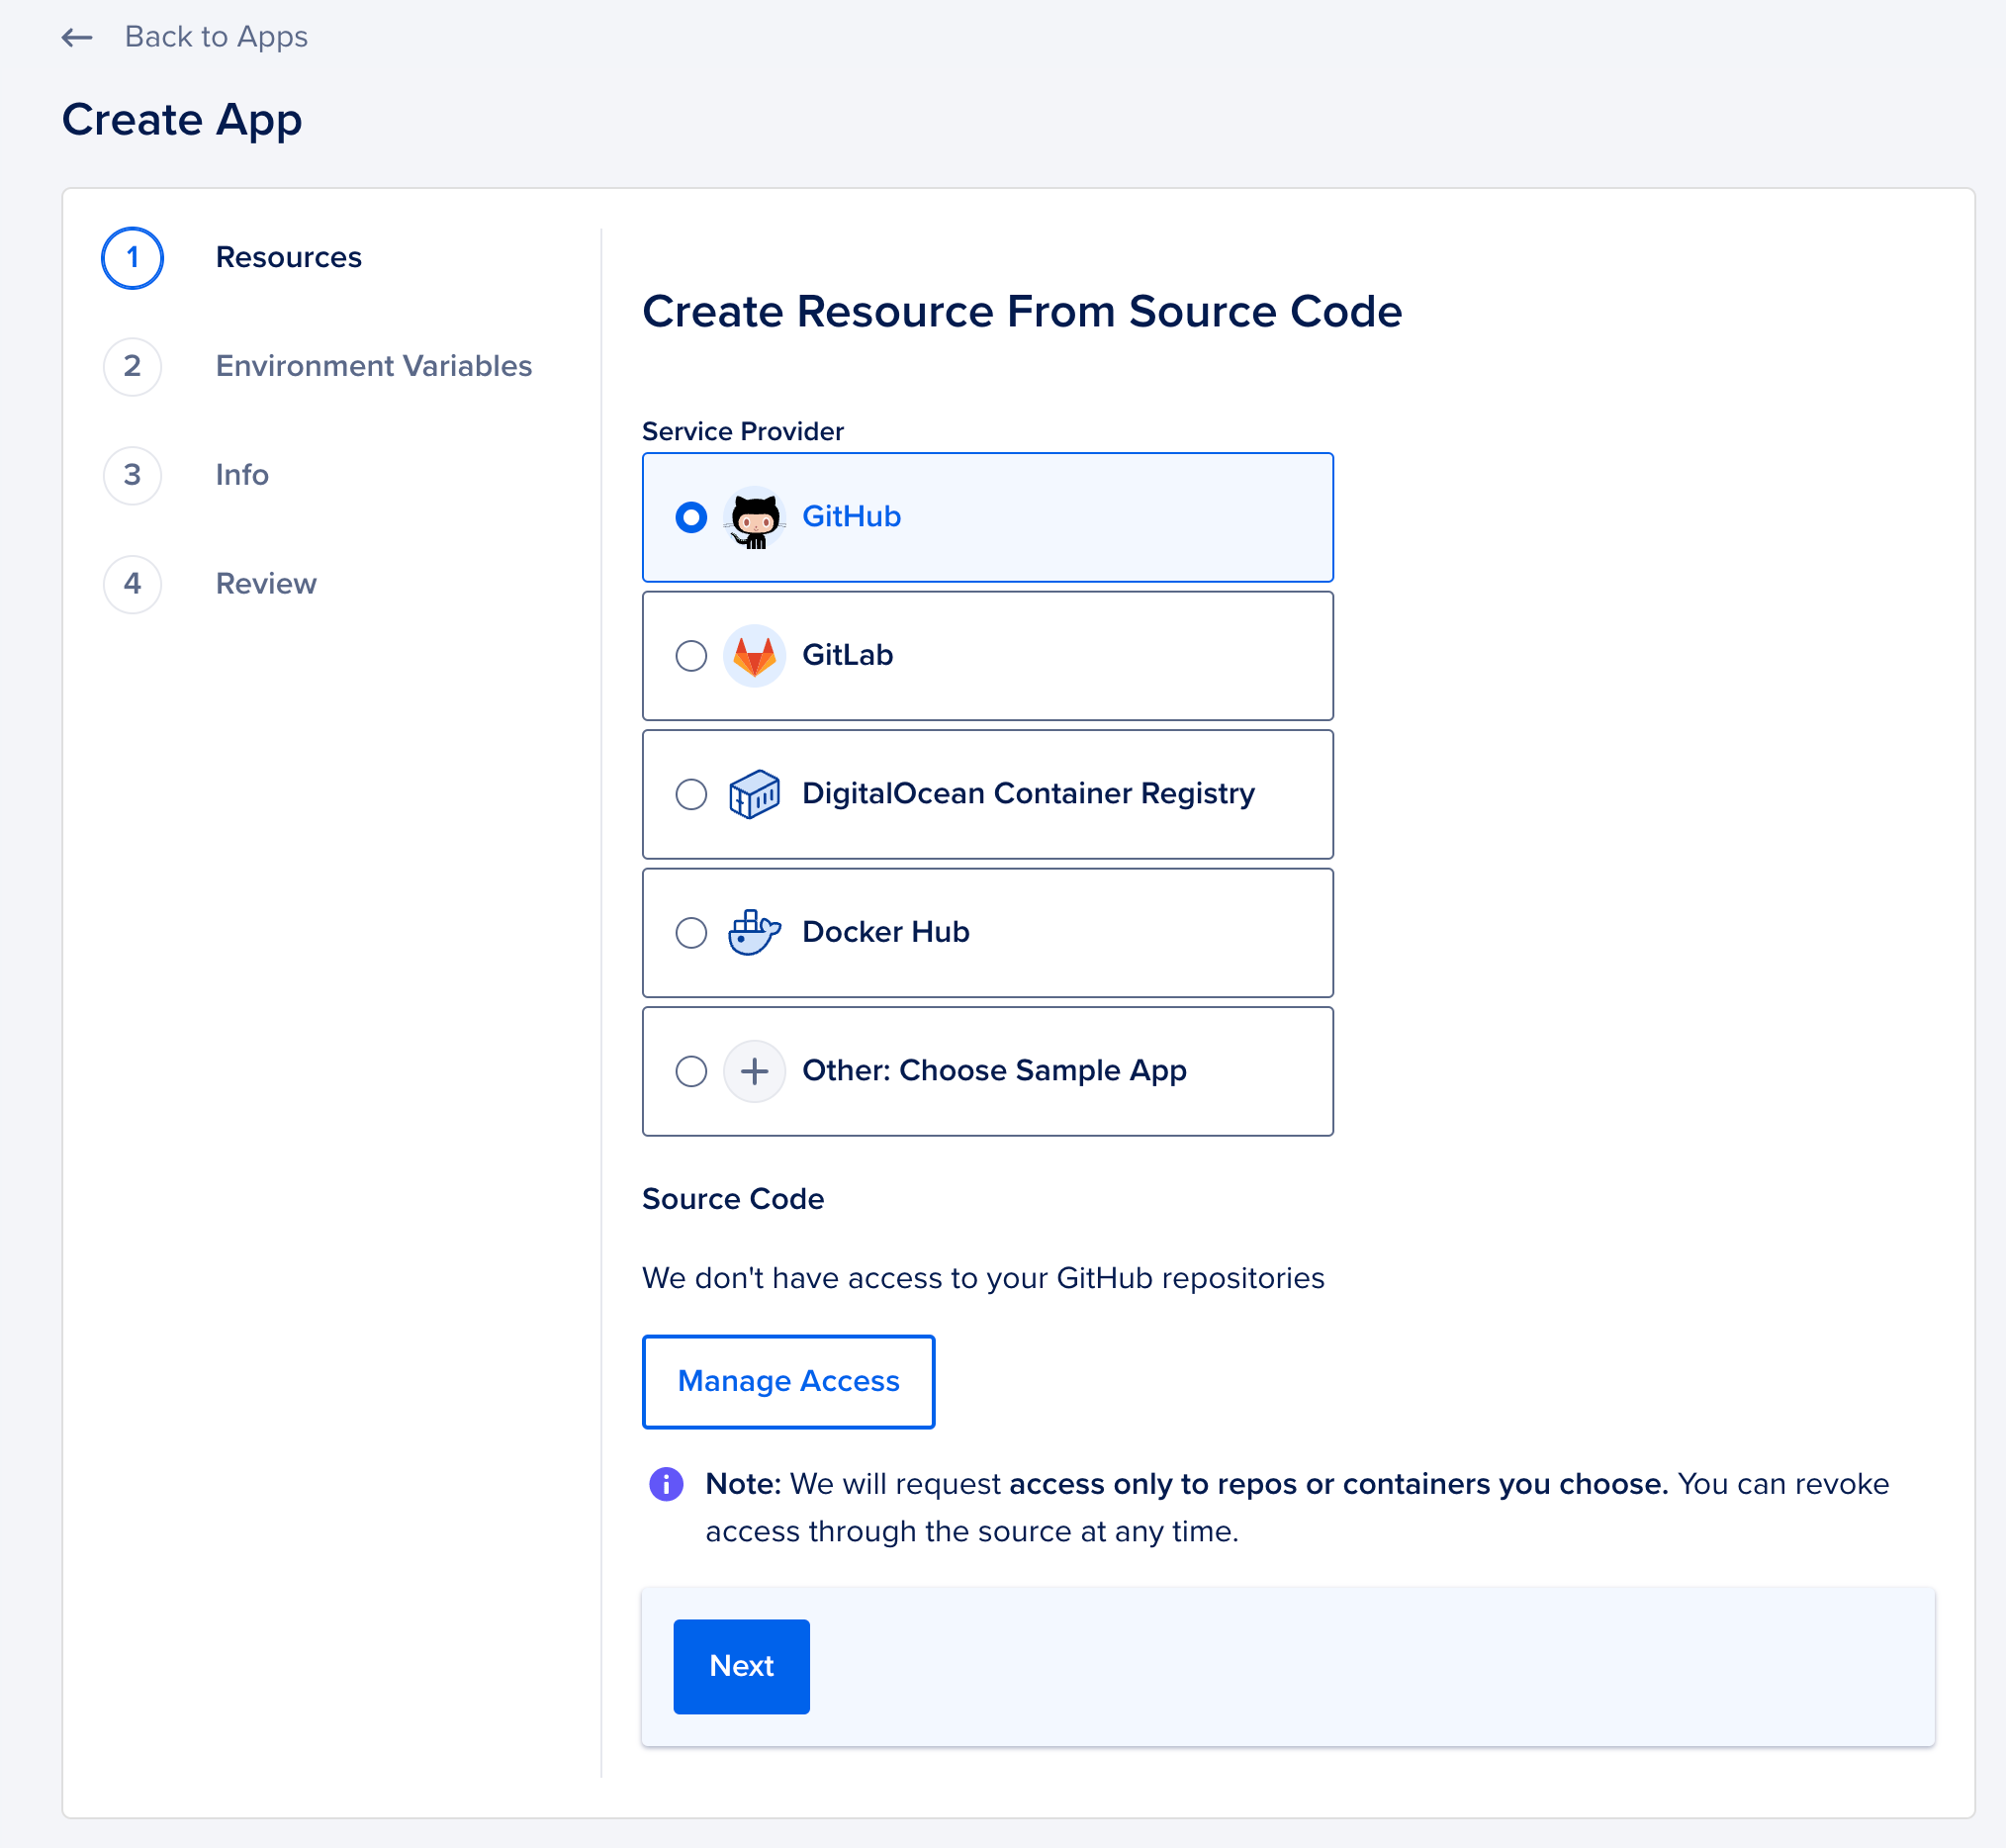
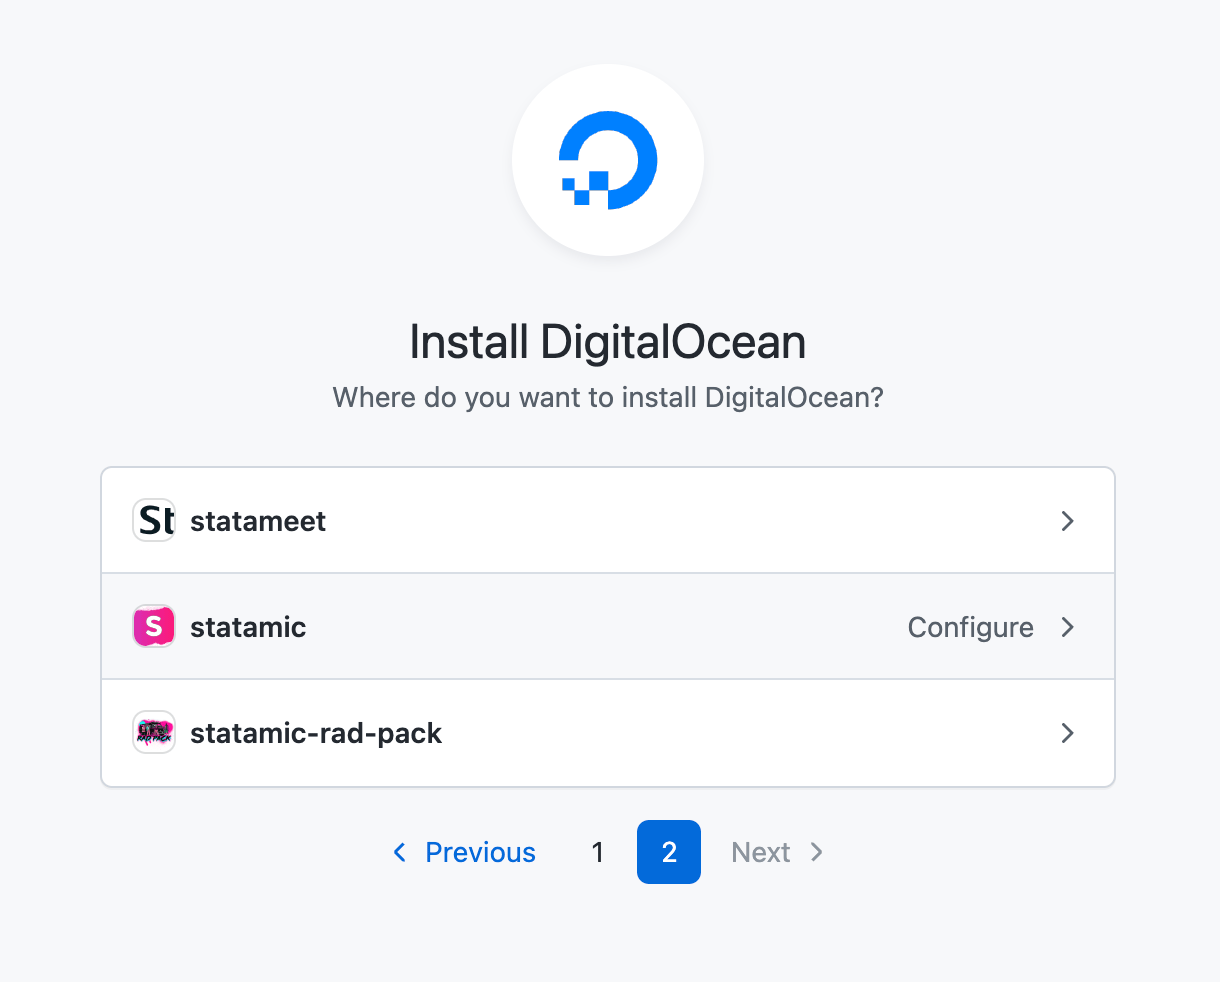
Click on Manage Access and follow the steps to authorize the proper organization and repository.
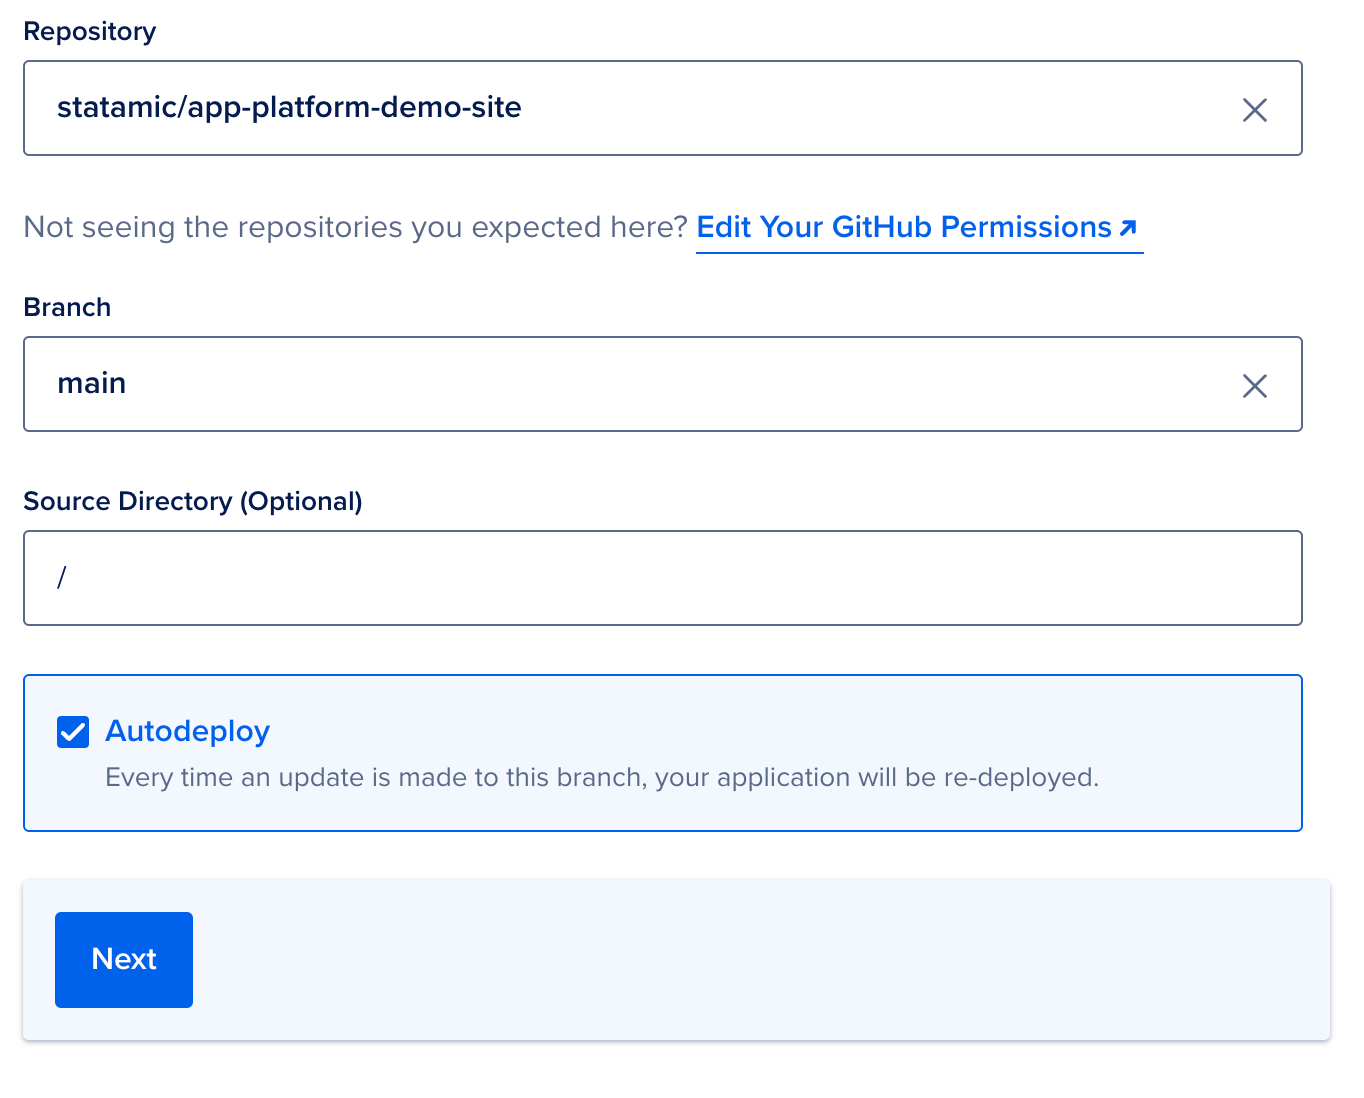
Next, specify which branch you wish to deploy. This is usually main or master. If you want updates to this branch to be autodeployed, check the corresponding box.
Edit Your Plan
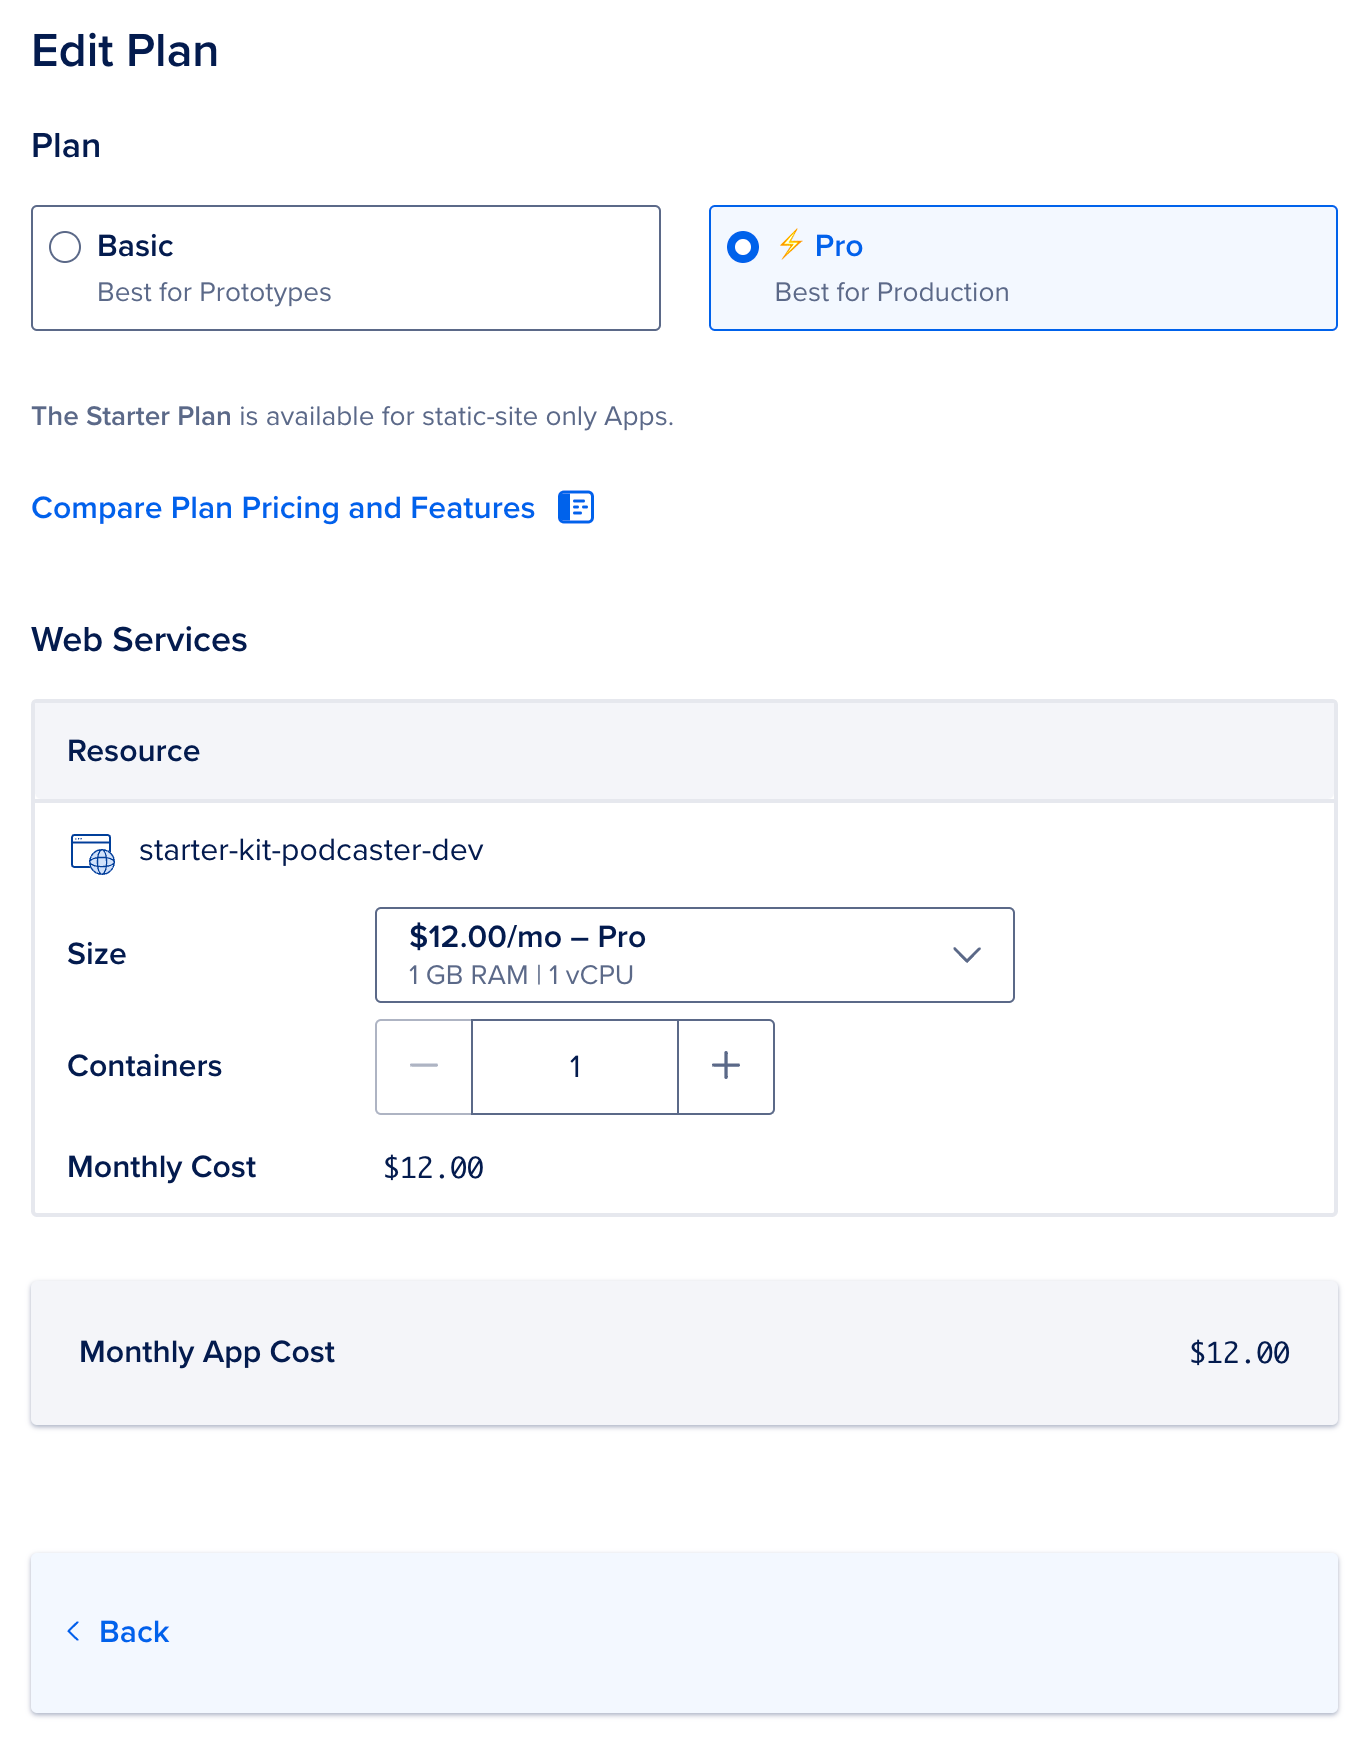
Next, you'll want to edit your plan to make sure you're configuring the right resources and not over-paying for power you don't need. Click Edit Plan.

You'll need to be on Pro to run Statamic as an application (Static sites are free) and choose the appropriate size and number containers. For a new site without any high traffic needs the basic $12/mo size and a single container should do just fine.
Environment
Click Back, then Next and let's set up your environment variables. Click Edit next to your repo and add APP_KEY and either generate a new key with php artisan key:generate or paste in the app key from your dev site.
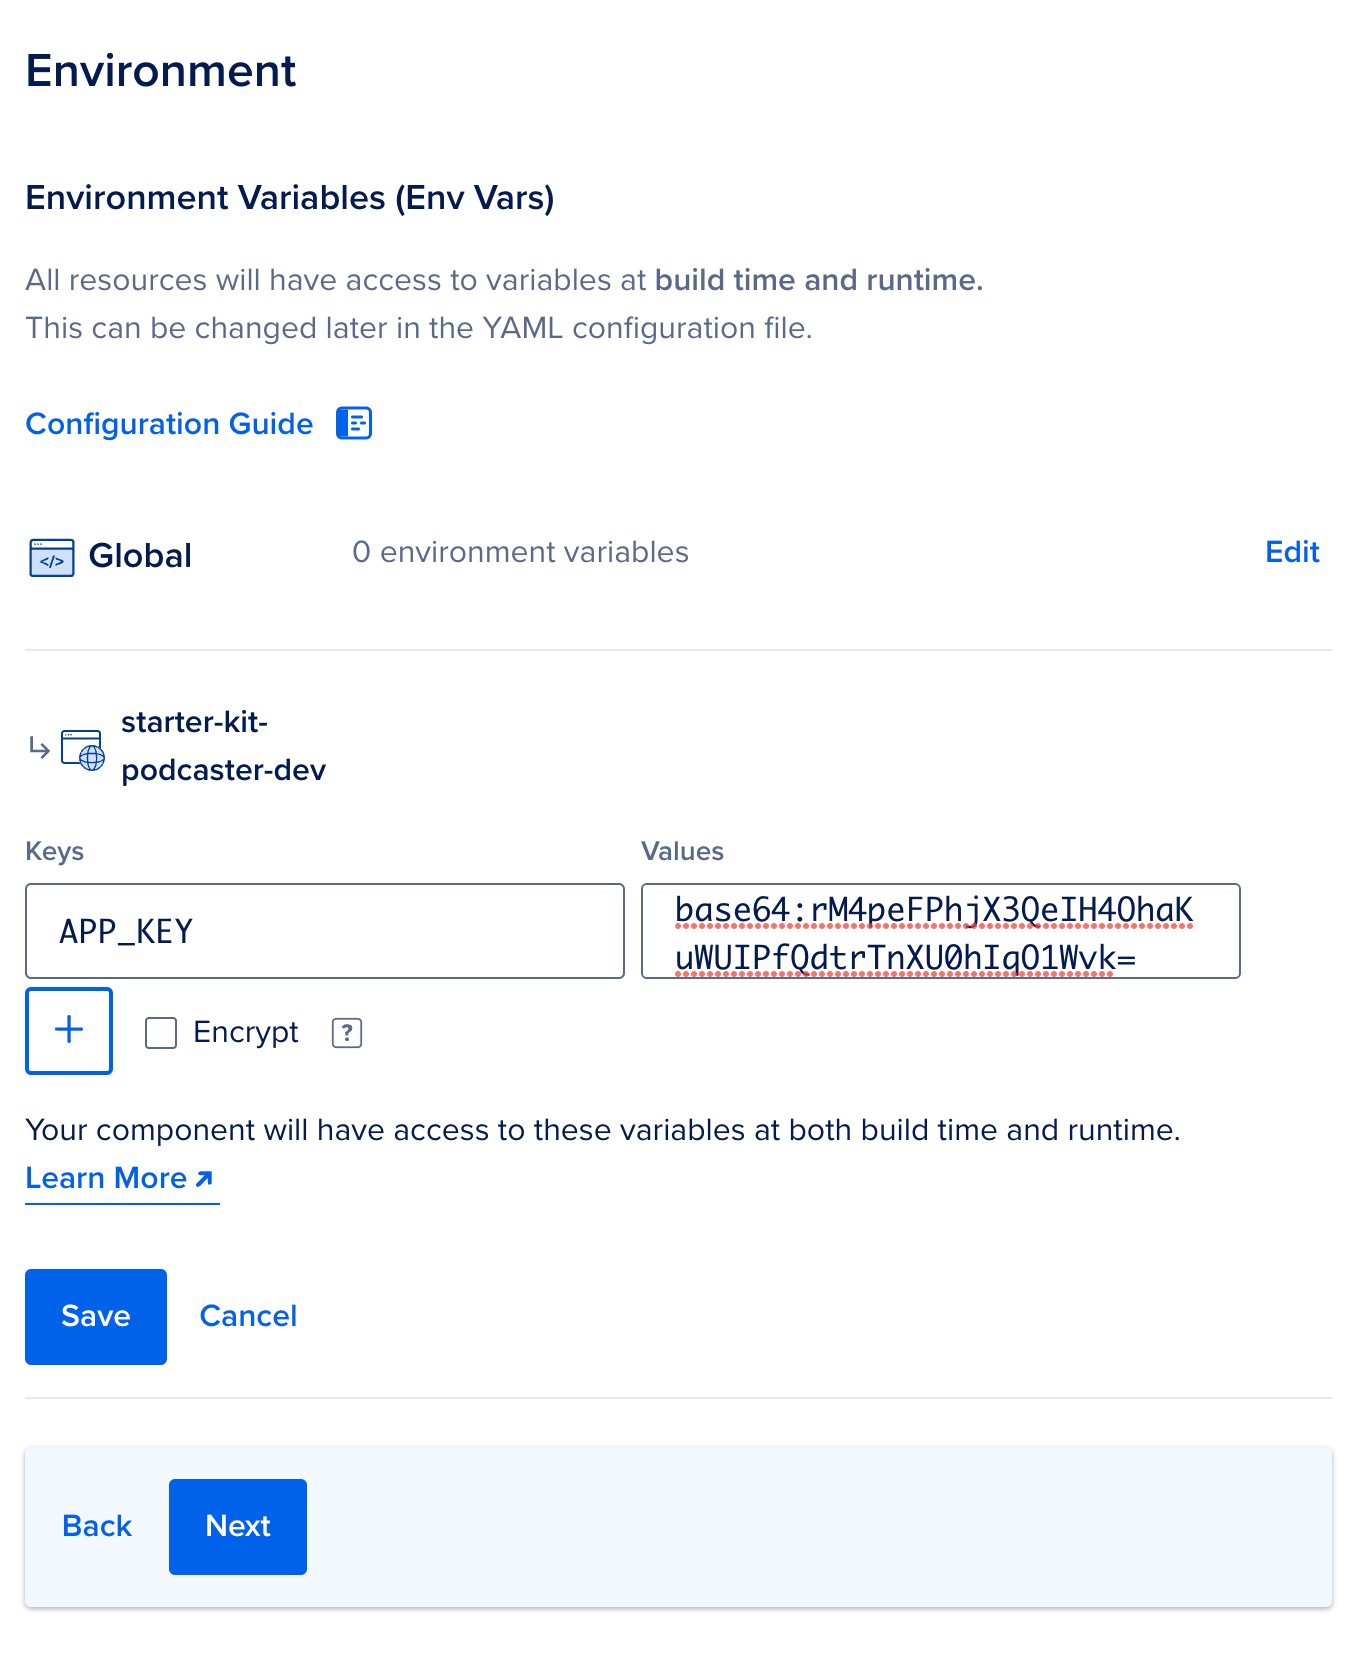
Click Save and then Next.
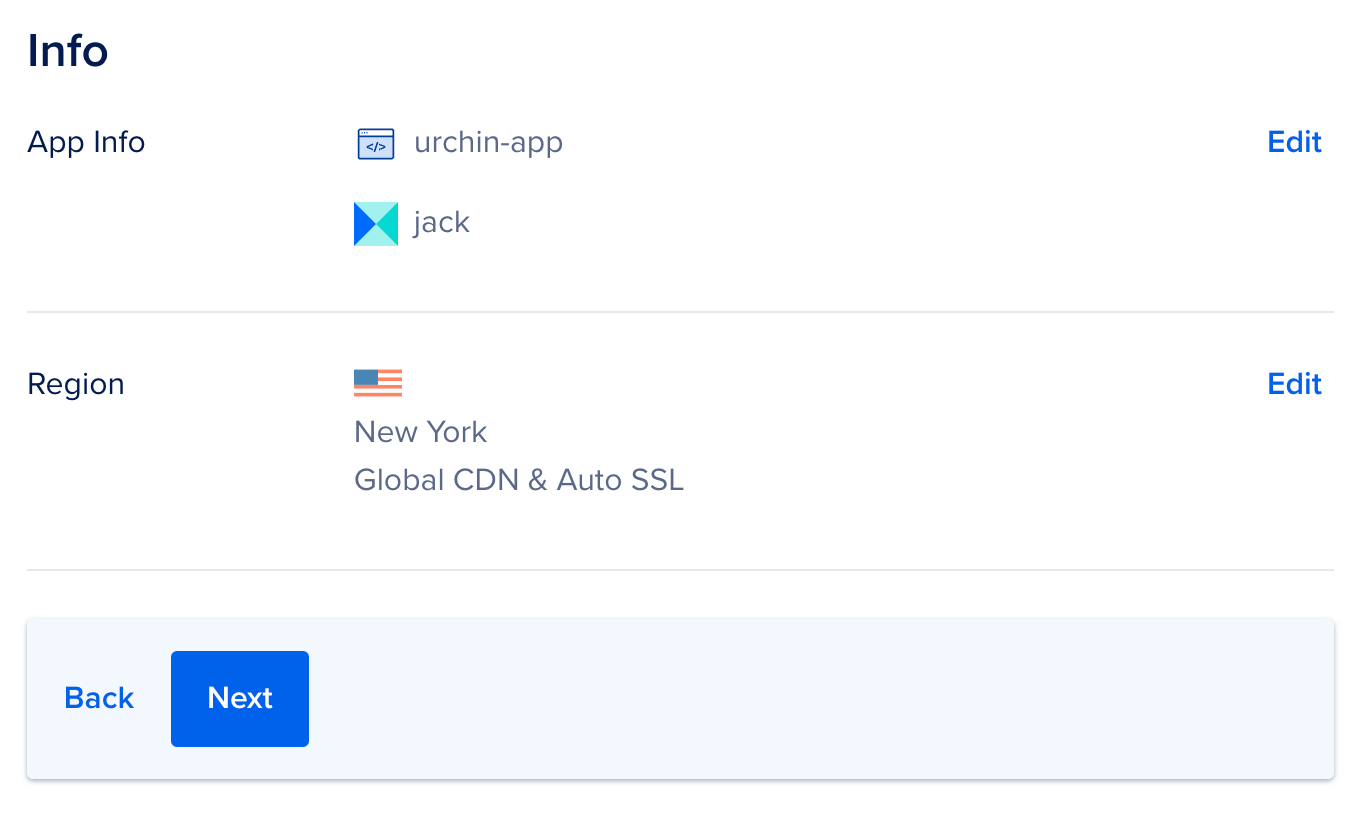
Name your app and choose your Region
Here's where you can choose a better name than the randomly generated one (might we suggest forbidden-crt-dreams?). Then choose the most appropriate region for your audience in the next screen, and click Next.
The Finish Line
The last screen will show you a review of everything you've configured. If you're happy with it, click Create Resources.
Congrats, that's it! You should now see your app's management screen where your first deploy is in progress. If everything goes smoothly, you should be able to see your site on the private URL DigitalOcean provides you (it would be something like your-product-32rbu.ondigitalocean.com).
Customizing Your Build Script
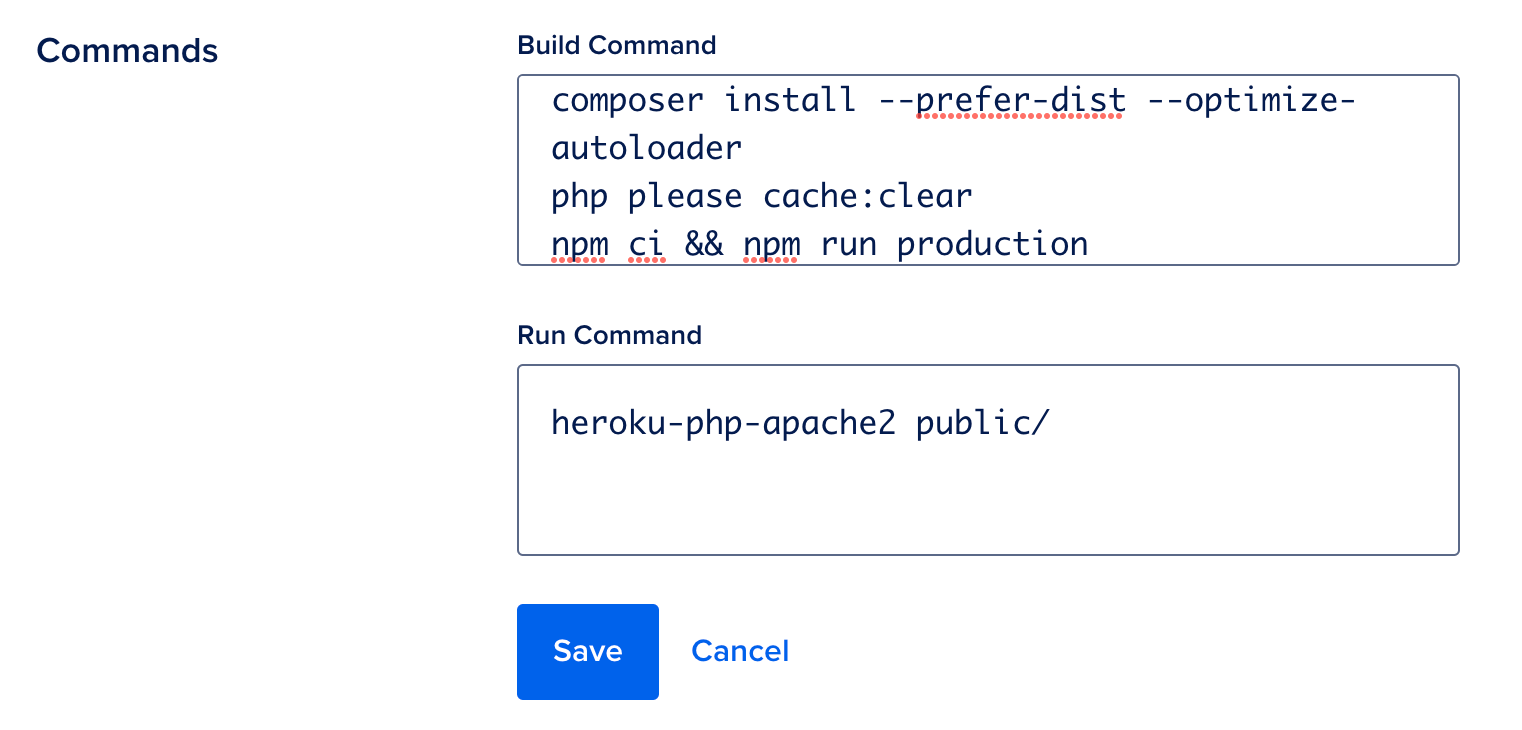
You'll probably want to update your build script to add a composer install , cache clear, and any other front-end commands.
Navigate to the Settings tab of your application and add your commands to the Build Command field.
Wrap-up
That should get you going! There's much more to learn and configure though, so be sure to check out the App Platform How-Tos section of the DigitalOcean docs!