Collections
Collections are containers that hold groups of related entries. Each entry in a collection can represent a blog post, product, recipe, or even chapter of your Family Matters fan fiction novel detailing Steve Urkel's rise to UFC Heavyweight Champion of the world.
Overview#
Not to be redundant, but Collections are simply containers that hold entries. You can think of them like shoeboxes containing love letters, except they're folders on your server and they're holding text documents. So, not exactly the same thing — or at least, not nearly as romantic.
Each collection holds settings that affect all of its entries. Like URL patterns by way of routes, which fields are available with blueprints, as well as any desired date behaviors.
You can also set default values for system fields like template, blueprint, and published status.
A collection is defined by a YAML file stored in the content/collections directory. All accompanying entries will be stored in a sub-directory with a matching name. For example, a blog collection looks like this:
content/collections/
  blog/
   hello.md
   is-it-me.md
   youre-looking-for.md
  blog.yaml
Creating a collection in the control panel takes care of all of this for you automatically, so don't stress too hard about memorizing all the details.

Entries#
Each entry has, at the very least, a title, published status, id, and usually additional content fields. These content fields are determined by one or more blueprints set on the collection.
Entries are stored as Markdown files inside their collection's respective directory (content/collections/{collection}/entry.md). At any time you can edit any entry in your code editor by popping open these files and doing what comes naturally.
An example#
Let's to pretend it's the summer of '99 and we are journalists covering the Summer X Games. The weather here in San Fransisco is beautiful and 275,000 people are watching Tony Hawk make history.
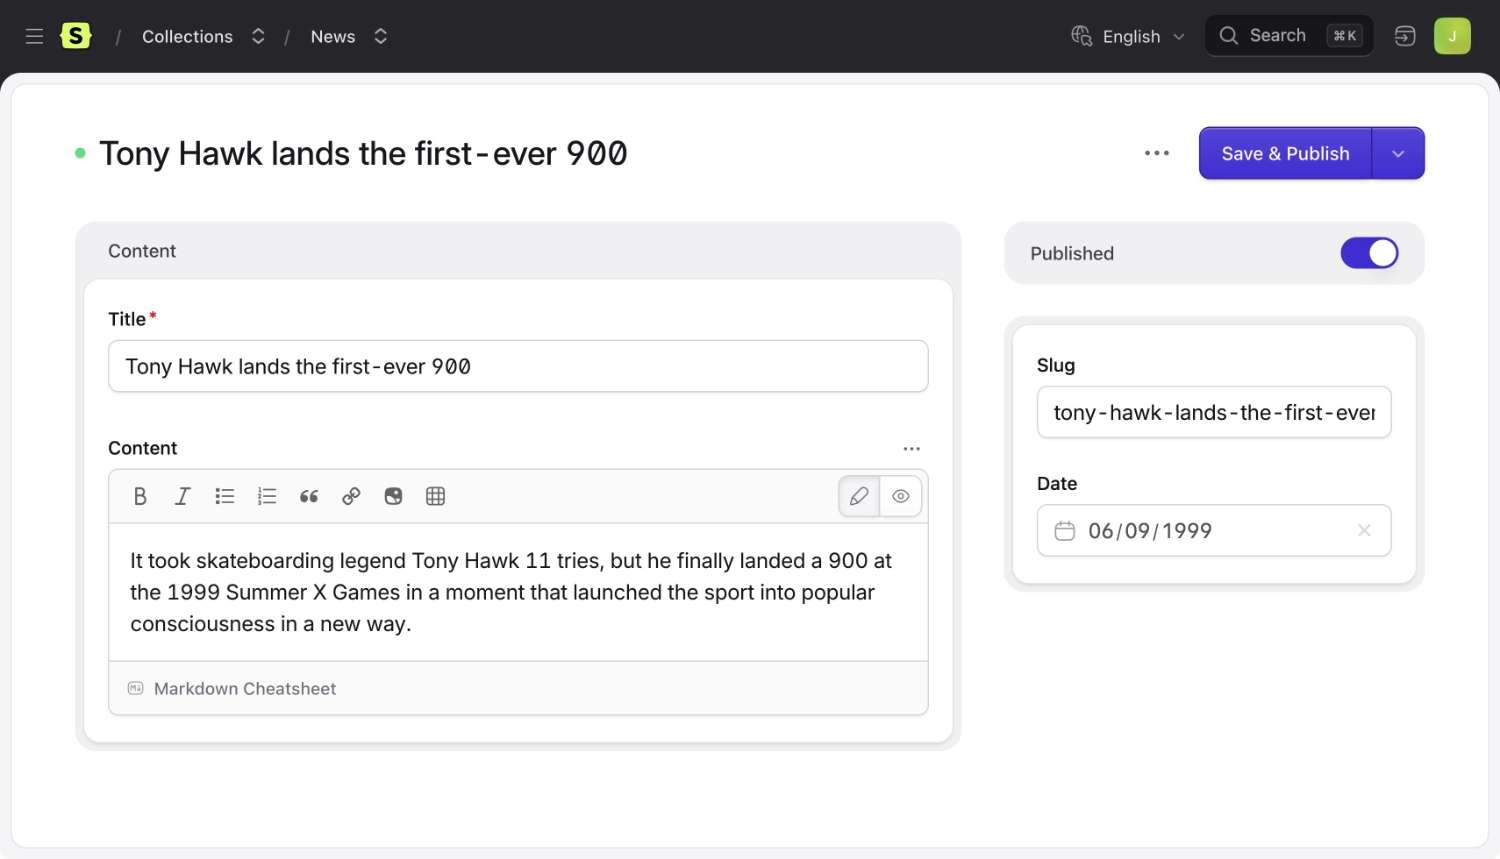
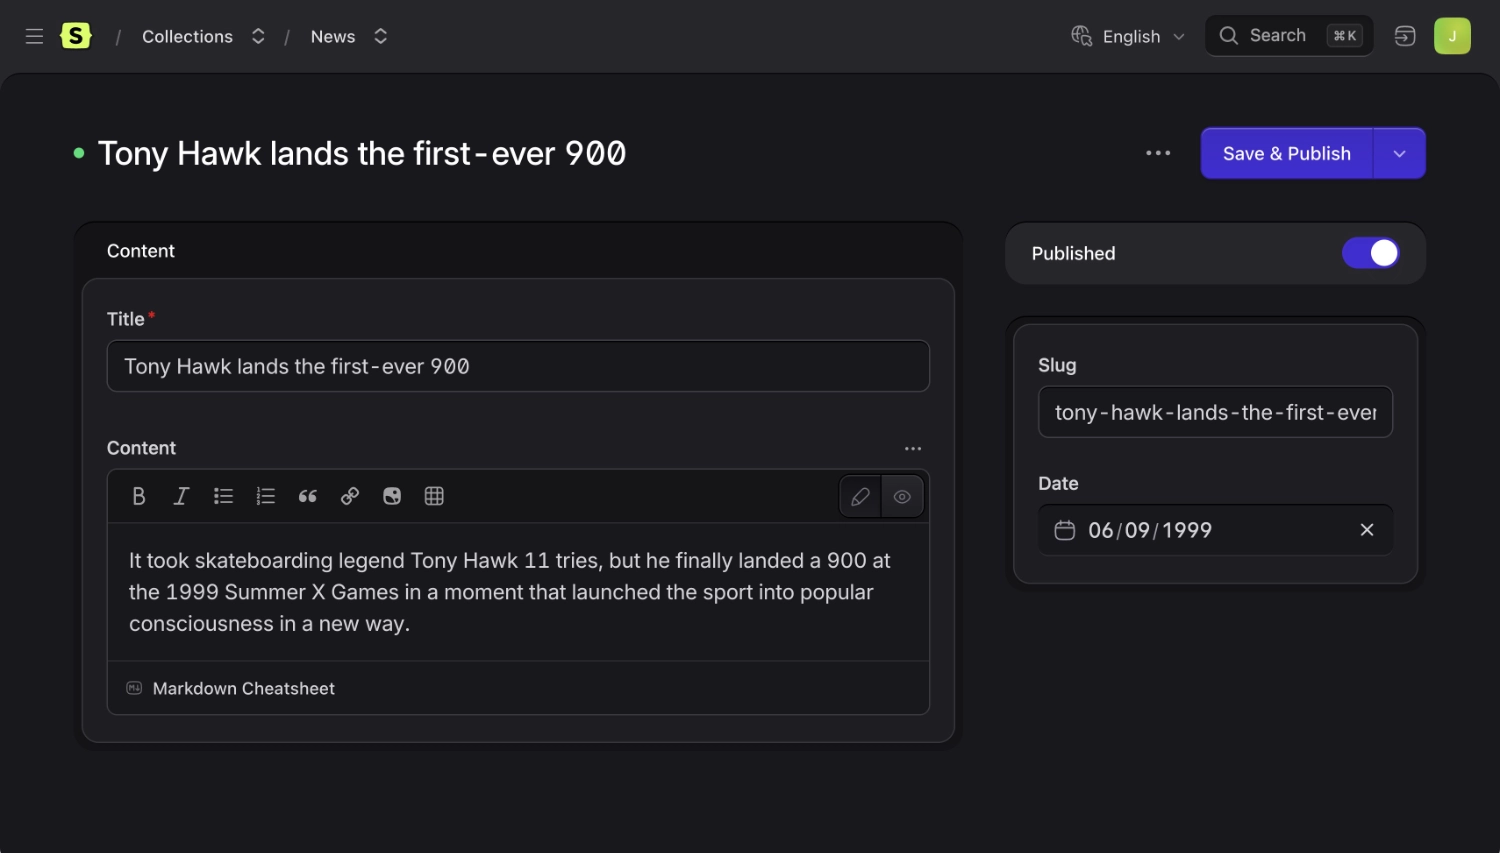
Here's an entry we might write about the event.
And here's what the Markdown file would look like:
<!-- content/collections/blog/1999-07-27.tony-hawks-900.md -->
---
title: Tony Hawk lands the first-ever 900
id: 3a28f050-f8d2-4a56-ba8a-314a9d46bf38
---
It took skateboarding legend Tony Hawk 11 tries, but he finally landed a 900 at the 1999 Summer X Games in a moment that launched the sport into popular consciousness in a new way.
You can create, edit, and delete entries in the control panel or filesystem, it's up to you and your preference in the heat of the moment. Let your passion carry you away.
View data#
Each entry has its own unique URL. When you're on that URL in your web browser, all of the entry's data will be available in your views as variables. If an entry is missing data, intentionally or not, it will fall back to a series of defaults. We call this fallback logic the cascade.
If a value doesn't exist in one place, it'll check the next place, then the next, and so on, in this order:
- The entry
- The origin entry if using localization (the entry it was localized from)
- The collection
Setting default data#
Injecting data into your collection allows you to provide default values for your entries. If entries have these variables set, they will override the collection defaults, but not any data set on the entries themselves.
This is done by adding an inject key in your collection's YAML config file.
# /content/collections/blog.yaml
title: Blog
date: true
date_behavior:
  past: public
  future: private
route: 'blog/{slug}'
sort_dir: desc
template: blog/show
inject:   author: jason
  show_sidebar: true
show_newsletter_signup: false Blueprints#
Each collection uses blueprints to define the available fields when creating and editing its entries.
When you create a new collection, a blueprint of the same name will be createed for you as your default. It contains a very basic set of fields: title, content, slug, author, and date, if the collection is configured to store dates. You can customize this blueprint as you wish, as well as create your own additional blueprints.
If you create more than one blueprint you'll be given the option to choose which one you want when creating a new entry. While this isn't common, it can be a pretty powerful option in the right situations.
You can hide blueprints from appearing in the new entry menu by activating the Hidden toggle on the blueprint's UI or setting hide: true in the blueprint's yaml file.
Titles#
All entries require a title. Statamic uses titles to display entries in a consistent way throughout the Control Panel.
Depending on the purpose of the collection, a dedicated title field might not be useful to you. In this case, you may configure a "title format" which would be used to automatically generate titles from other fields so you don't have to invent something every time.
For example, a "reviews" collection might just have author, stars, and content fields. You could configure the titles to be "5 star rating by John Smith".
When using multiple sites, you may optionally configure the titles on a per site level by using an array:
title_format:
  en: '{stars} star rating by {author:name}'
  fr: '{stars} étoiles par {author:name}'
It's worth noting that changes to a collection's title format won't change the titles of existing entries. For it to take effect, you will need to re-save your existing entries.
To use modifiers in title formats, make sure to use the {{ Antlers syntax, like this:
{{ headline | ucfirst }}

Slugs#
Slugs are used in entry URLs. For an entry named My Entry, the slug would default to my-entry unless you edit it.
Slugs are automatically generated for you based on the title, but if you edit them, that automatic process is switched off. We trust you know what you're doing.
Disabling Slugs#
If the entries in a specific collection don't need to have dedicated URLs, or if the entries' route only contains other fields, a slug field may not be useful for you.
You may disable the slug requirement by adding a boolean:
slugs: false
This will prevent collections from automatically adding a slug field.
Since Statamic stores entries as files, it uses the slug for the filename. If you disable slugs, it will use the ID instead. (e.g. 123.md instead of my-entry.md)

Dates#
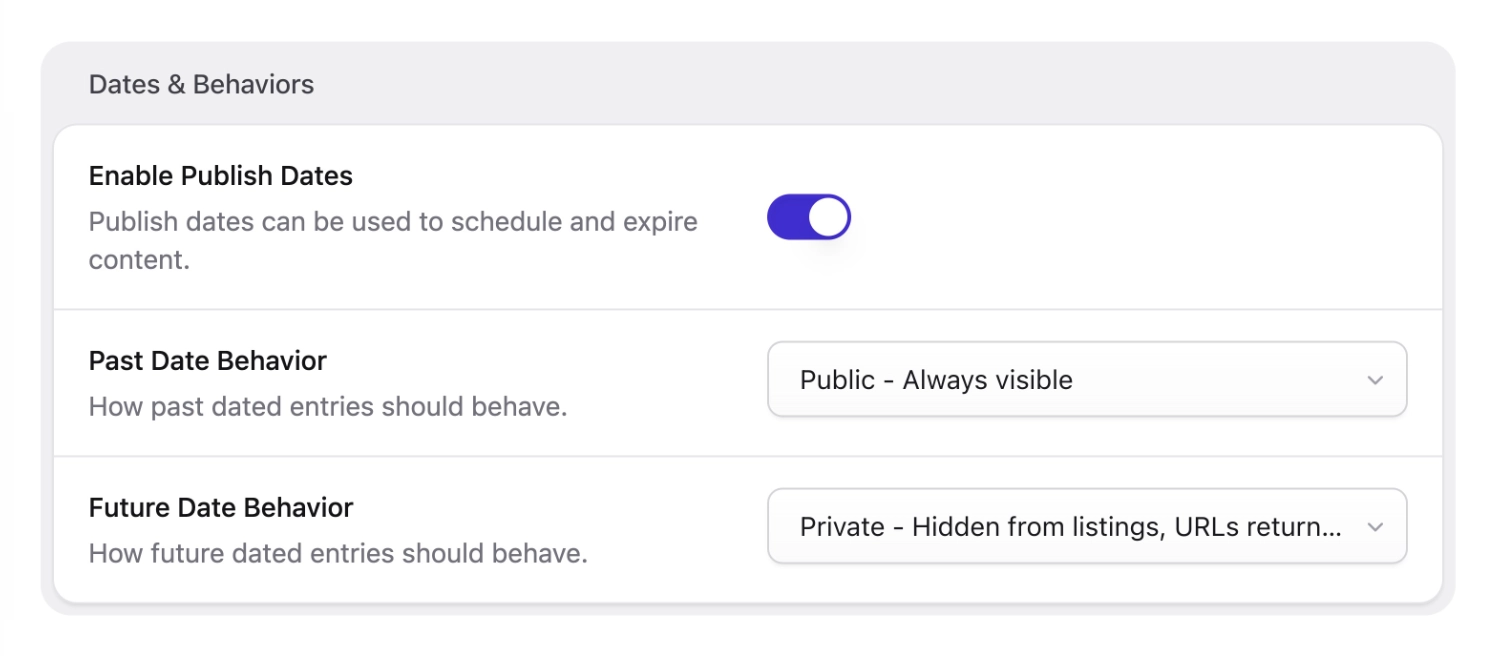
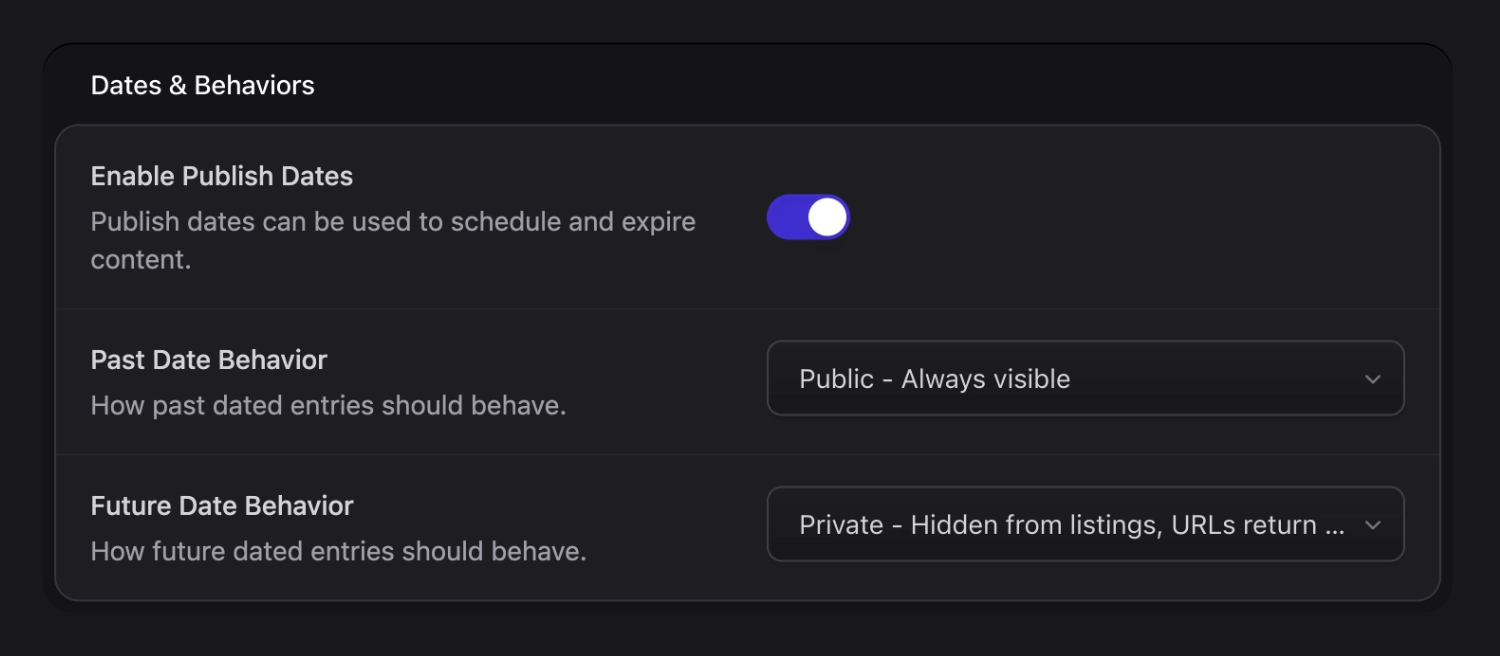
If your collection entries require a date — as they often do — you can decide how Statamic uses it to control visibility. For example, you can choose to have dates set in the future to be private (404), which allows you to schedule their publish date.
Alternatively, you could have past dates be private which would make entries act like "upcoming events" that disappear from a list when they're over.
Available date behaviors#
Each of these behaviors is available for future and past dates.
- public - Entries will be visible in listings and at their own URLs.
- unlisted - Entries will be hidden in listings but available at their own URLs.
- private - Entries will be hidden in listings, and their own URLs will 404.
Date behavior and published status#
You can override date behavior visibility settings by setting the Publish by Default option to false.
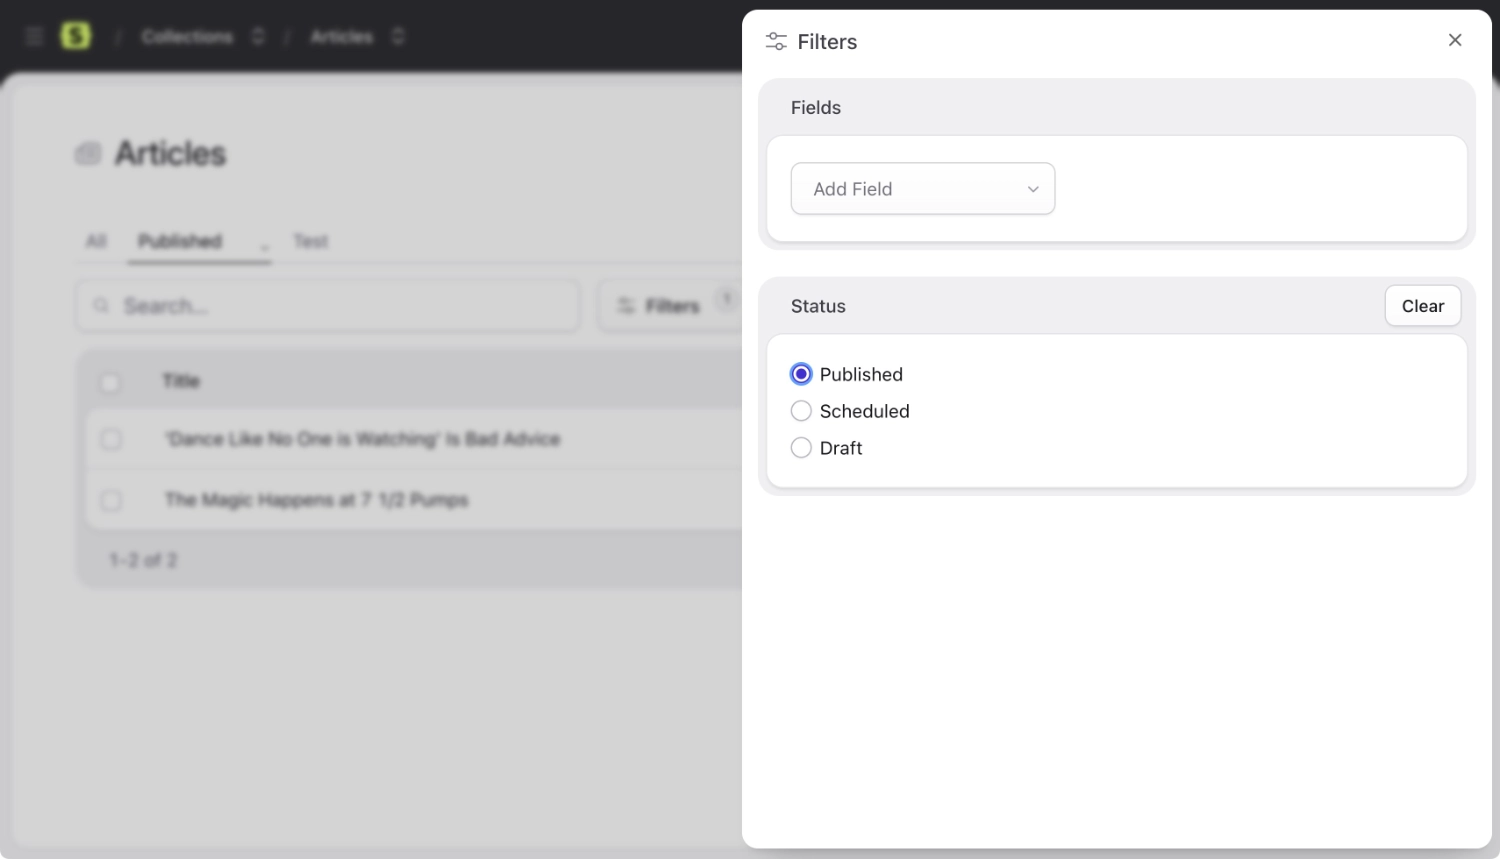
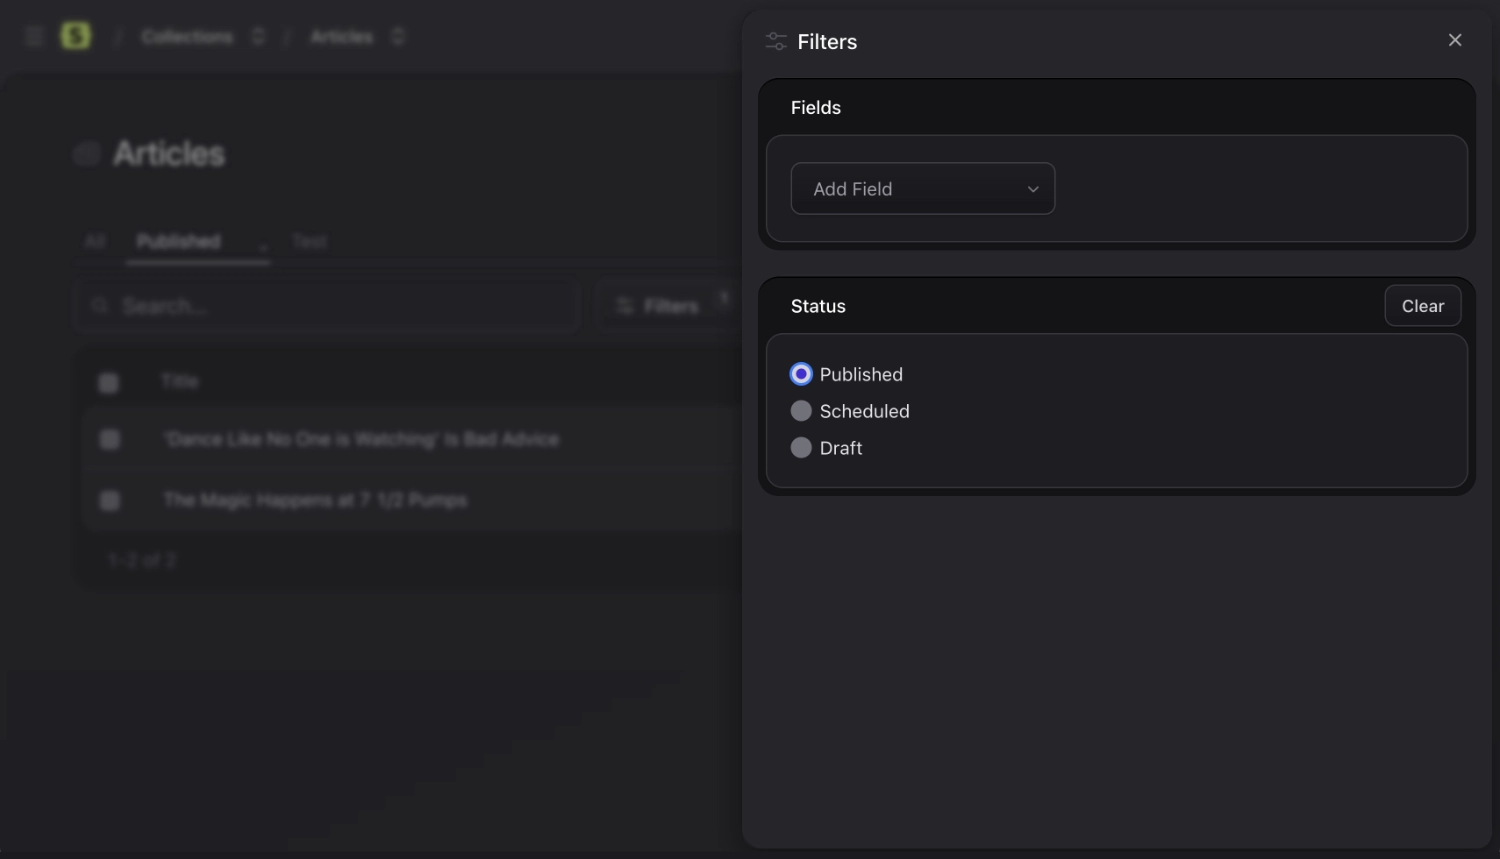
Each entry will automatically be assigned one of four possible computed status values, which respects both your collection's date behavior settings, as well as your entry's published setting:
- published - Entry is published and visible.
- scheduled - Entry is published, but not yet visible because date is upcoming.
- expired - Entry is published, but not visible anymore because date has expired.
- draft - Entry is explicitly hidden via
published: false.
We recommend filtering and querying against your entry's status (instead of its published boolean) so that you can more easily take advantage of date behavior logic without hassle.

Time#
Time may be enabled on your date field to have entries publish at a specific time, e.g. 11:45am, or to ensure that multiple entries in the same day are published in chronological order. We recommend leaving the Time Enabled setting on.
You can also enable the Show Seconds setting if you need to publish more than one entry per minute.
If you don't enable the time, all entries on a given day will assume a default time of midnight, or 00:00.

Scheduling#
If you've added a date and/or time to your entries in order to "schedule" them, you may need to set up the scheduler in order for Statamic to properly invalidate your cache to display them at the right time.
For example, you might need things to happen exactly when an entry is scheduled, like refreshing a cached blog listing, or sending a notification.
Learn how to use the scheduler.
Ordering#
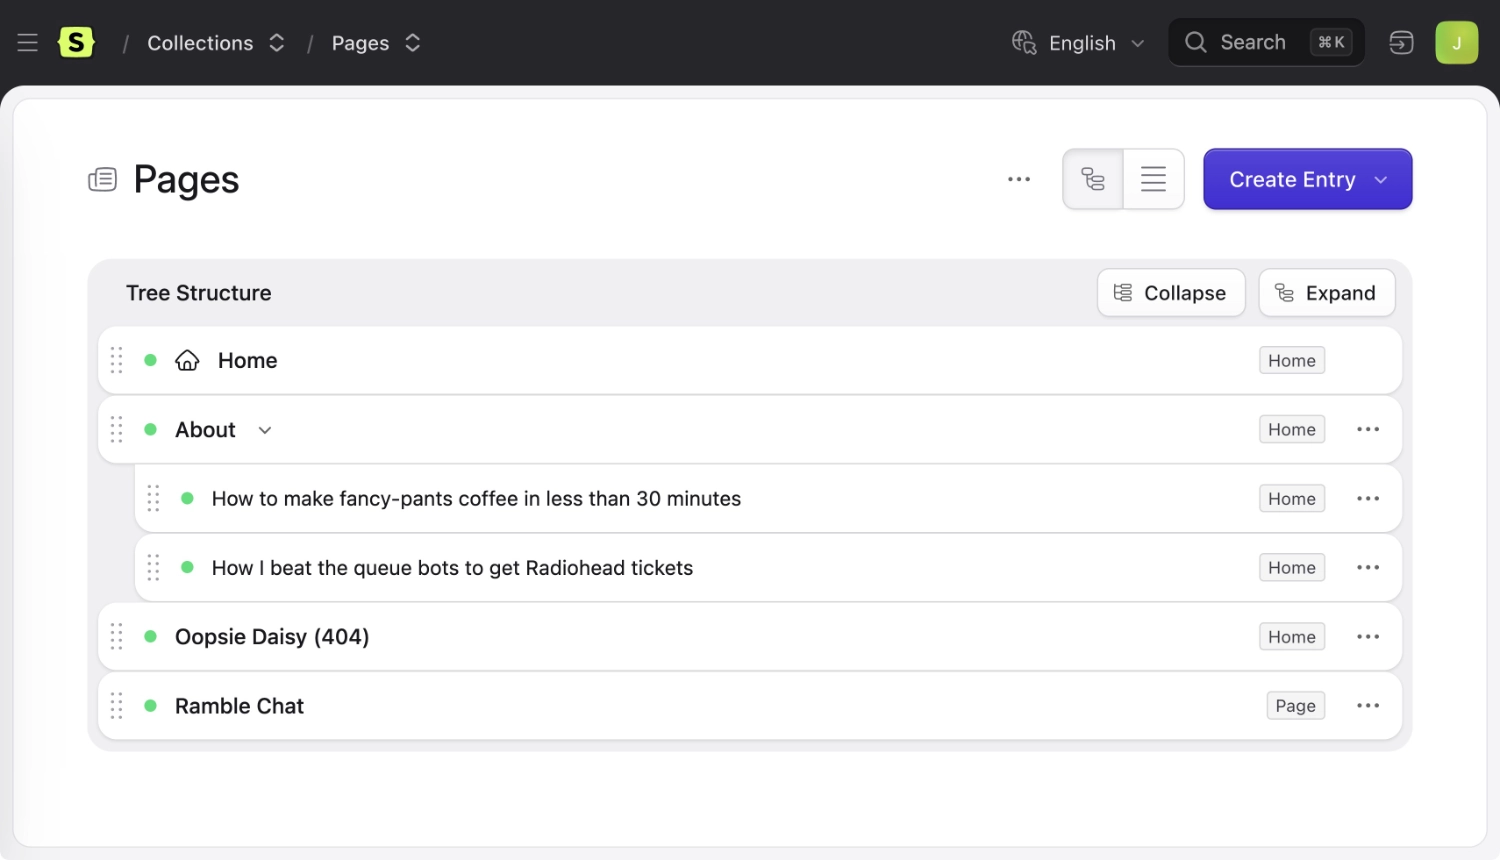
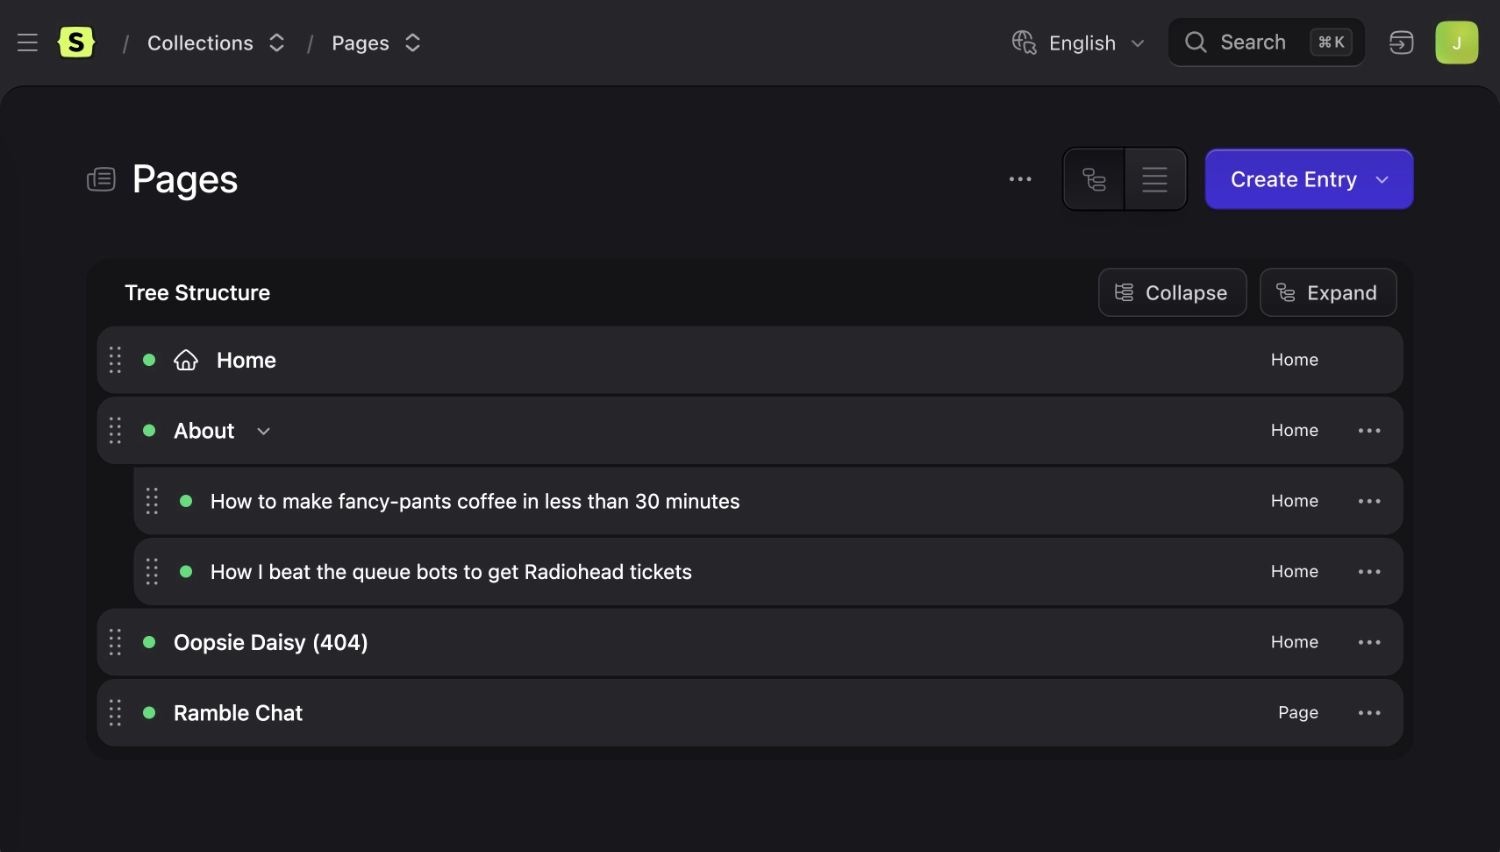
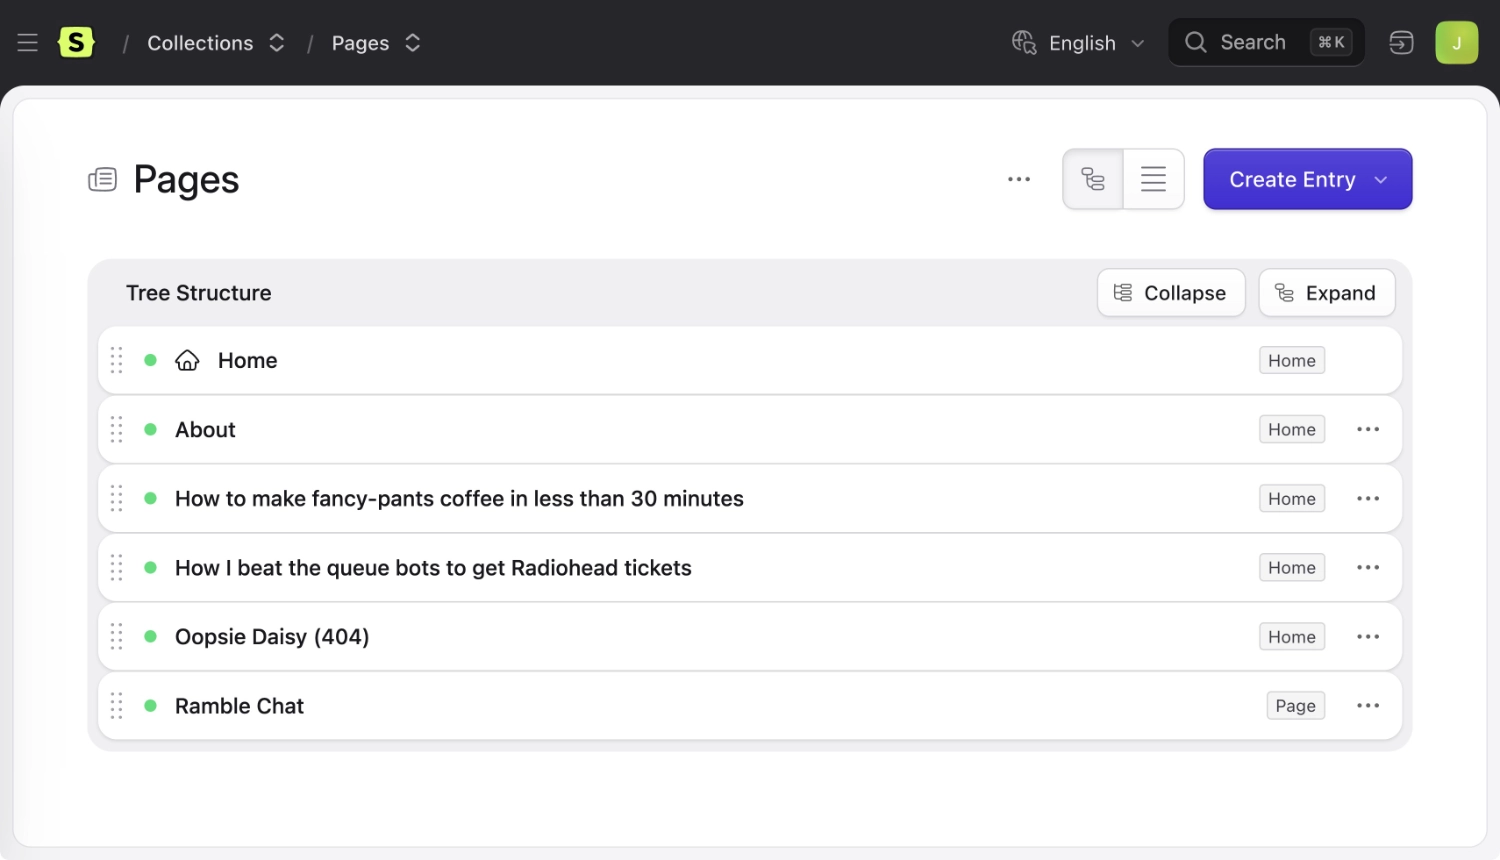
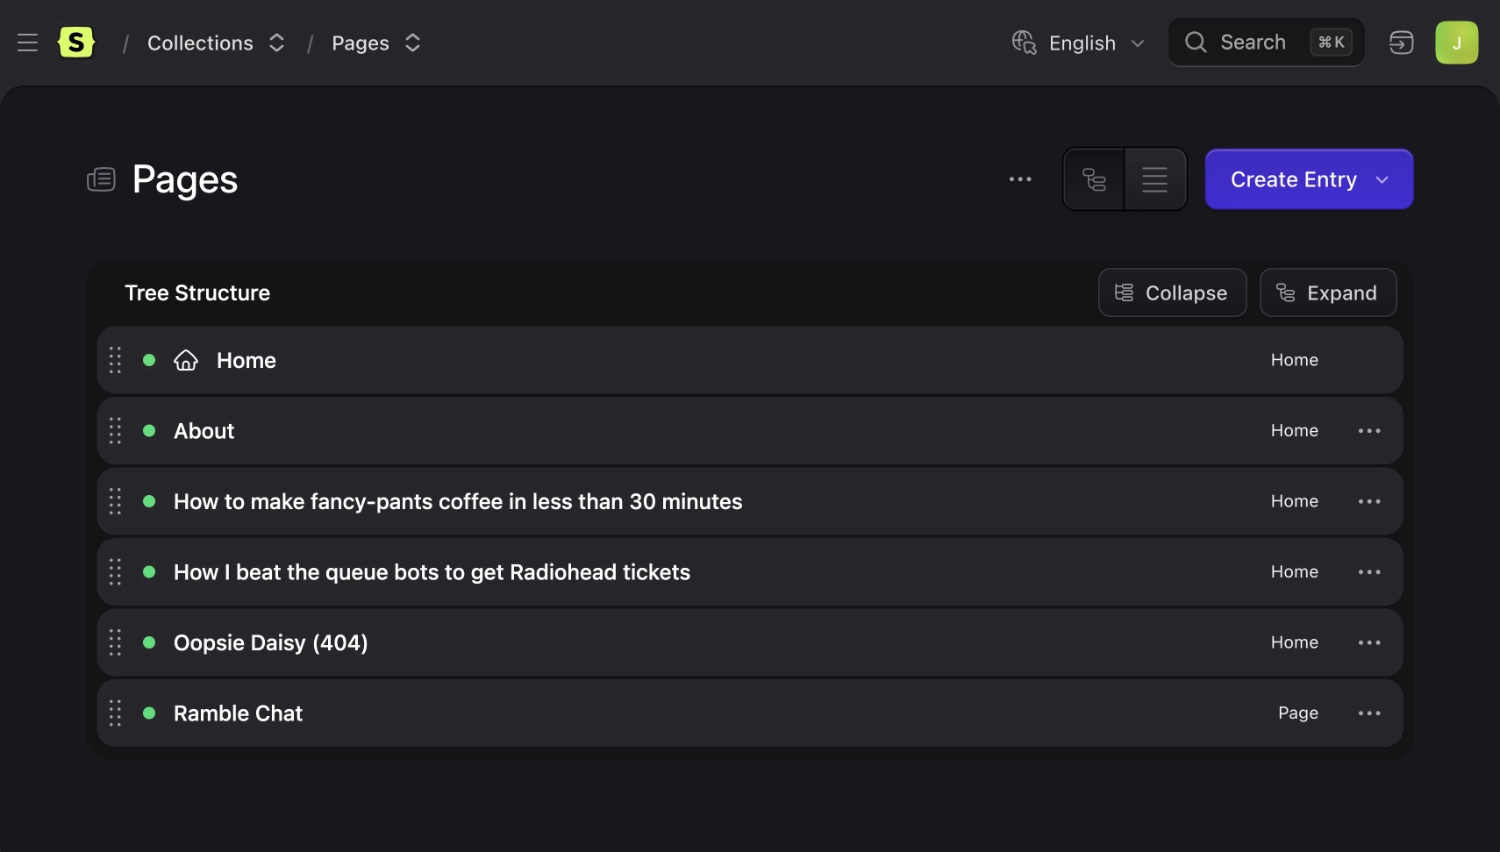
Flick on the "Orderable" switch in a collection's settings and you'll have a drag and drop UI in the control panel to order the entries. The collection is now "structured". Learn more about structures.
Order will take precedence when sorting. For example, if you make a dated collection orderable, date will no longer be the default sort order. You still can sort by date by specifying sort="date" on your collection tag.

Constraining Depth#
A structured collection will not have a maximum depth unless you set one, allowing you to nest entries as deep as you like. Set the max_depth option to limit this behavior. Setting the Max Depth option to 1 will replace the tree UI with a flat, table-based UI.
Default sort order in listings#
For non-structured collections, you can choose which field and direction to sort the list of entries in the Control Panel by setting the sort_by and sort_dir variables in your collection.yaml. By default, the Title field will be used.
Root page#
If you specify that your collection should "expect a root page", the first item in the tree UI will be considered the "root". This entry will not use a slug in its URI — it will be treated as a /.
The most common usage for this is to define a home page in a pages' collection. In this example, the root page's url would be / instead of /home. But this would also be true of a sub-section. If you had an ordered documents collection that was set up to live at /documents/, the "root" of that collection in this case would be the /documents/ URL.
Routing#
Entries receive their URLs from their collection's route setting. You can use standard meta variables in addition to the variables from the collection's blueprint to define your route rule. You can even use computed values or Antlers to create more complicated dynamic route logic.
route: /blog/{slug}
If you are building a multi-site and want different routes for different locales:
route:
  english: /events/{slug}
  french: /evenements/{slug}
Statamic does not automatically define route rules. If you want entries in your new collection to have URLs (almost always the case), make sure you define one!

Meta variables#
| Variable | Available |
|---|---|
slug |
always |
year |
when in a dated collection |
month |
when in a dated collection |
day |
when in a dated collection |
parent_uri |
when in an orderable collection and max_depth > 1 |
depth |
when in an orderable collection and max_depth > 1 |
mount |
when mounted to an entry |
Example Routes#
Here are a few examples of possible route rules for inspiration. 💡
Wordpress style#
route: /news/{year}/{month}/{day}/{slug}
# example: /news/2019/01/01/happy-new-year
For when you don't care about SEO#
route: /{id}
# example: /12345-1234-321-12345
For when you care too much about SEO#
route: /{parent_uri}/{slug}.html
# example: /details/project.html
Organizing sports brackets with structures#
Here's how we use the depth variable, along with the team_name field from the entry's blueprint.
route: /tournament/round-{depth}/{team_name}
# example: /tournament/round-4/chicago-bulls
Using fields from related entries#
For example, if you have a category field in your Products collection and you'd like for your product URLs to depend on it, you can configure a computed value to return the category URL, then use that computed value in your collection's route:
// app/Providers/AppServiceProvider.php

use Statamic\Facades\Collection;

Collection::computed('products', 'category_url', function ($entry, $value) {
    return $entry->category?->url();
});
route: '{{ category_url }}/{{ slug }}'
# example: /categories/wooden-toys/steam-locomotive
Using Antlers to organize gaming articles#
You can even use Antlers to get more complicated. Here we'll include the mounted entry at the top level.
mount: 'id-of-games-page'
route: '{{ depth == 1 ?= mount }}/{{ parent_uri }}/{{ slug }}'
# example: /games/zork/how-to-play/controls
If you're using Antlers in your route, you must use {{ double curlies }} when referencing variables.

Index route#
Once you've set up a route for your entries (e.g. /blog/{slug}) you'll usually want an index page listing all your entries as well. It's important to know that Statamic doesn't create this for you automatically. You need to either:
- Create an entry in another collection (typically a "pages" collection) that exists as
/blogand mount it to your blog collection. - Create a custom route that exists at
/blog.
Redirects#
Adding a redirect variable to one of your entries will cause an HTTP redirect when visiting its URL.
---
id: page-book-tickets
title: Book Ticket
redirect: http://booking.mysite.com
A particularly useful example of when you might want to do this is if you need an external link in your nav but creating a completely separate nav would be overkill.
The following redirects are supported:
- external links (starting with
http) - internal links (starting with
/) - other entries or terms (eg.
entry::id-of-entryorterm::id-of-term) - its first child page (
@child) - If there are no child pages you will get a 404 - a
404response
Any other strings will be assumed to be a relative link. For example: if the page URL is /my/page and you have redirect: is/here in your entry, you will be redirected to /my/page/is/here.
By default, Statamic will return a 302 status code when redirecting. To return a different status code, make the redirect an array with a status key:
redirect:
    url: http://booking.mysite.com
    status: 301
Entries with redirects will get filtered out of the collection tag by default. You can include them by adding a redirects="true" parameter.

Entry link blueprint#
When a Collection is structured and you have set Entries in this collection may contain links (redirects) to other entries or URLs. on in the collection settings, you will be presented with the option to create "Links" along with any other available blueprints when you try to create an entry.
This will load a behind-the-scenes blueprint containing title and redirect fields. You are free to modify what's shown on these pages by creating your own entry_link blueprint.
Taxonomies#
Taxonomies are defined on the collection level, not the blueprint-level. This enforces a tighter content-model, and reduces complexity when configuring blueprints.
Let's imagine you have a product collection. Each entry is a product, and each product has one or more categories. Thus set, no matter what blueprints you configure, each will have a categories field in the sidebar. You'll be able to access any categories on your entries with a {{ categories }} variable loop.
Taxonomies setting#
taxonomies:
  - categories
  - tags
Mounting#
You may "mount" a collection onto an entry in your collection config as a way of saying "all these entries belong to this section". When you do this, two neat things happen:
- The collection's entries will become subpages of the entry. E.g.
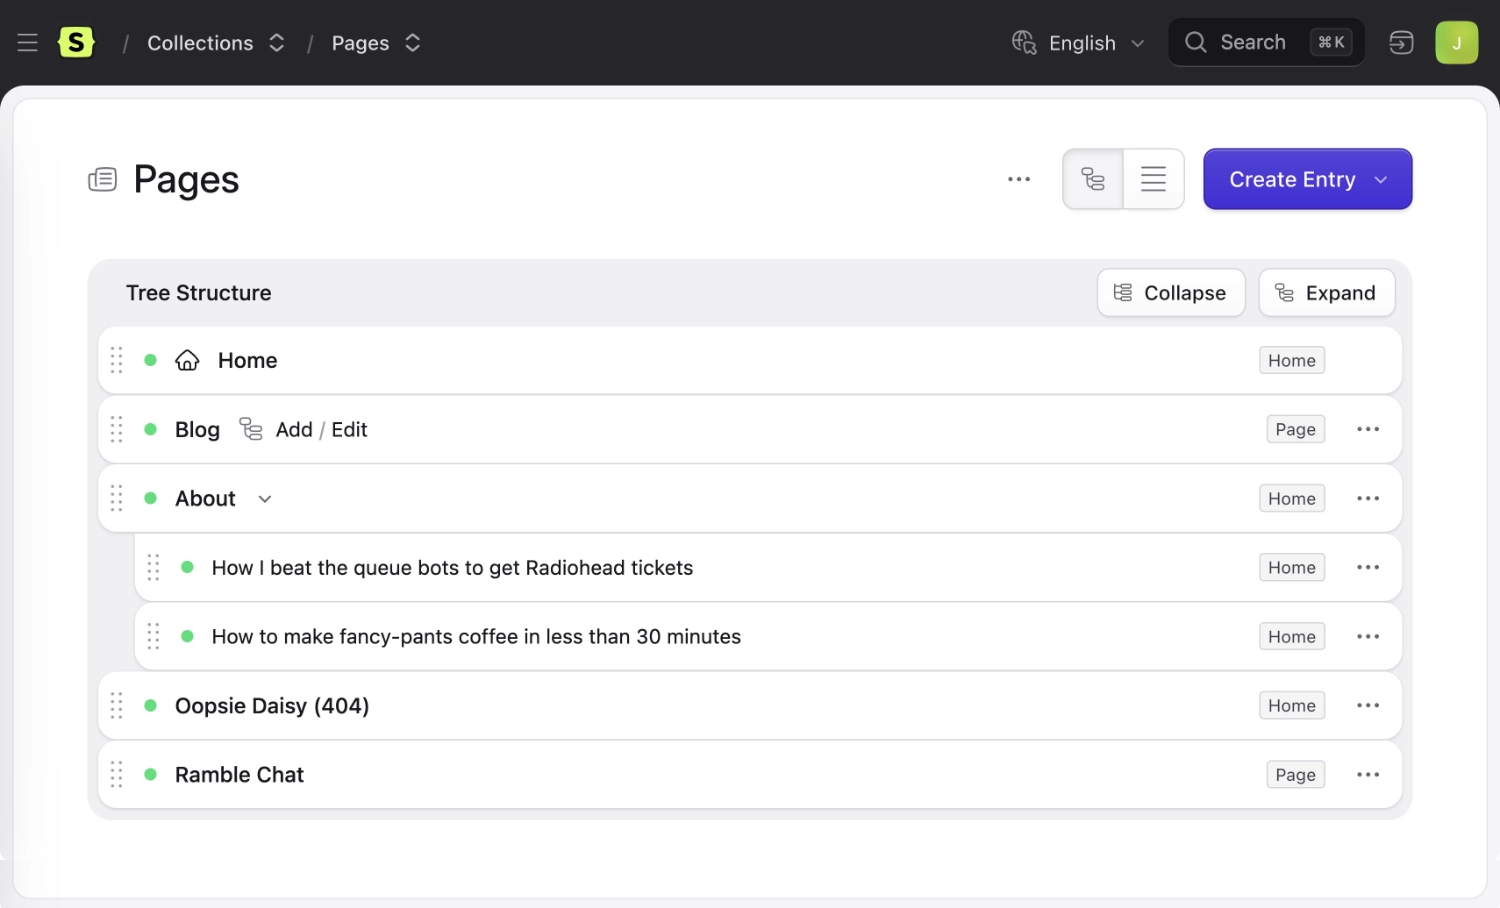
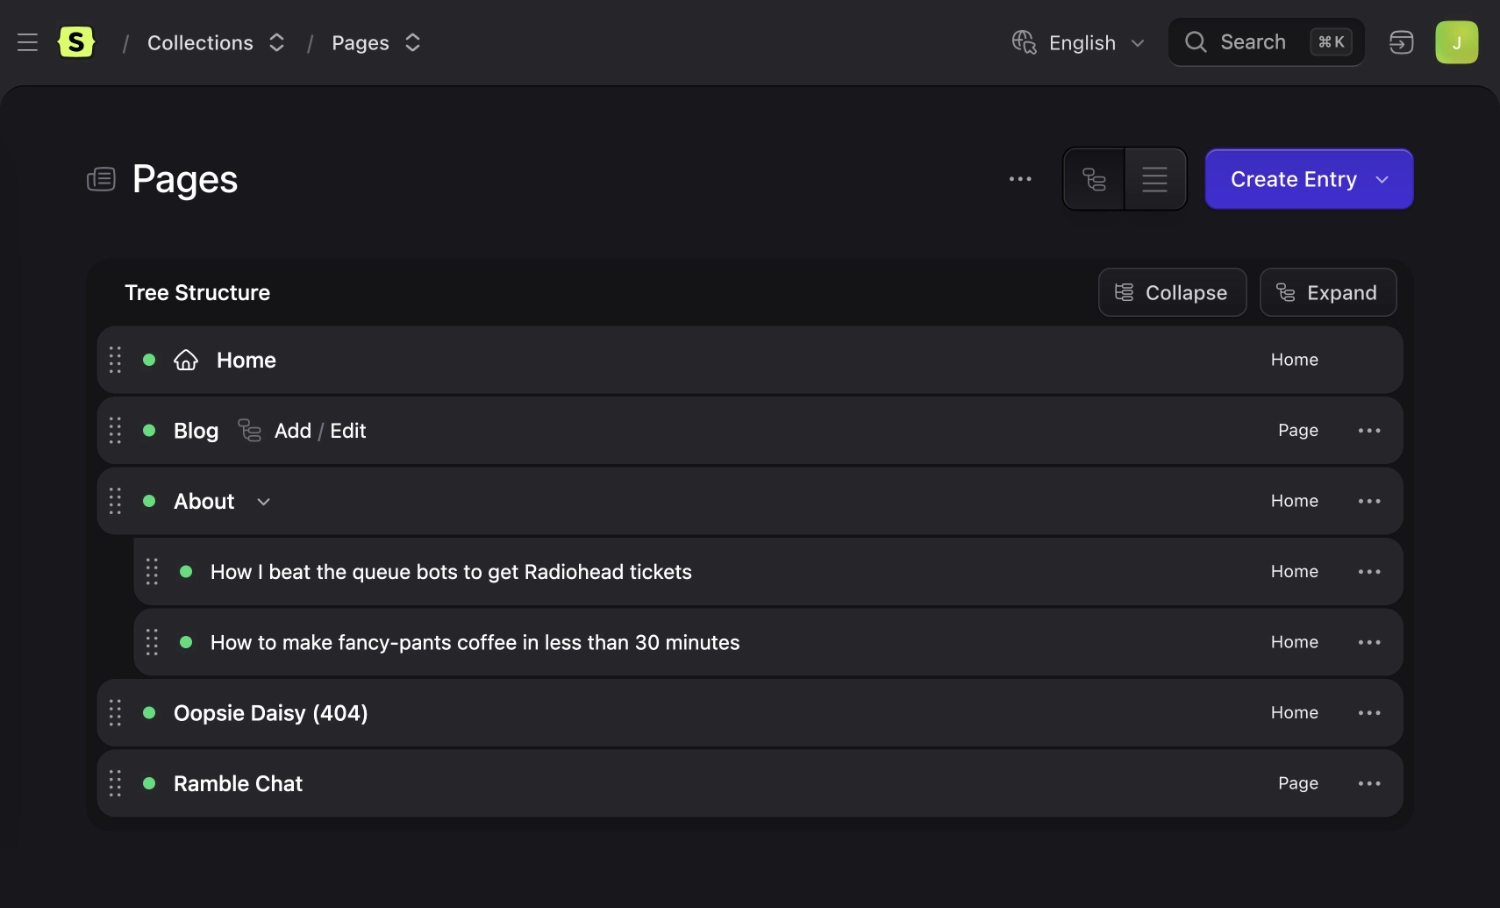
/blog/that-one-time-at-dev-camp - If the entry is in a structured collection with a nav tree, you will see shortcut links to add or edit entries in that collection, like the Blog page in the screenshot below.
Search indexes#
You can configure search indexes for your collections to improve the efficiency and relevancy of your users' searches. Learn how to connect indexes.
Revisions#
Revisions allow you to see the history of any given entry over time. Revisions need to be enabled on the site level (read those docs), and then you can enable them for any collection in your collection config.
Labels#
Throughout the control panel you may find buttons that say "Create Entry".
If you would rather them say something more specific (for example, "Create Article"), you may customize them per-collection by adding a translation key.
In lang/en/messages.php, you can add {handle}_collection_create_entry with the appropriate label.
<?php
return [
    'articles_collection_create_entry' => 'Create Article',
];
You may add the same key to messages.php in other language directories as necessary.
Localization#
When running a multi-site installation, you can have entries exist in multiple sites with different content, or have entries exclusive to a site.


