

Protecting Content
It's common to want to put a site online before it's ready to be viewed by the public. Statamic has built-in ways of making this very easy for you.
Overview#
You may deny front-end access to your content on a per-page, per-collection, or site-wide basis.
There are a number of drivers for protecting content available out of the box:
- auth for only allowing authenticated users.
- ip_address for allowing specific IP addresses.
- password will force users to enter a specified password.
You can also create your own drivers.
Whichever approach you choose, know that it's designed to help you out. We’ve tried to keep the syntax as simple as possible while allowing for flexibility. Because of this, if Statamic sees you’ve set protect, but the scheme has been configured incorrectly, all users will be denied.
Caveats#
- Protection only applies to the frontend of your site routed through Statamic (like entry URLs). Custom routes defined in your
routes/web.phpfile and the Control Panel will be unaffected. - Protected pages are automatically excluded from the static cache, unless the driver explicitly opts in by marking itself cacheable.
Protecting an entry#
To protect an entry, add a protect variable with a corresponding scheme name.
For example, Statamic comes pre-configured with a logged_in protection scheme that only shows the content to authenticated users. You might have an entry like this:
---
title: Members Only
protect: logged_in
---
When visiting this entry's URL, logged in users will see it,
but logged out users will be redirected to a login page.
Protecting a collection#
To protect an entire collection, inject a protect variable into your collection. To do this, add the following to your collection's YAML config file. This cannot be done in the control panel.
---
inject:
  protect: logged_in
Configuring schemes#
The configuration file is located at config/statamic/protect.php. In this file you may specify a number of different schemes which you can reference throughout your content files.
You are free to use the same driver in multiple schemes, configured in different ways. Check below for details on how to configure each driver.
IP address#
Add the IP address(es) you wish to allow to the aptly named allowed array.
'ip_address' => [
    'driver' => 'ip_address',
    'allowed' => ['127.0.0.1', '192.168.0.10'],
]
Authentication#
Adding this scheme to a page will redirect to a login page unless the user is already logged in as a Statamic user.
'logged_in' => [
    'driver' => 'auth',
    'login_url' => '/login',
    'append_redirect' => true,
]
If the login_url has not been defined the user will see an “Access Denied” page instead of a login screen. In this case, the user could log in through the Control Panel and then come back.
The append_redirect setting will add ?redirect=/the-protected-url to your login_url. This pairs with the user:login_form tag’s allow_request_redirect parameter which will redirect the user to the intended page once successfully logged in.
This protection method does not take into account any user roles. They are simply either logged in or they're not.
Password#
This is perfect for times when you want to password-protect one or more files but don’t want to set up user accounts for this one purpose. This scheme does not relate to member accounts in any way.
'password' => [
    'driver' => 'password',
    'allowed' => ['secret', 'confidential'],
    'form_url' => null,
]
You can also define the password for a protected entry on the entries themselves. This might be helpful if each has a different password.
# content/collections/pages/secret-page.md

protect: password
password: local-password
 // config/statamic/protect.php

 'password' => [
     'driver' => 'password',
     'allowed' => ['secret', 'confidential'],
     'form_url' => null,
+    'field' => 'password',  ]
Password form#
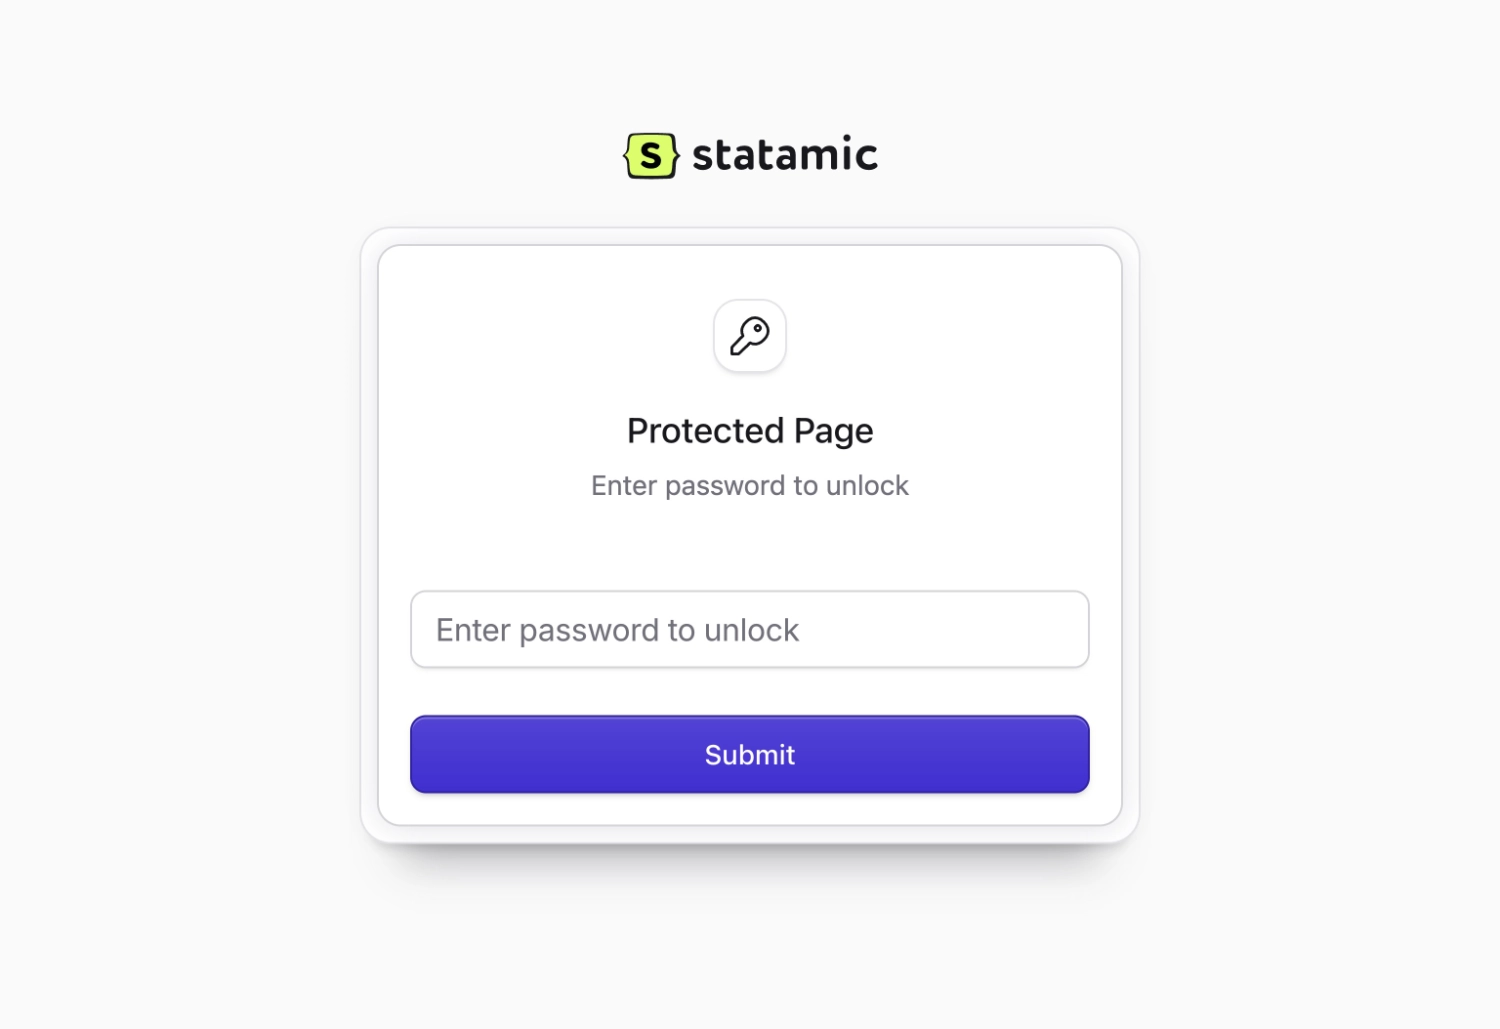
You’ll need to provide a way for people to enter passwords for URLs. Statamic has a built-in generic password entry form. If you want to customize it, you have two options:
Override the view#
Override the view by creating vendor/statamic/auth/protect/password.antlers.html in your views directory, and use the protect:password_form tag to build a form. No config change required. For example:
{{ protect:password_form }}
    {{ if no_token }}
        No token has been provided.
    {{ else }}

        {{ if error }}
            <div class="error">{{ error }}</div>
        {{ /if }}

        <input type="password" name="password" />

        {{ errors:password }}
            <div class="inline-error">{{ value }}</div>
        {{ /errors:password }}

        <button>Submit</button>

    {{ /if }}
{{ /protect:password_form }}
Override the view by creating vendor/statamic/auth/protect/password.blade.php in your views directory, and use the protect:password_form tag to build a form. No config change required. For example:
<s:protect:password_form>
  @if ($no_token)
    No token has been provided.
  @else
    @if ($error)
      <div class="error">{{ $error }}</div>
    @endif

    <input type="password" name="password" />

    @if (isset($errors['password']))
      @foreach ($errors['password'] as $error)
        <div class="inline-error">{{ $error }}</div>
      @endforeach
    @endif

    <button>Submit</button>
  @endif
</s:protect:password_form>
The protect:password_form tag is going to wrap everything between the tags in an HTML form tag pointing to the appropriate place.
The HTML of the form itself is up to you. The only requirement is to name the password input password. You can do anything else you want.
Custom form URL#
If you would like more control over the location of the password form, you may change form_url in the scheme's config:
'form_url' => '/password-entry'
You can create a page or a route for this. In the corresponding view, you can build a form as described above.
Validation errors#
When a validation error is encountered, error and errors variables will be available to you.
The error variable will be a string with the first error, useful if you want to display an error at the top of your form.
The errors variable will be an array keyed by field names, each containing an array of messages. This is useful for inline errors.
Token#
When visiting a password protected page, Statamic will generate a token and append it to the form’s URL. Without a token, the form cannot function correctly. In the example above, you can see the no_token boolean will be populated for you. This may happen if you visit the form URL directly.
Invalid passwords#
If someone submits a password and it isn’t valid, Statamic will redirect back with the appropriate validation error. Valid passwords can vary from piece of content to piece of content. This one form is smart enough to handle all password management between password-protected URLs.
Valid passwords#
A valid password is anything matching one of the passwords in the allowed list as configured on the scheme. This means that you can send three people three different passwords to access the same URL, each having their own way in. Additionally, you could also set just one password and send that to 100 people and they can all use the same password.
As always with online security, be careful with who you share passwords with or you'll find yourself changing them often.
This protection method is meant for short-term access control. For example, showing a client your progress without the public or to prevent Google from indexing a staging site. It's about as secure as curtain over an open window: just good enough for passer-bys.

Password expiration#
Each user’s passwords will expire along with their session. To manually invalidate a password, remove it from the list of allowed passwords on the page. The next time a user with that password visits this page they’ll be redirected to the password form just like everyone else.
Endgame protection#
If you want to protect a page from anyone - regardless of authentication status, IP address, time of day, weather, or beverage preference - you can simply add protect: true to the entry's front-matter.
One may find this useful to quickly disable something.
Site-wide protection#
To protect your whole site at once, add a scheme name to default in your protect.php configuration file.
For example, to make sure your whole site is only accessible to a single IP address, you could add:
'default' => 'test',

'schemes' => [
    'test' => [
        'driver' => 'ip_address',
        'allowed' => ['127.0.0.1']
    ]
]
Custom drivers#
Writing the driver#
To create your custom protection driver, you should extend the Statamic\Auth\Protect\Protector class and add a protect method.
The protect method should typically:
- Call
abort(403)to deny access. - Call
abort(redirect($url))to redirect somewhere (eg. how the auth driver redirects to a login page) - Do nothing, which would allow access.
Here's a silly example that will randomly allow or deny access:
<?php

use Statamic\Auth\Protect\Protectors\Protector;

class CoinFlip extends Protector
{
    public function protect()
    {
        $heads = (bool) random_int(0, 1);

        abort_if($heads, 403);
    }
}
Within this class, you have a number of properties available to you.
$this->scheme; // The name of the scheme.
$this->config; // The configuration array of the scheme.
$this->url;    // The URL the protection was triggered on.
$this->data;   // The data object (eg. the Entry) being protected.
Cacheable drivers#
By default, any page using a protection scheme is excluded from the static cache — Statamic adds an X-Statamic-Protected header to the response which prevents caching. This is a safe default because the first visitor's view of a protected page would otherwise get served to everyone.
If your custom driver's protection logic doesn't depend on the visitor (for example: a scheme that only allows access during a specific date range, or only on certain environments), you can opt it into static caching by overriding the cacheable method and returning true.
<?php

use Statamic\Auth\Protect\Protectors\Protector;

class ComingSoon extends Protector
{
    public function protect()
    {
        abort_if(now()->lt('2026-01-01'), 404);
    }

    public function cacheable()
    {
        return true;
    }
}
When cacheable() returns true, the X-Statamic-Protected header will not be added and the page is eligible for the static cache.
Only mark a driver as cacheable when its protect() logic produces the same outcome for every visitor. User-specific, IP-specific, or password-based protection must not be cached.
Registering the driver#
Inside a service provider's boot method, you can use the extend method on the protector manager class.
use Statamic\Auth\Protect\ProtectorManager;

app(ProtectorManager::class)->extend('coin_flip', function ($app) {
    return new CoinFlip;
});
The first argument passed to the extend method is the name of the driver. This will correspond to your driver option in the protect.php configuration file. The second argument is a Closure that should return an Protector instance. The Closure will be passed an $app instance, which is an instance of the service container.
Once your extension is registered, update your protect.php configuration file's driver option to the name of your extension.
