

Forms
Forms are a natural part of the internet experience and a core component of most websites. From a basic "Contact Me" form to a multi-page job application, Statamic can help manage your forms, submissions, and thereby make your life a little bit easier.
Overview#
Statamic forms collect submissions, provide reports on them on aggregate, and display user submitted data on the frontend. The end-to-end solution includes tags, settings, and a dedicated area of the Control Panel.
Your first form#
Let's pretend you're a famous celebrity with a large following of dedicated fans. If this is true, why are you building your own website? Who's going to sail your yacht?
Okay, let's just pretend you're a famous celebrity's web developer. You've been tasked with collecting electronic fan mail (we'll call it EF-Mail). You want to collect the following bits of info from crazed enthusiastic fans:
- name
- age
- level of adoration (appreciation, fixation, or obsession)
- message
Create the form#
First, head to /cp/forms in the Tools area of the Control Panel and click the Create Form button. Alternately you can create a .yaml file in resources/forms which will contain all the form's settings.
Each form should contain a title. Optionally it may also have an email configuration.
title: Super Fans
email: []
The blueprint#
The blueprint is where you define your form's fields and validation rules to be used on form submission.
The blueprint is located in resources/blueprints/forms/{handle}.yaml
fields:
  -
    handle: name
    field:
      display: Name
      type: text
      validate: required
  -
    handle: age
    field:
      display: Age
      type: text
      validate: required|integer
  -
    handle: adoration
    field:
      display: Level of Adoration
      type: text
      validate: required
  -
    handle: comment
    field:
      display: Comment
      type: textarea
      validate: required
The message variable is a Laravel reserved word within this email context, so you should avoid using that as a field handle if you intend on using the email feature.

If you use the Control Panel to build your blueprint, you will find that there's only a subset of fieldtypes available to you.
These are the fields that have corresponding views ready to be used on the front-end.
If you'd like to include more fieldtypes, you can opt into each one by calling makeSelectableInForms on the respective class within a service provider:
Statamic\Fieldtypes\Section::makeSelectableInForms();
You can also do the opposite and prevent a fieldtype from being used in forms by calling makeUnselectableInForms on the respective class within a service provider:
Statamic\Fieldtypes\Dictionary::makeUnselectableInForms();
The template#
Several tags are provided to help you manage your form. You can explore these at your leisure, but for now here's a look at a basic form template.
This example dynamically renders each input's HTML. You could alternatively write the HTML yourself, perform conditions on the field's type, or even customize the automatic HTML.
{{ form:super_fans }}

    // First let's check if this is after a submission, and if so, was it successful.
    // If it was, just show the success message. After all, we don't want them submitting again once they've gotten in touch!
    {{ if success }}
        <div class="bg-green-300 text-white p-2">
            {{ success }}
        </div>
    {{ else }}
        // If we weren't successful, show any errors. If a fresh page load, there's no errors, so do nothing.
        {{ if errors }}
            <div class="bg-red-300 text-white p-2">
                {{ errors }}
                    {{ value }}<br>
                {{ /errors }}
            </div>
        {{ /if }}

        // Loop through and render the form inputs
        {{ fields }}
            <div class="p-2">
                <label>{{ display }}</label>
                <div class="p-1">{{ field }}</div>
                {{ if error }}
                    <p class="text-gray-500">{{ error }}</p>
                {{ /if }}
            </div>
        {{ /fields }}

        // Add the honeypot field
        <input type="text" class="hidden" name="{{ honeypot ?? 'honeypot' }}">

        // This is just a submit button.
        <button type="submit">Submit</button>
    {{ /if }}

{{ /form:super_fans }}
<s:form:super_fans>

  // First let's check if this is after a submission, and if so, was it successful.
  // If it was, just show the success message. After all, we don't want them submitting again once they've gotten in touch!
  @if ($success)
    <div class="bg-green-300 text-white p-2">
      {{ $success }}
    </div>
  @else
    // If we weren't successful, show any errors. If a fresh page load, there's no errors, so do nothing.
    @if (count($errors) > 0)
      <div class="bg-red-300 text-white p-2">
        @foreach ($errors as $error)
          {{ $error }}<br>
        @endforeach
      </div>
    @endif

    // Loop through and render the form inputs
    @foreach ($fields as $field)
      <div class="p-2">
        <label>{{ $field['display'] }}</label>
        <div class="p-1">{!! $field['field'] !!}</div>
        @if ($field['error'])
          <p class="text-gray-500">{{ $field['error'] }}</p>
        @endif
      </div>
    @endforeach

    // Add the honeypot field
    <input type="text" class="hidden" name="{{ isset($honeypot) ? $honeypot : 'honeypot' }}" />

    // This is just a submit button.
    <button type="submit">Submit</button>
  @endif
</s:form:super_fans>
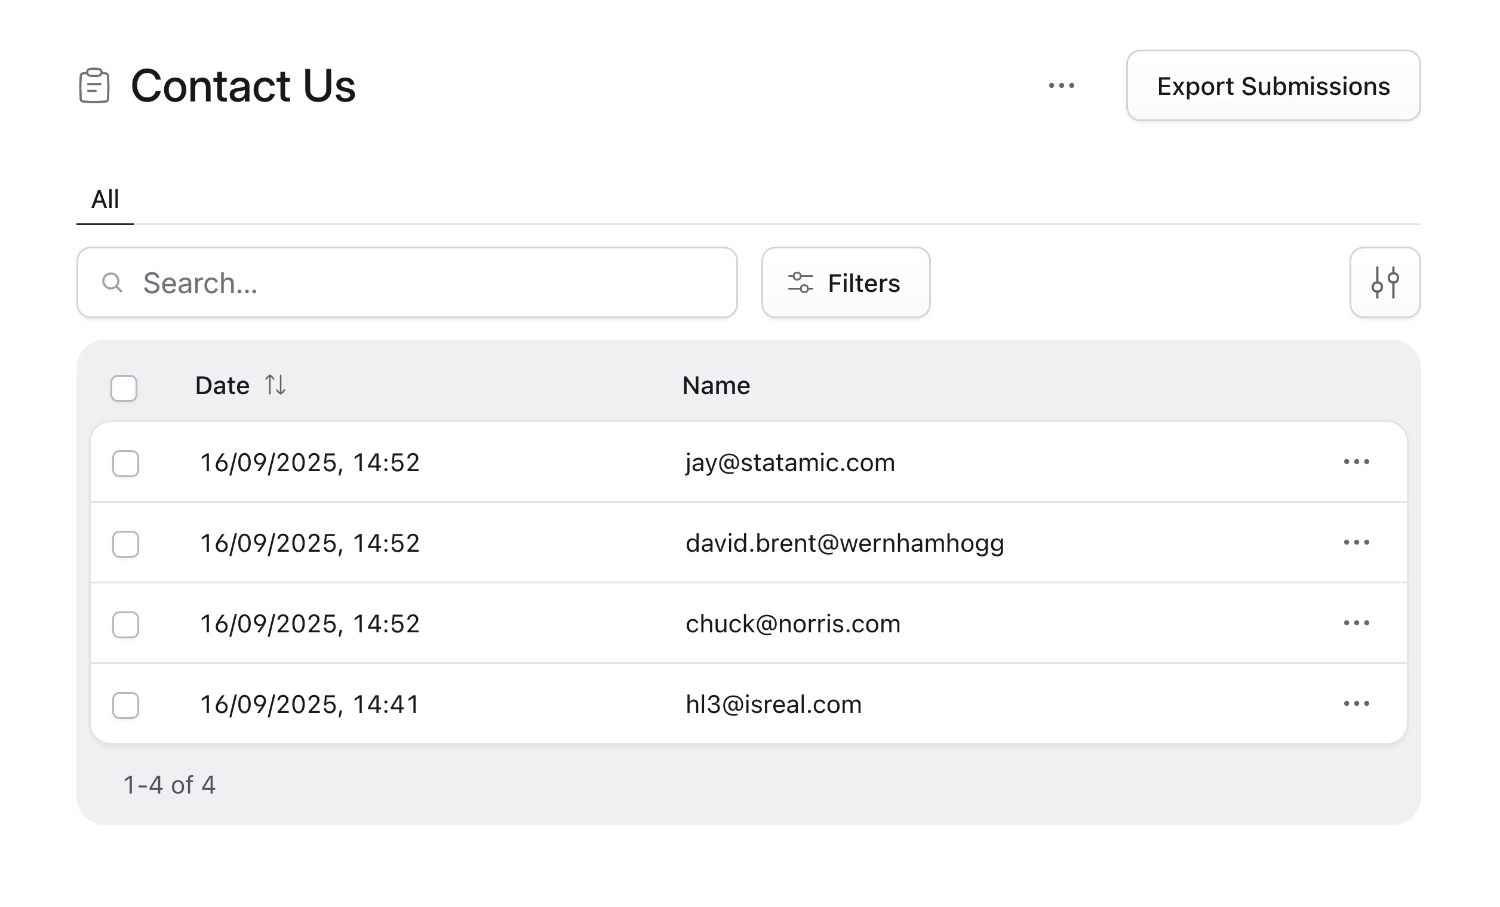
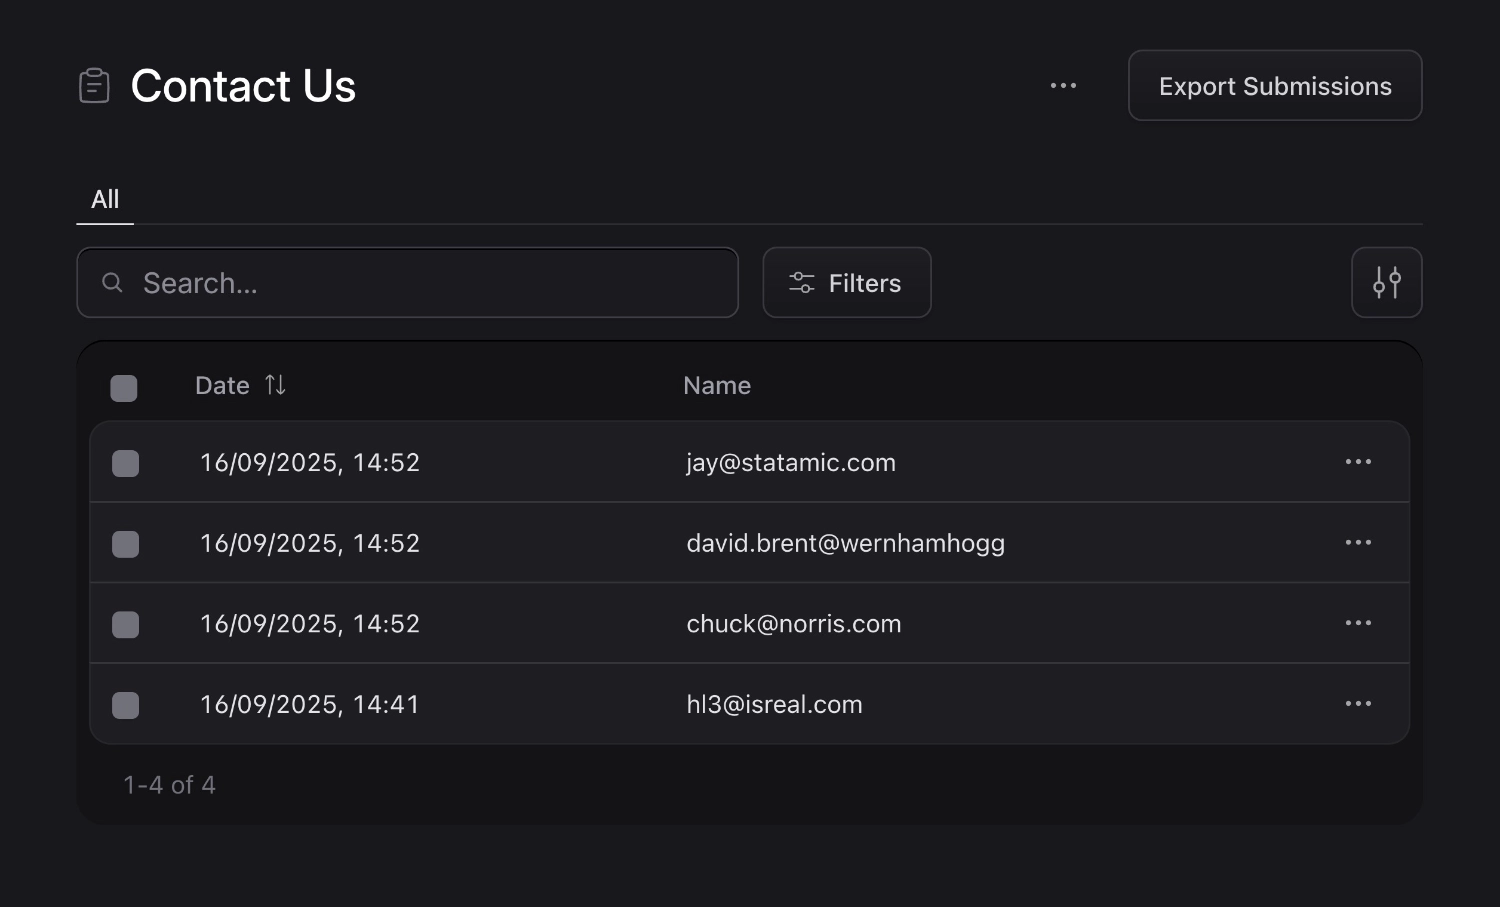
Viewing submissions#
In the Forms area of the control panel you can explore the collected responses, configure dashboards and export the data to CSV or JSON formats.
Displaying submission data#
You can display any or all of the submissions of your forms on the front-end of your site using the form submissions Tag.
<h2>My fans have said some things you can't forget...</h2>
{{ form:submissions in="superfans" }}
  {{ message | markdown }}
{{ /form:submissions }}
<h2>My fans have said some things you can't forget...</h2>
<s:form:submissions in="superfans">
  {!! Statamic::modify($message)->markdown() !!}
</s:form:submissions>
Exporting your data#
Exporting your data is just a click of the Export button away. You have the choice between CSV and JSON. Choose wisely, or choose both, it doesn't matter to us.
Configuring exporters#
Out of the box, Statamic gives you two exporters: a CSV exporter and a JSON exporter.
// config/statamic/forms.php

'exporters' => [
    'csv' => [
        'class' => Statamic\Forms\Exporters\CsvExporter::class,
    ],
    'json' => [
        'class' => Statamic\Forms\Exporters\JsonExporter::class,
    ],
],
If you want to customize the labels of the exporters, you may add a title key to the exporter's config. You can also add a forms key to the exporter config to limit it to certain forms:
// config/statamic/forms.php

'exporters' => [
    'csv' => [
        'class' => Statamic\Forms\Exporters\CsvExporter::class,
        'title' => 'CSV (Works in Excel)',
        'forms' => ['contact_form', 'event_registrations'],
    ],
],
CSV Exporter#
The CSV exporter supports two configuration options:
csv_delimiter#
This allows you to configure the delimiter used for CSV exports. This defaults to ,.
// config/statamic/forms.php

'csv_delimiter' => ',',
csv_headers#
This allows you to configure whether the field handle or the field display text is used for the CSV's heading row. This defaults to handle.
// config/statamic/forms.php

'csv_headers' => 'handle',
Custom exporter#
If you need to export form submissions in a different file format or need more flexibility around how the CSV/JSON files are created, you may build your own custom exporter.
To build a custom exporter, simply create a class which extends Statamic's Exporter class and implement the export and extension methods:
<?php

namespace App\Forms\Exporters;

use Statamic\Forms\Exporters\Exporter;

class SpecialExporter extends Exporter
{
    public function export(): string
    {
        return '';
    }

    public function extension(): string
    {
        return 'csv';
    }
}
The export method should return the file contents and the extension method should return the file extension.
Then, to make the exporter available on your forms, simply add it to your forms config:
// config/statamic/forms.php

'exporters' => [
    'csv' => [
        'class' => Statamic\Forms\Exporters\CsvExporter::class,
    ],
    'json' => [
        'class' => Statamic\Forms\Exporters\JsonExporter::class,
    ],
    'special_exporter' => [         'class' => App\Forms\Exporters\SpecialExporter::class,     ], ],
Emails#
Allowing your fans to send their comments is all well and good, but at this point you will only know about it when you head back into the Control Panel to view the submissions. Wouldn't it be better to get notified? Let's hook that up next.
You can add any number of emails to your formset.
email:
-
subject: You've got fan mail!
html: fan-mail
text: fan-mail-text
-
subject: Someone still likes your client
Here we'll send two emails for every submission of this form. One will go to the celebrity, and one to the agent. The first one uses custom html and text views while the other doesn't, so it'll get an "automagic" email. The automagic email will be a simple text email with a list of all fields and values in the submission.
Email variables#
Inside your email view, you have a number of variables available:
date,now,today- The current date/timesite_url- The site home page.site,locale- The handle of the siteconfig- Any app configuration valuesemail_config- The email's config (the current item from youremail:array)form_config- Any extra config values appended to the form's blueprint (e.g. via addons usingForm::appendBlueprintTab())- Any data from Global Sets
- All of the submitted form values
- A
fieldsarray
The submitted form values will be augmented for you. For instance, if you have an assets field, you will get a collection of Asset objects rather than just an array of paths. Or, a select field will be an array with label and value rather than just the value.
<b>Name:</b> {{ name }}
<b>Email:</b> {{ email }}
<b>Name:</b> {{ $name }}
<b>Email:</b> {{ $email }}
The fields variable is an array available for you for if you'd rather loop over your values in a dynamic way:
{{ fields }}
    <b>{{ display }}</b> {{ value }}
{{ /fields }}
@foreach ($fields as $field)
  <b>{{ $field['display'] }}</b> {{ $field['value'] }}
@endforeach
In each iteration of the fields array, you have access to:
display- The display name of the field. (e.g. "Name")handle- The handle of the field (e.g. "name")value- The augmented value (same as explained above)fieldtype- The handle of the fieldtype (e.g. "assets")config- The configuration of the blueprint field
Setting the from and reply-to name#
You can set a full "From" and "Reply-To" name in addition to the email address using the following syntax:
Setting the recipient dynamically#
You can set the recipient to an address submitted in the form by using the variable in your config block. Assuming you have a form input with name="email":
email:
  -
    to: "{{ email }}"
    # other settings here
Setting the "Reply to" dynamically#
You can set the "reply to" to an address submitted in the form by using the variable in your config block. Assuming you have a form input with name="email":
email:
  -
    reply_to: "{{ email }}"
    # other settings here
Setting the "Subject" dynamically#
You can set the email "subject" to a value in your form by using the variable in your config block. Assuming you have a form input with name="subject":
email:
  -
    subject: '{{ subject ?? "Email Form Submission" }}'
    # other settings here
Learn how to create your emails
Attachments#
When using file uploads in your form, you may choose to have those attached to the email. By adding attachments: true to the email config, any assets fields will be automatically attached.
email:
  -
    attachments: true
    # other settings here
If you don't want the attachments to be kept around on your server, you should pick the files fieldtype option explained in the File Uploads section.
Using Markdown Mailable Templates#
Laravel allows you to create email templates using Markdown. It's pretty simple to wire these up with your form emails:
- Enable Markdown parsing in your email config:
 email:
   -
     # other settings here
+ markdown: true - Next, create a Blade view for your email template and start using Laravel's Markdown Mailable components:
 email:
   -
     # other settings here
     markdown: true
+    html: 'contact-us'
{{-- contact-us.blade.php --}}
<x-mail::message>
# New form submission
Someone has taken the time to fill out a form on your website. Here are the details:
<x-mail::panel>
@foreach ($fields as $item)
<strong>{{ $item['display'] }}:</strong> {{ $item['value'] }}<br>
@endforeach
</x-mail::panel>
</x-mail::message>
Make sure you don't use indentation in your Markdown view. Laravel's markdown parser will render it as code.
You can customize the components further by reviewing the Laravel documentation.
File uploads#
Sometimes your fans want to show you things they've created, like scissor-cut love letters and innocent selfies with cats. No problem! File input types to the rescue. Inform Statamic you intend to collect files, specify where you'd like the uploads to go, and whether you'd like them to simply be placed in a directory somewhere, or become reusable Assets.
First, add a file upload field to your blueprint:
- Add an
assetsfield if you want the uploaded files to be stored in one of your asset containers. - Add a
filesfield if you're only wanting to attach the uploads to the email. Anything uploaded using this fieldtype will be attached and then deleted after the emails are sent.
Then decide if you need single or multiple files to be uploaded.
Single files#
On your field, add a max_files setting of 1:
<input type="file" name="cat_selfie" />
fields:
  -
    handle: cat_selfie
    field:
      type: assets
      container: main
      max_files: 1
Multiple files#
You have two methods available to you:
First, you can create separate fields for each upload. This is useful if each has a separate purpose, like Resume, Cover Letter, and Headshot. You'll need to explicitly create each and every one in your formset.
Or, you can enable multiple files on one field by dropping the max_files setting on your field, and using array syntax on your input by adding a set of square brackets to the name attribute:
<input type="file" name="selfies[]" multiple />
fields:
  -
    handle: selfies
    field:
      type: assets
      container: main
Honeypot#
Simple and effective spam prevention.
The honeypot technique is simple. Add a field to your forms, that when filled in will cause the submission to fail, but appear successful. Nothing will be saved and no emails are sent.
Hide this field by a method of your choosing (ie. CSS), so your users won't see it but spam bots will just think it’s another field.
For example:
{{ form:create }}
    ...
    <input type="text" name="honeypot" class="honeypot" />
{{ /form:create }}
<s:form:create>
  ...
  <input type="text" name="honeypot" class="honeypot" />
</s:form:create>
.honeypot { display: none; }
In order to fool smarter spam bots, you should customize the name of the field by changing the name="" attribute to something common, but not used by your particular form. Like username or address. Then, add honeypot: your_field_name to your formset config.
Using AJAX#
To submit the form with AJAX, be sure to pass all the form inputs in with the submission, as Statamic sets _token and _params, both of which are required.
You'll also need to set your ajax library's X-Requested-With header to XMLHttpRequest.
The URL endpoint to send the request to is /!/forms/{form-handle}. You can configure the action route prefix which defaults to ! in config/statamic/routes.php.
Rate limiting#
Form submissions are rate limited by IP address to help protect against abuse. By default, the statamic.forms limiter allows 10 submissions per minute across all forms.
You can customize the limit by redefining the named rate limiter in your AppServiceProvider's boot method:
use Illuminate\Cache\RateLimiting\Limit;
use Illuminate\Http\Request;
use Illuminate\Support\Facades\RateLimiter;

public function boot()
{
    RateLimiter::for('statamic.forms', function (Request $request) {
        return Limit::perMinute(20)->by($request->ip());
    });
}
Consult the Laravel documentation to learn more about defining rate limiters.
Caching#
If you are static caching the URL containing a form, return responses like 'success' and 'errors' will not be available after submitting unless you exclude this page from caching or wrap the form in {{ nocache }} tags.
Wrapping the form in {{ nocache }}
{{ nocache }}
    {{ form:create formset="contact" }}
        ...
    {{ /form:create }}
{{ /nocache }}
<s:nocache>
  <s:form:create formset="contact">
    ...
  </s:form:create>
</s:nocache>
Axios example#
window.axios.defaults.headers.common['X-Requested-With'] = 'XMLHttpRequest';
form = document.getElementById('form');

// On submit...
axios.post(form.action, new FormData(form))
  .then(response => {
      console.log(response.data)
  });
Precognition#
Statamic supports using Laravel Precognition in forms.
Here is a basic example that uses Alpine.js for the Precognition validation, and a regular form submission. This is a starting point that you may customize as needed. For instance, you might prefer to use AJAX to submit the form.
Note that js="alpine_precognition" is used rather than just alpine.
{{ form:contact js="alpine_precognition" }}
    {{ if success }}
        Success!
    {{ /if }}

    <template x-if="form.hasErrors">
        <div>
            Errors!
            <ul>
                <template x-for="error in form.errors">
                    <li x-text="error"></li>
                </template>
            </ul>
        </div>
    </template>

    {{ fields }}
        <label>{{ display }}</label>
        {{ field }}
        <small x-show="form.invalid('{{ handle }}')" x-text="form.errors.{{ handle }}"></small>
    {{ /fields }}

    <button :disabled="form.processing">Submit</button>
{{ /form:contact }}
<s:form:contact js="alpine_precognition">
    @if ($success) Success! @endif

    <template x-if="form.hasErrors">
      <div>
        Errors!
        <ul>
          <template x-for="error in form.errors">
            <li x-text="error"></li>
          </template>
        </ul>
      </div>
    </template>

    @foreach ($fields as $field)
      <label>{{ $field['display'] }}</label>
      {!! $field['field'] !!}

      <small
        x-show="form.invalid('{{ $field['handle'] }}')"
        x-text="form.errors.{{ $field['handle'] }}"
      ></small>
    @endforeach

    <button :disabled="form.processing">Submit</button>
</s:form:contact>
To build on the regular form submission example above, here's an example for AJAX submission.
- The third argument of the
jsparameter defines the Alpine component. - The native form's submit event is listened for, prevented, and the component's
submitmethod is called instead.
{{ form:contact
    js="alpine_precognition:form:contact"
    @submit.prevent="submit"
}}
<s:form:contact
    js="alpine_precognition:form:contact"
    @submit.prevent="submit"
>
<script>
document.addEventListener('alpine:init', () => {
    Alpine.data('contact', (data) => ({
        ...data,
        submit() {
            this.form.submit().then(response => {
                this.form.reset();
                console.log("Success")
            }).catch(error => {
                console.log(error);
            });
        }
    }));
});
</script>
User Forms#
The user form tags (login, register, profile, and password) also support Precognition — but at the request level only. The tags themselves don't accept a js="alpine_precognition" parameter, so you wire it up manually against the form's action URL.
Install the Alpine adapter:
npm install laravel-precognition-alpine
Register it before Alpine starts:
import Alpine from 'alpinejs'
import precognition from 'laravel-precognition-alpine'

Alpine.plugin(precognition)
Alpine.start()
Then bind a $form to the appropriate endpoint inside the user form tag:
{{ user:login_form
    x-data="{ form: $form('post', '/!/auth/login', { email: '', password: '' }) }"
    @submit.prevent="form.submit().then(() => window.location = '/dashboard')"
}}
    <label>Email</label>
    <input
        type="email"
        name="email"
        x-model="form.email"
        @change="form.validate('email')"
    >
    <small x-show="form.invalid('email')" x-text="form.errors.email"></small>

    <label>Password</label>
    <input
        type="password"
        name="password"
        x-model="form.password"
        @change="form.validate('password')"
    >
    <small x-show="form.invalid('password')" x-text="form.errors.password"></small>

    <button type="submit" :disabled="form.processing">Log in</button>
{{ /user:login_form }}
<s:user:login_form
    x-data="{ form: $form('post', '/!/auth/login', { email: '', password: '' }) }"
    @submit.prevent="form.submit().then(() => window.location = '/dashboard')"
>
    <label>Email</label>
    <input
        type="email"
        name="email"
        x-model="form.email"
        @change="form.validate('email')"
    >
    <small x-show="form.invalid('email')" x-text="form.errors.email"></small>

    <label>Password</label>
    <input
        type="password"
        name="password"
        x-model="form.password"
        @change="form.validate('password')"
    >
    <small x-show="form.invalid('password')" x-text="form.errors.password"></small>

    <button type="submit" :disabled="form.processing">Log in</button>
</s:user:login_form>
The same pattern applies to the other user forms — just swap the action URL and the data fields:
| Tag | Endpoint |
|---|---|
{{ user:login_form }} |
/!/auth/login |
{{ user:register_form }} |
/!/auth/register |
{{ user:profile_form }} |
/!/auth/profile |
{{ user:password_form }} |
/!/auth/password |
If you'd rather submit normally (full page reload) and only use Precognition for live validation, drop the @submit.prevent handler.
