Deploying Statamic with Ploi
Ploi provisions and deploys PHP applications on DigitalOcean,
Linode, Vultr, Amazon, Hetzner and other hosting platforms. It's a piece of 🍰 to deploy a Statamic site with it.
Use the coupon RAD-DEPLOIMENT to get 25% off your Ploi subscription. Can be used once per account and only works with the manual renewal and a duration of up to five months.

Assuming you have a Ploi account, the first thing to do is authorize your hosting provider of choice. In this walk-through we'll use Hetzner as the example. This is a one-time step and will allow you to easily spin up and provision new server stacks anytime.
Go to your Hetzner Cloud Console (or other cloud provider of choice) and create an API token. Check out the Hetzner docs on generating API tokens if you need it. Make sure the token has read and write access.

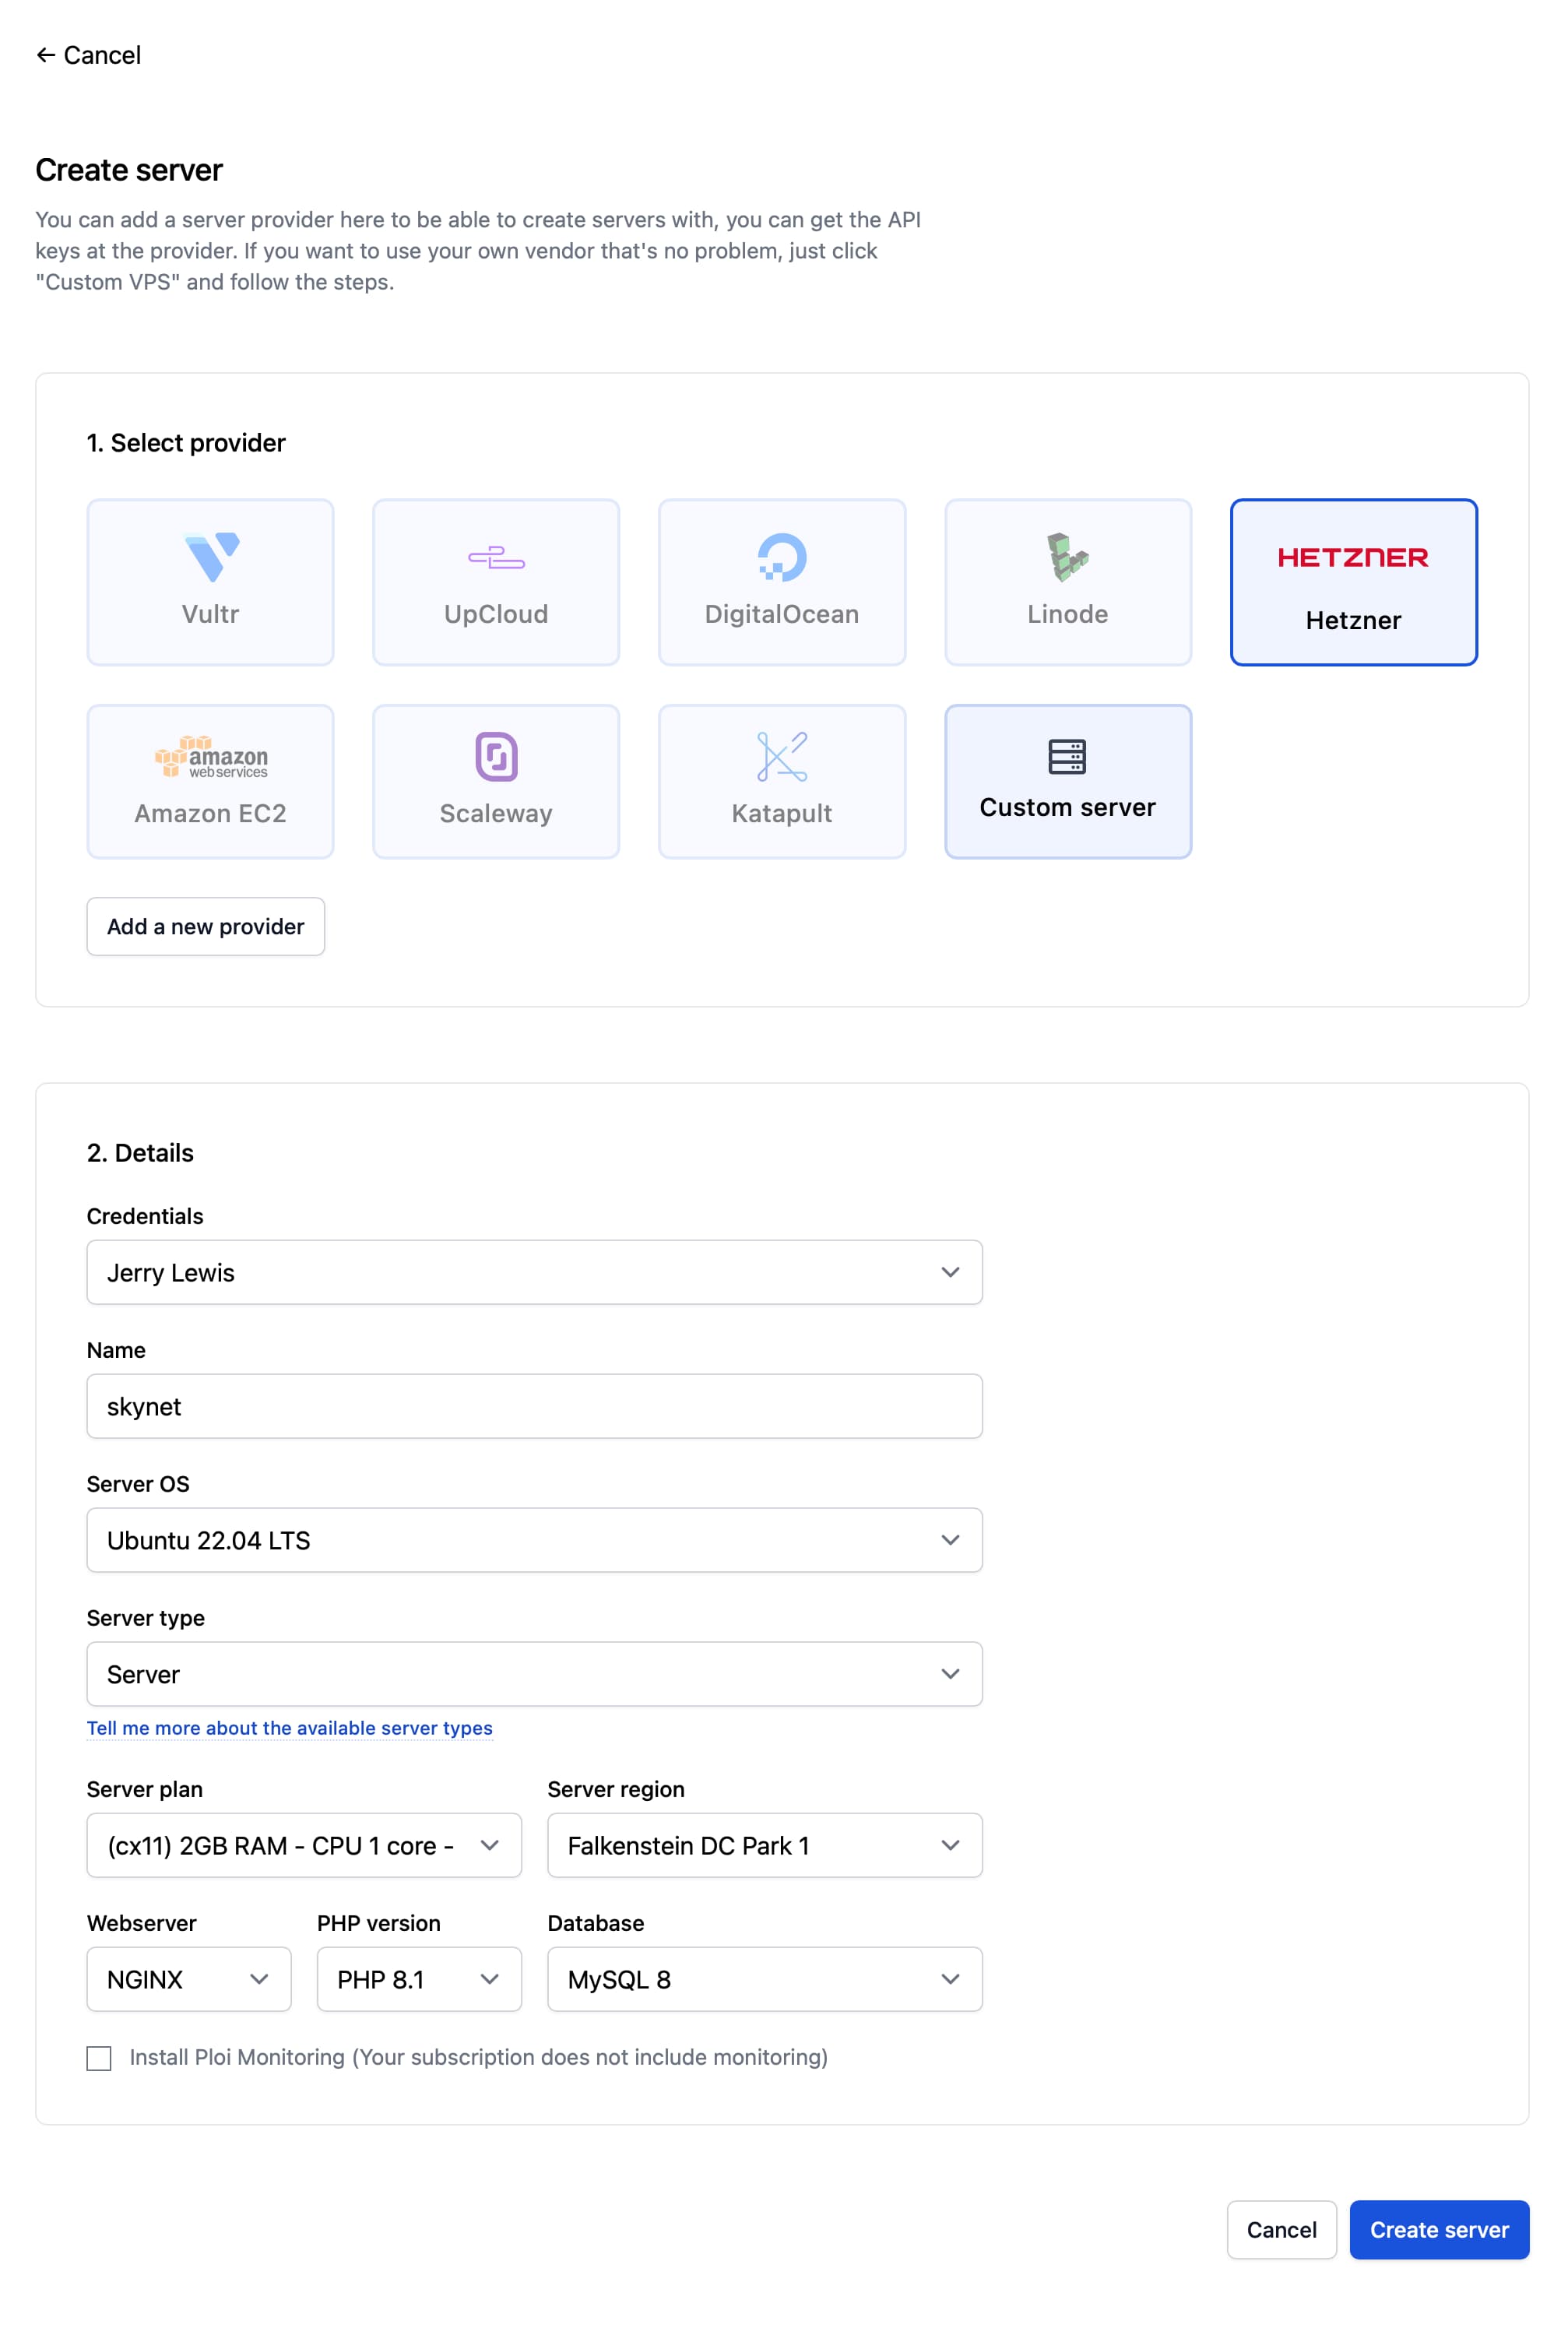
Spinning Up a New Server#
Once you have connected to your hosting provider, the next step is to spin up a new server. Ploi automatically tailors the server stack for Statamic and Laravel, so you only need to choose the server size most suitable for your project and you'll be billed accordingly by Hetzner.
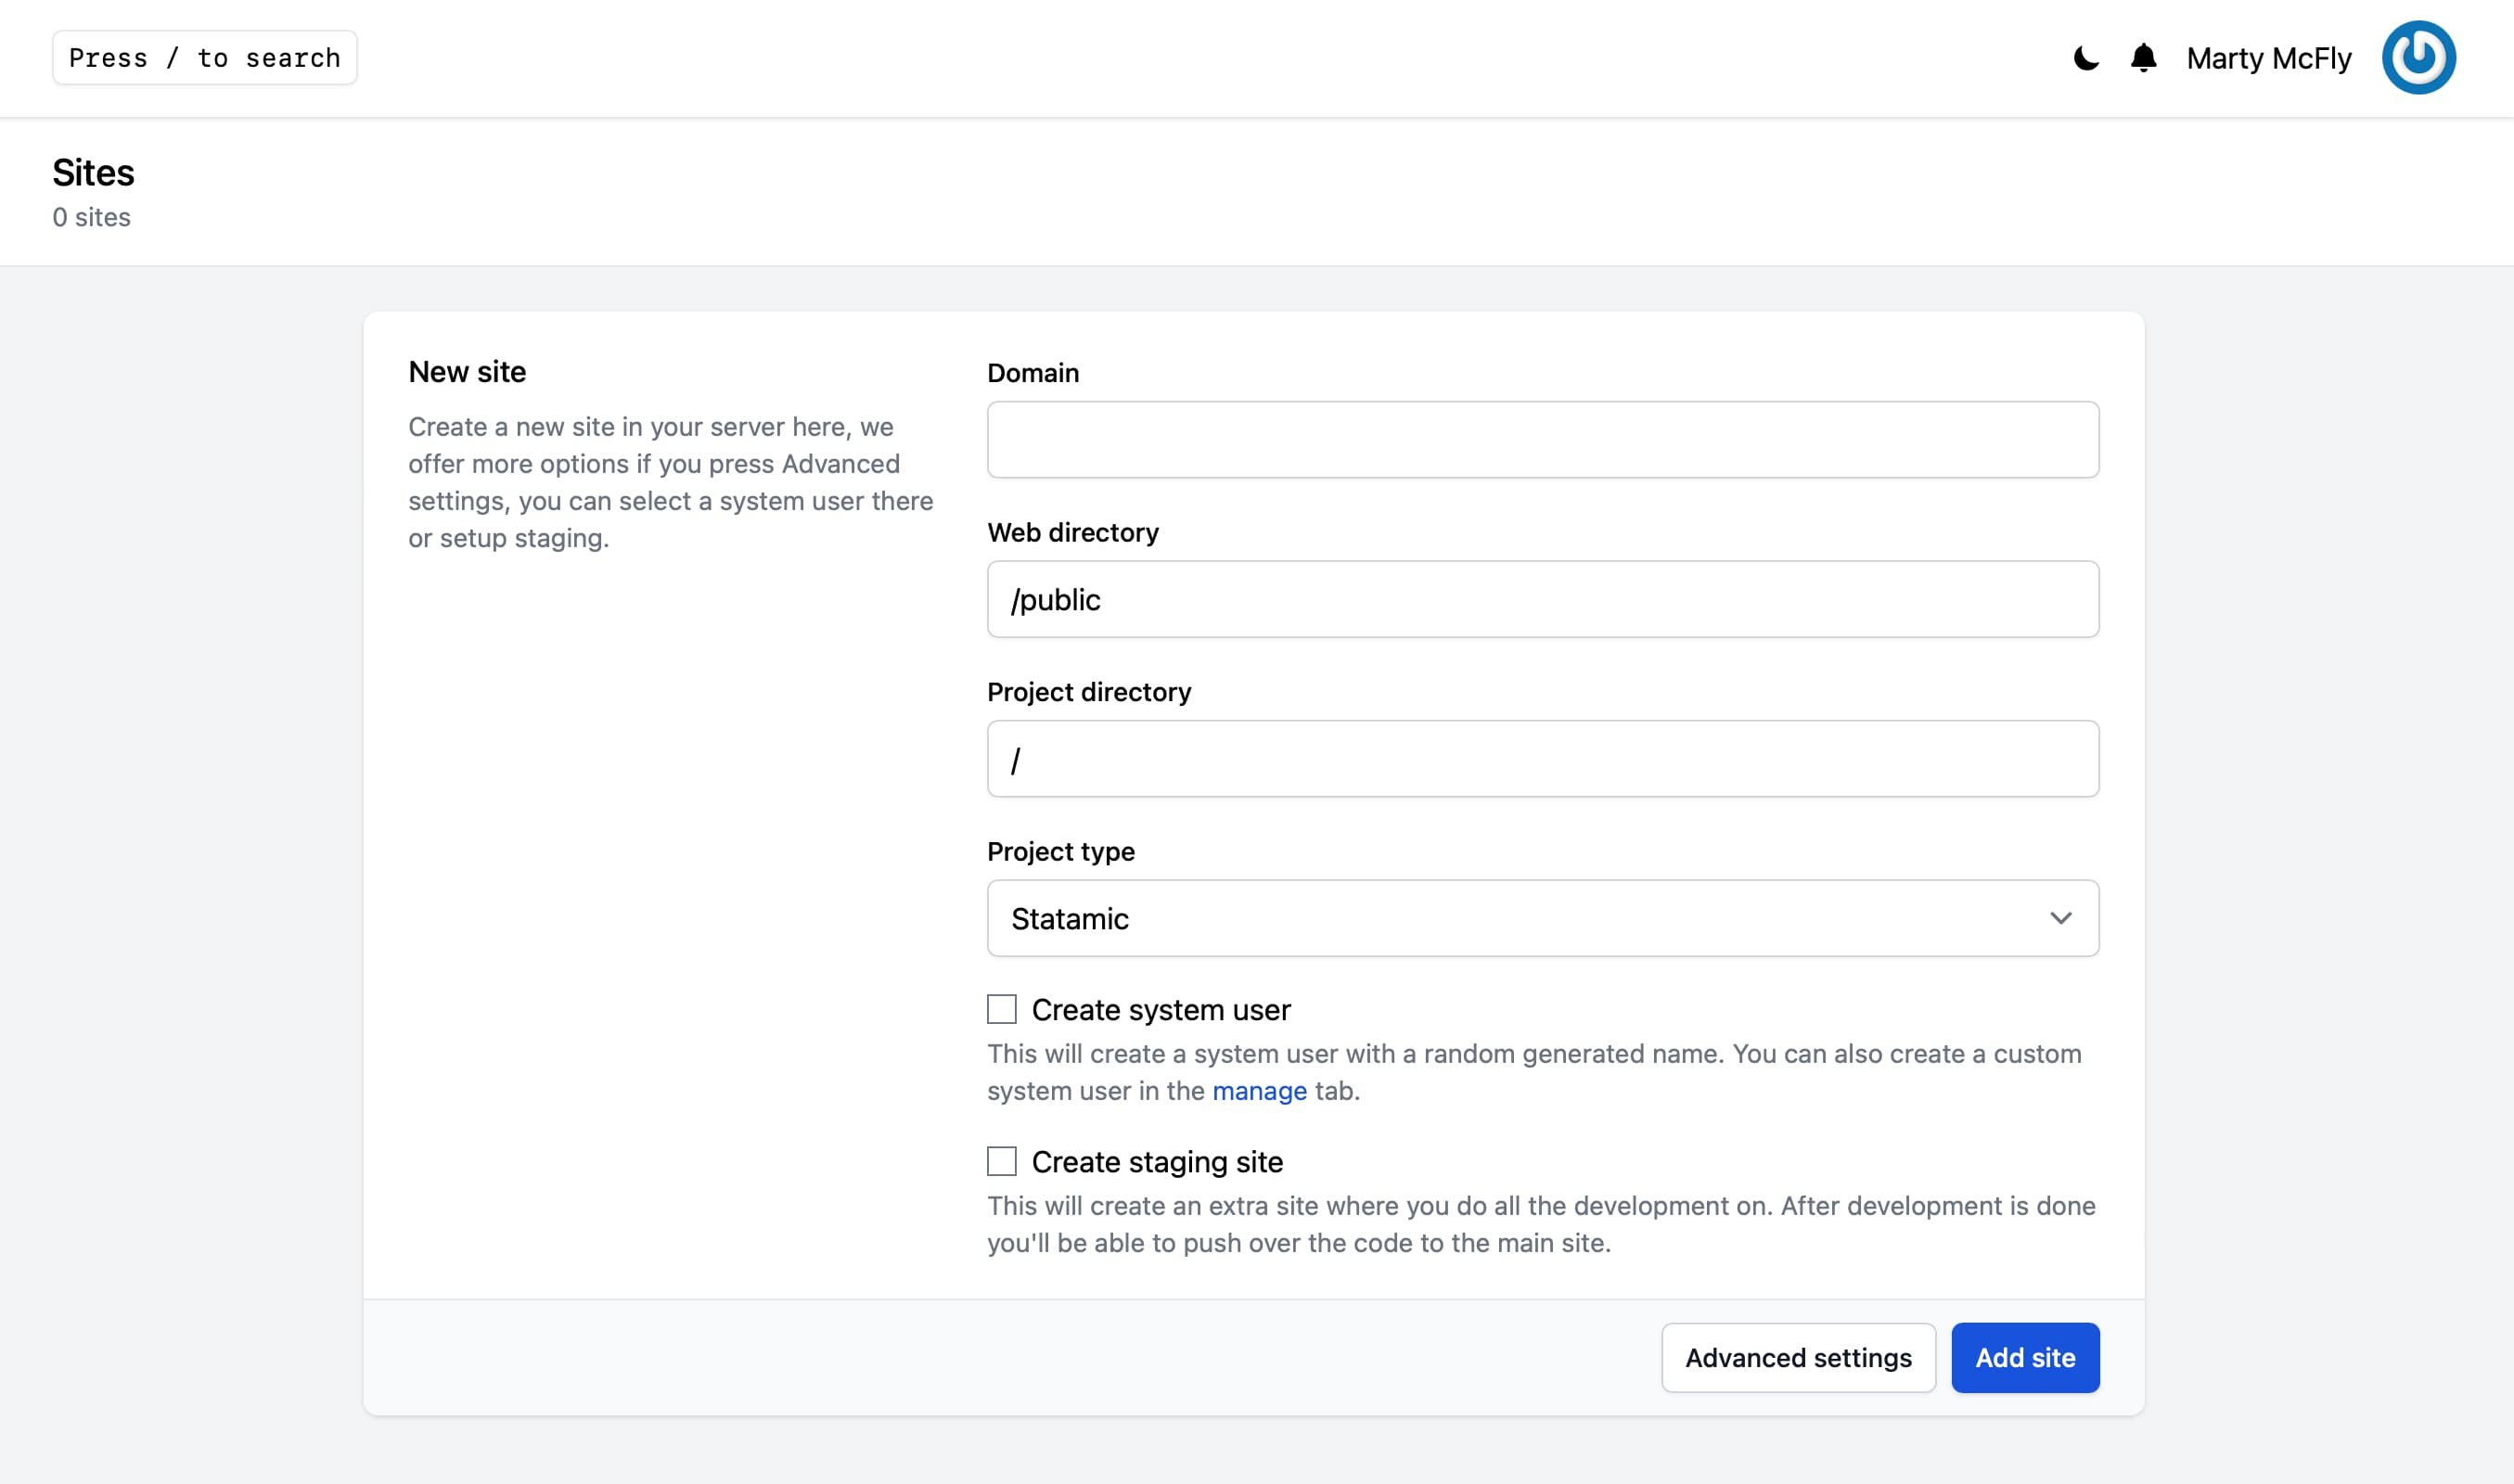
Creating a New Site#
The next step is to create a new site. This will scaffold out the directory structure and nginx config on the server, and further allow you to configure your site's environment variables, deployments, and so on.
Configuring Deployment#
Finally, setup your deployment by pointing your site to your source control repository. Ploi will create a sensible deployment script for you for one-click deployments.
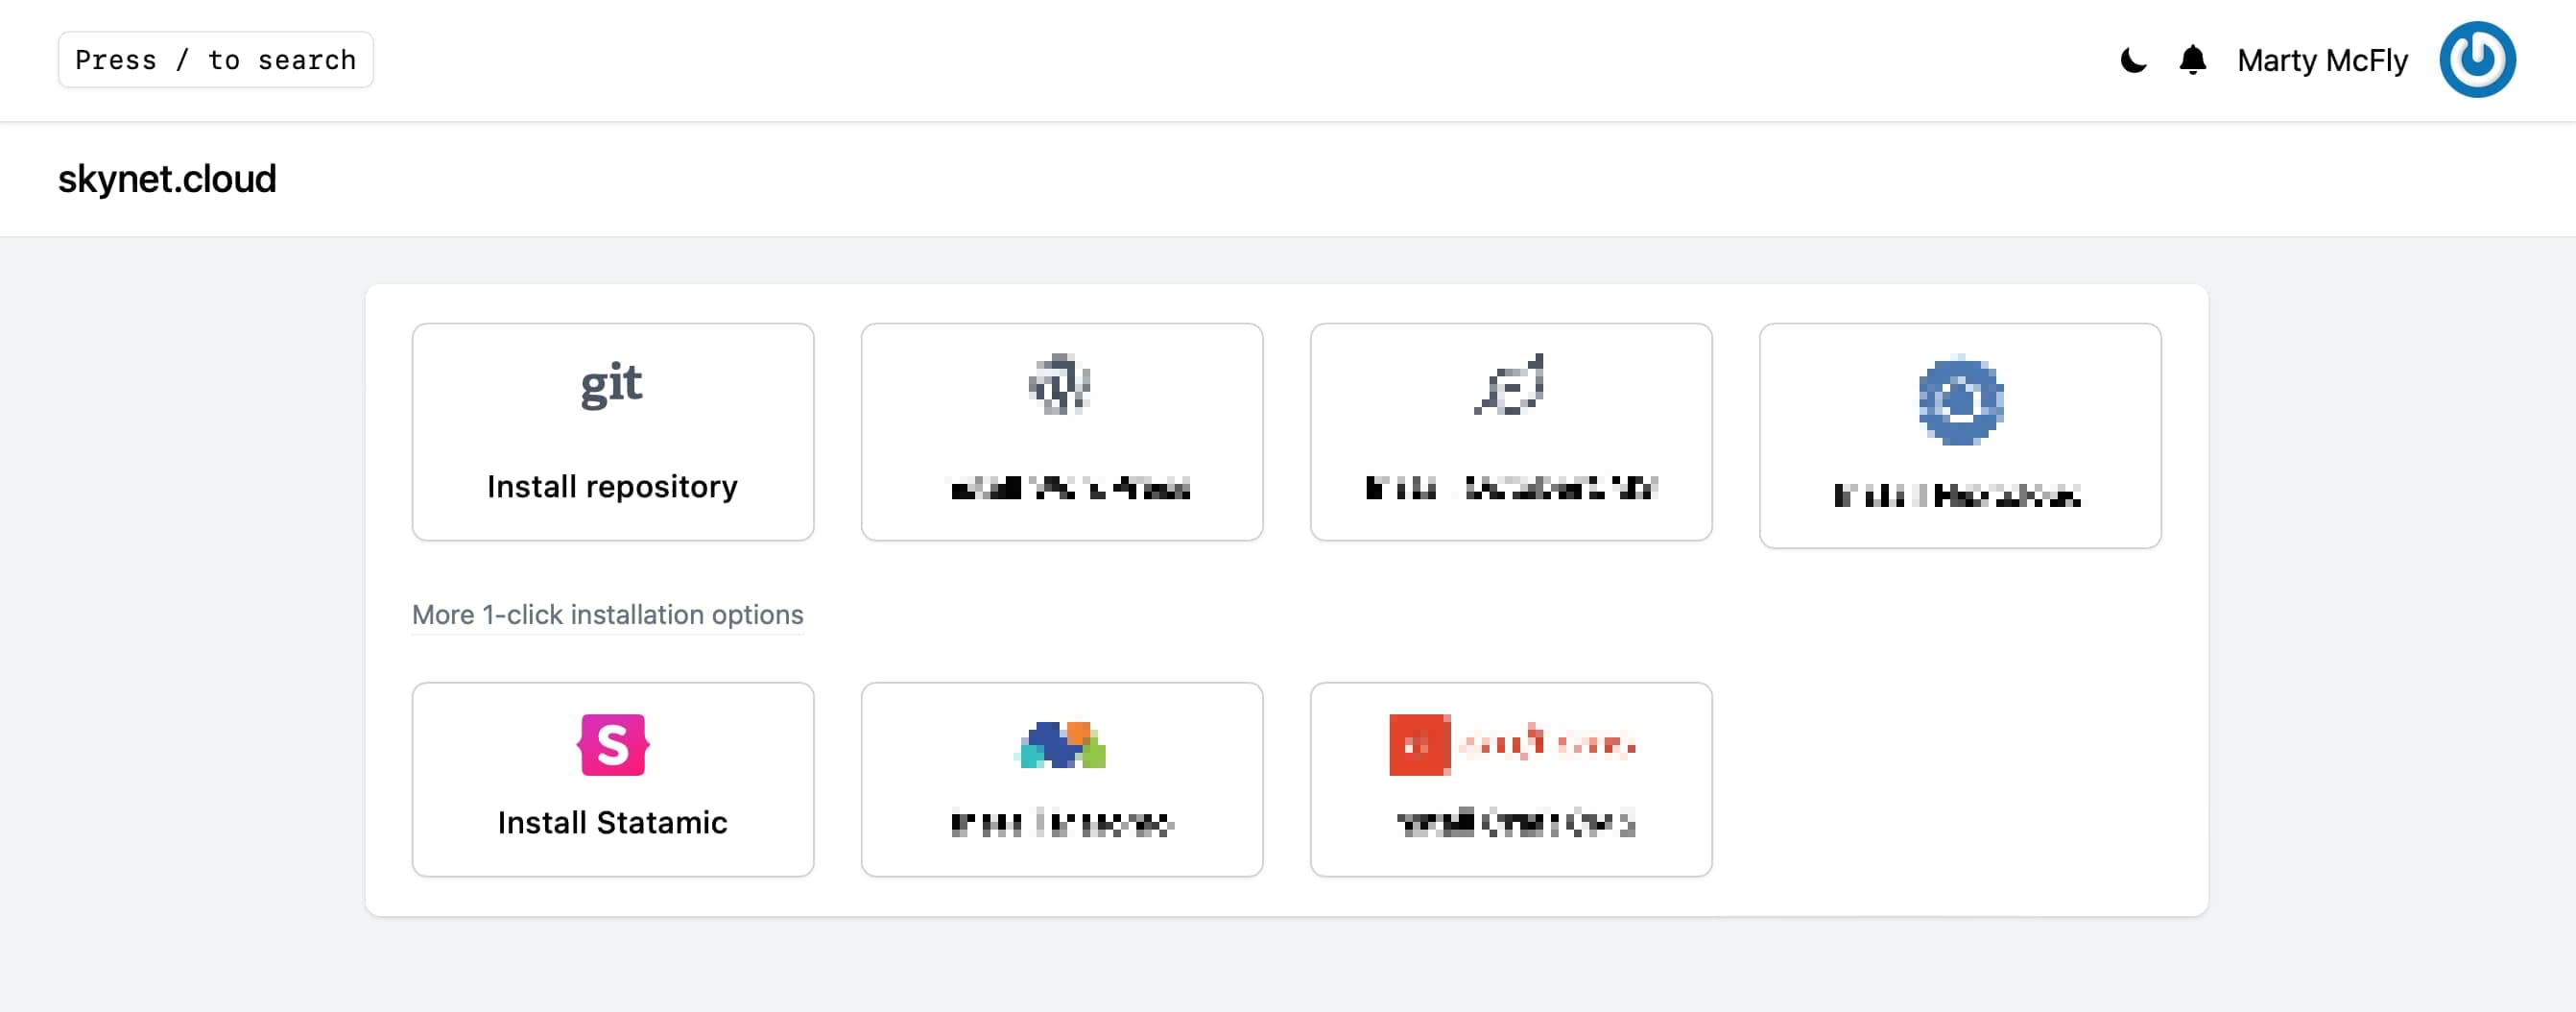
Alternatively, you can use Ploi's 1-click Statamic install feature to quickly create a new site and an optional repository. You can even use this feature with one of Statamic's starter kits.
After doing this, you'll be able to customize the deployment script if needed. You can also enable "quick deploy", which will automatically trigger deployments when you push changes to your chosen branch. You can also use GitHub actions to trigger a deployment with Ploi.
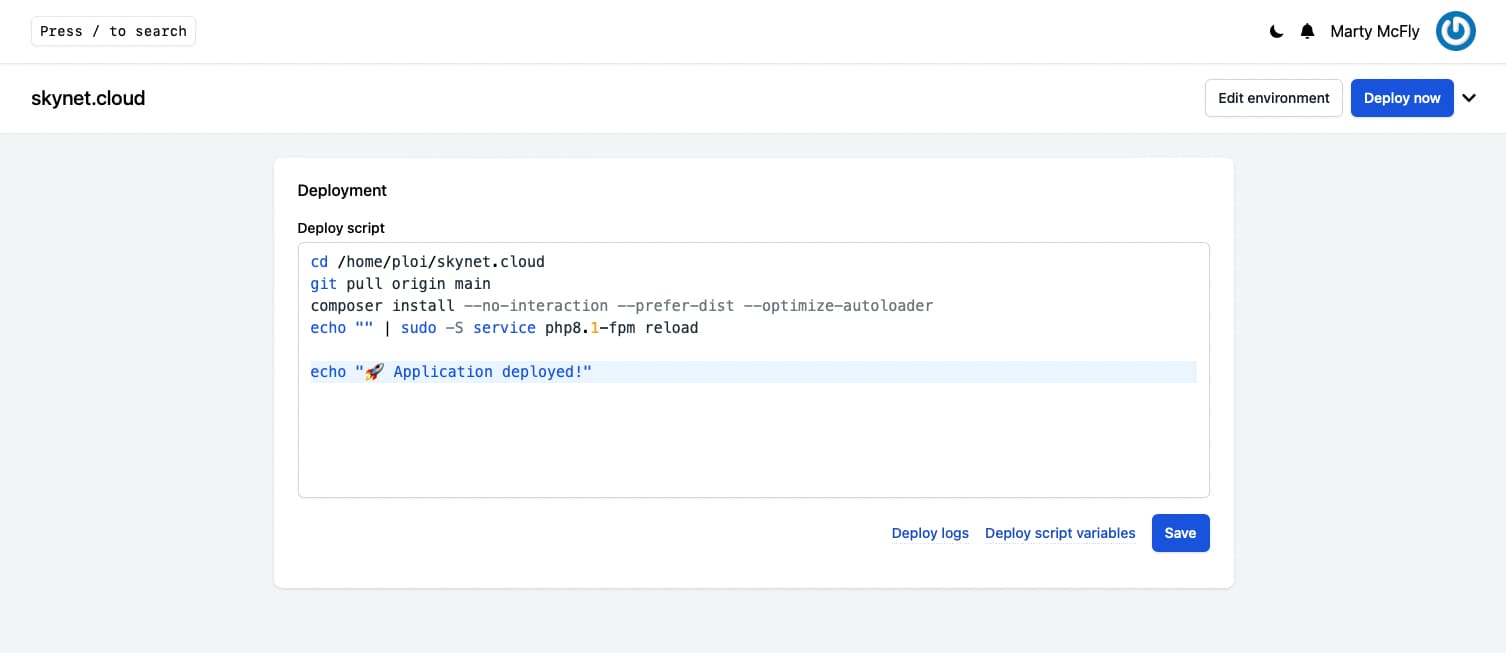
The "Deploy script" area is where you'd add commands to install Composer and NPM dependencies, compile CSS and JavaScript if you need to, and clear Statamic's cache. Most deploy scripts look something like this:
cd /home/ploi/{example}.{tld}
git pull origin main
composer install --no-interaction --prefer-dist --optimize-autoloader
echo ... sudo-S service php8.1-fpm reload
php please cache:clear
npm ci && npm run production
If you're planning on using the Git integration, you may want to prevent content changes from the Control Panel from triggering "full" deployments in Ploi. Learn more about this on the Git Automation page.
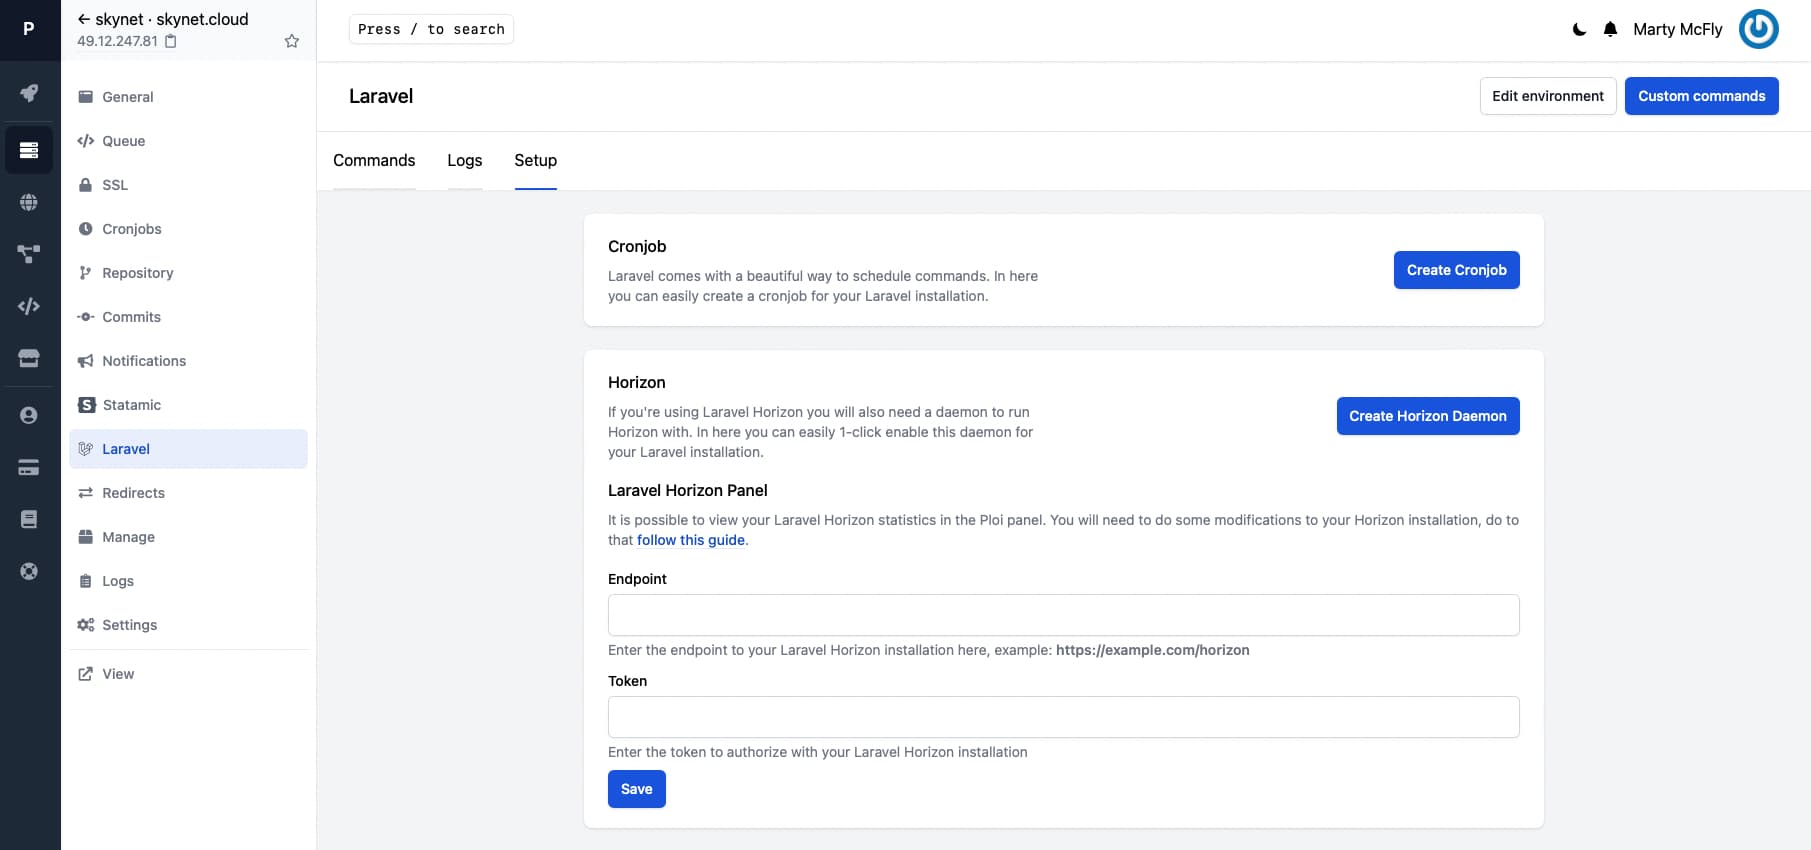
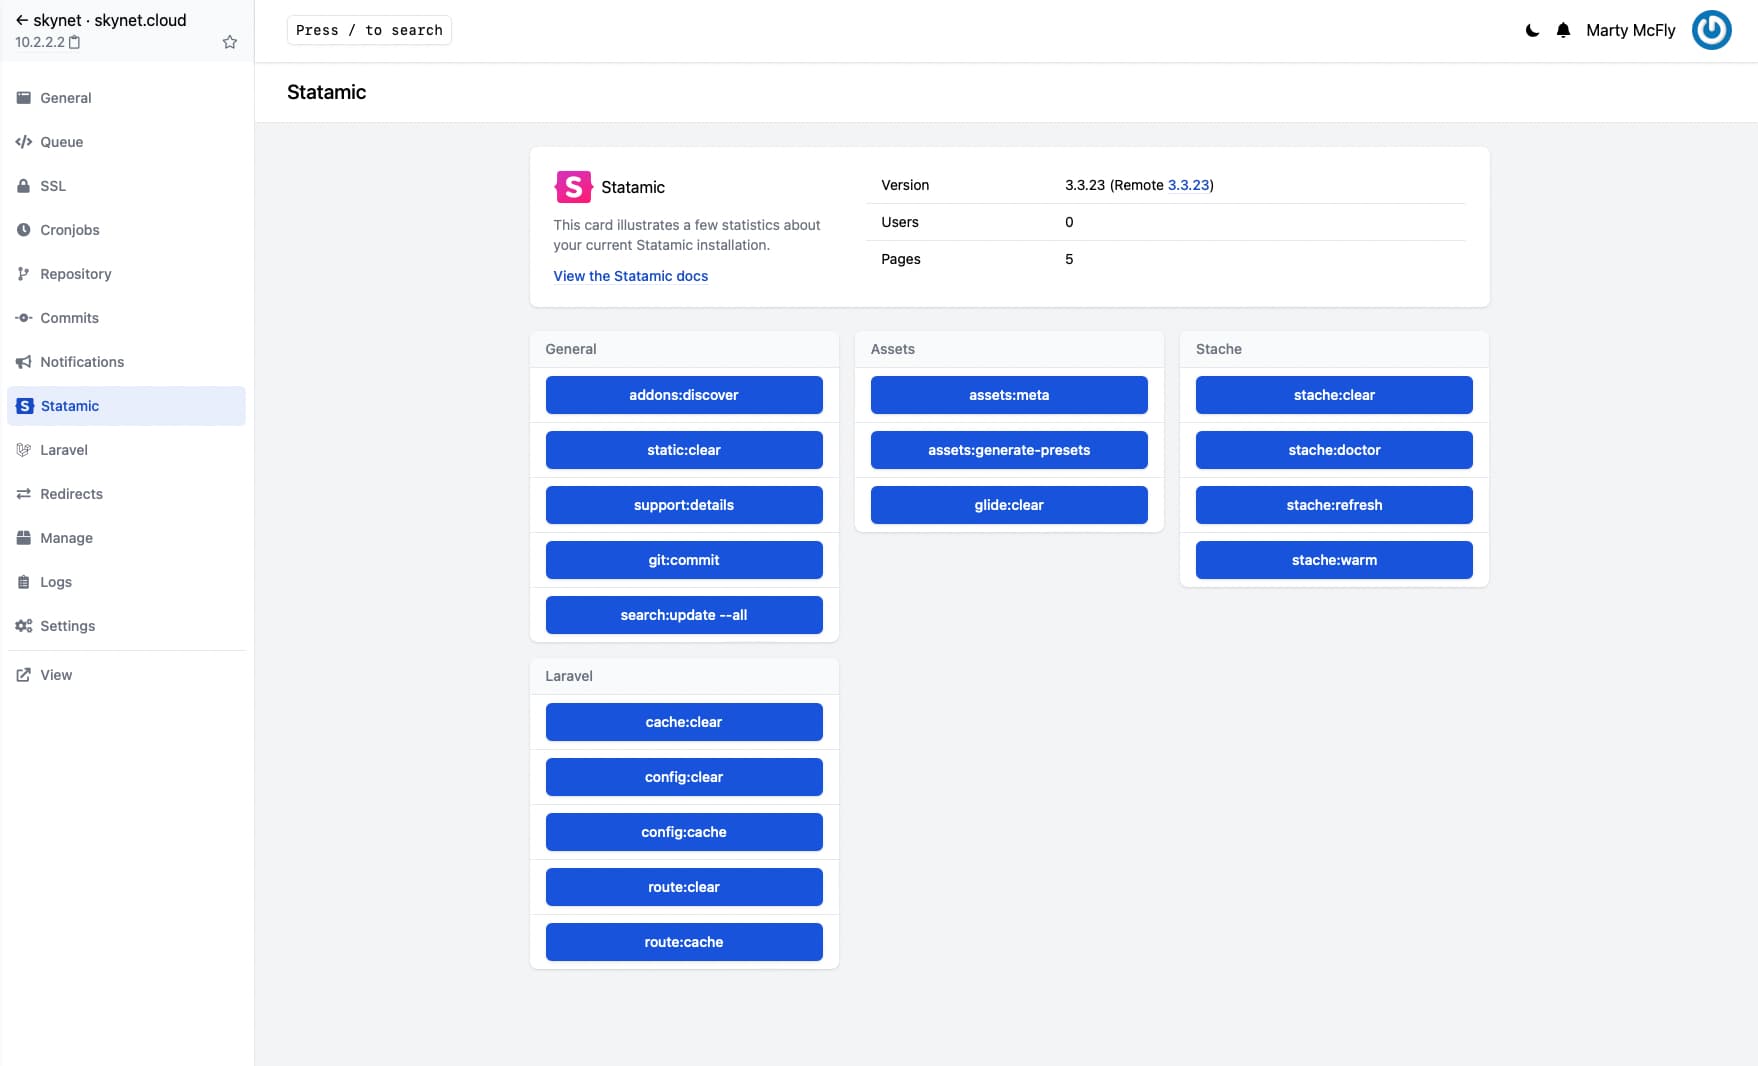
Statamic specific features#
Ploi lets you interact with your Statamic installation without you having to connect to your server via SSH. This includes clearing the (static) cache, warming the stache, generating meta data for assets etc.
Advanced Control#
Ploi is optimized for Laravel and offers advanced control of queue workers, cron jobs, SSL certificates, database access, and more.